Life is...

  • HOME
  • a party
  • beautiful
  • an adventure
  • good
  • movement
  • delicious
  • a piece of cake
DSC_0465.jpg

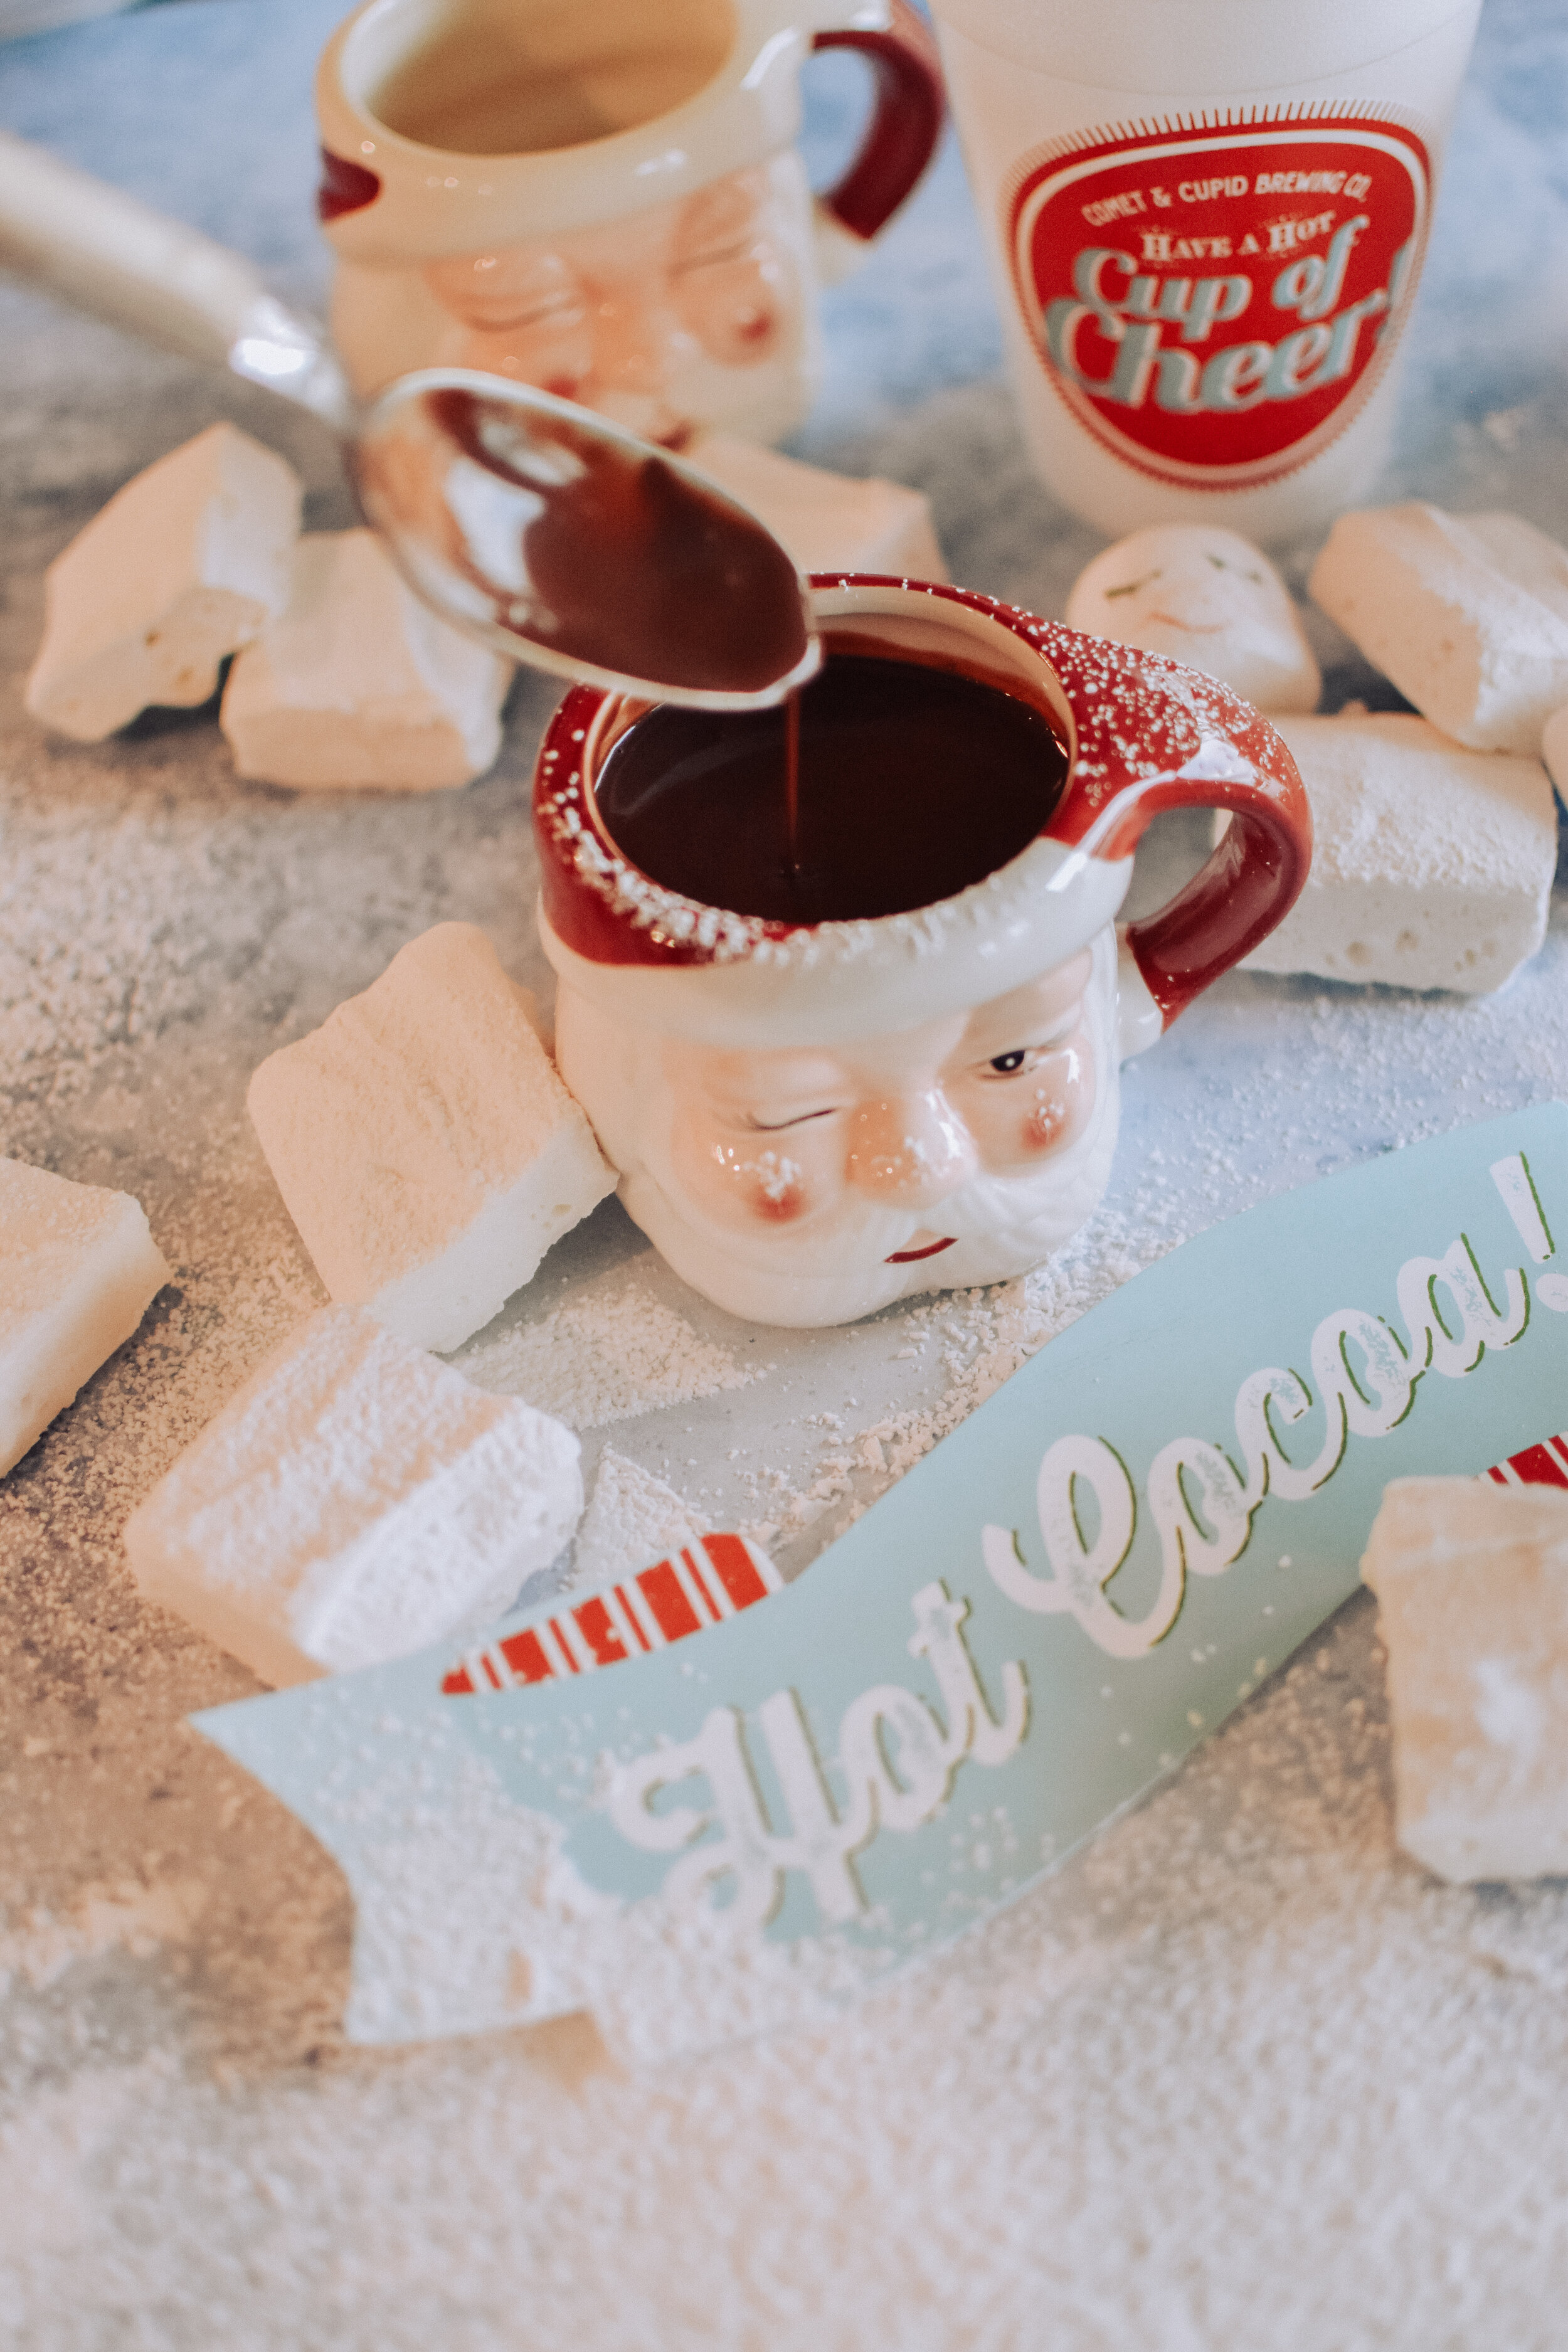
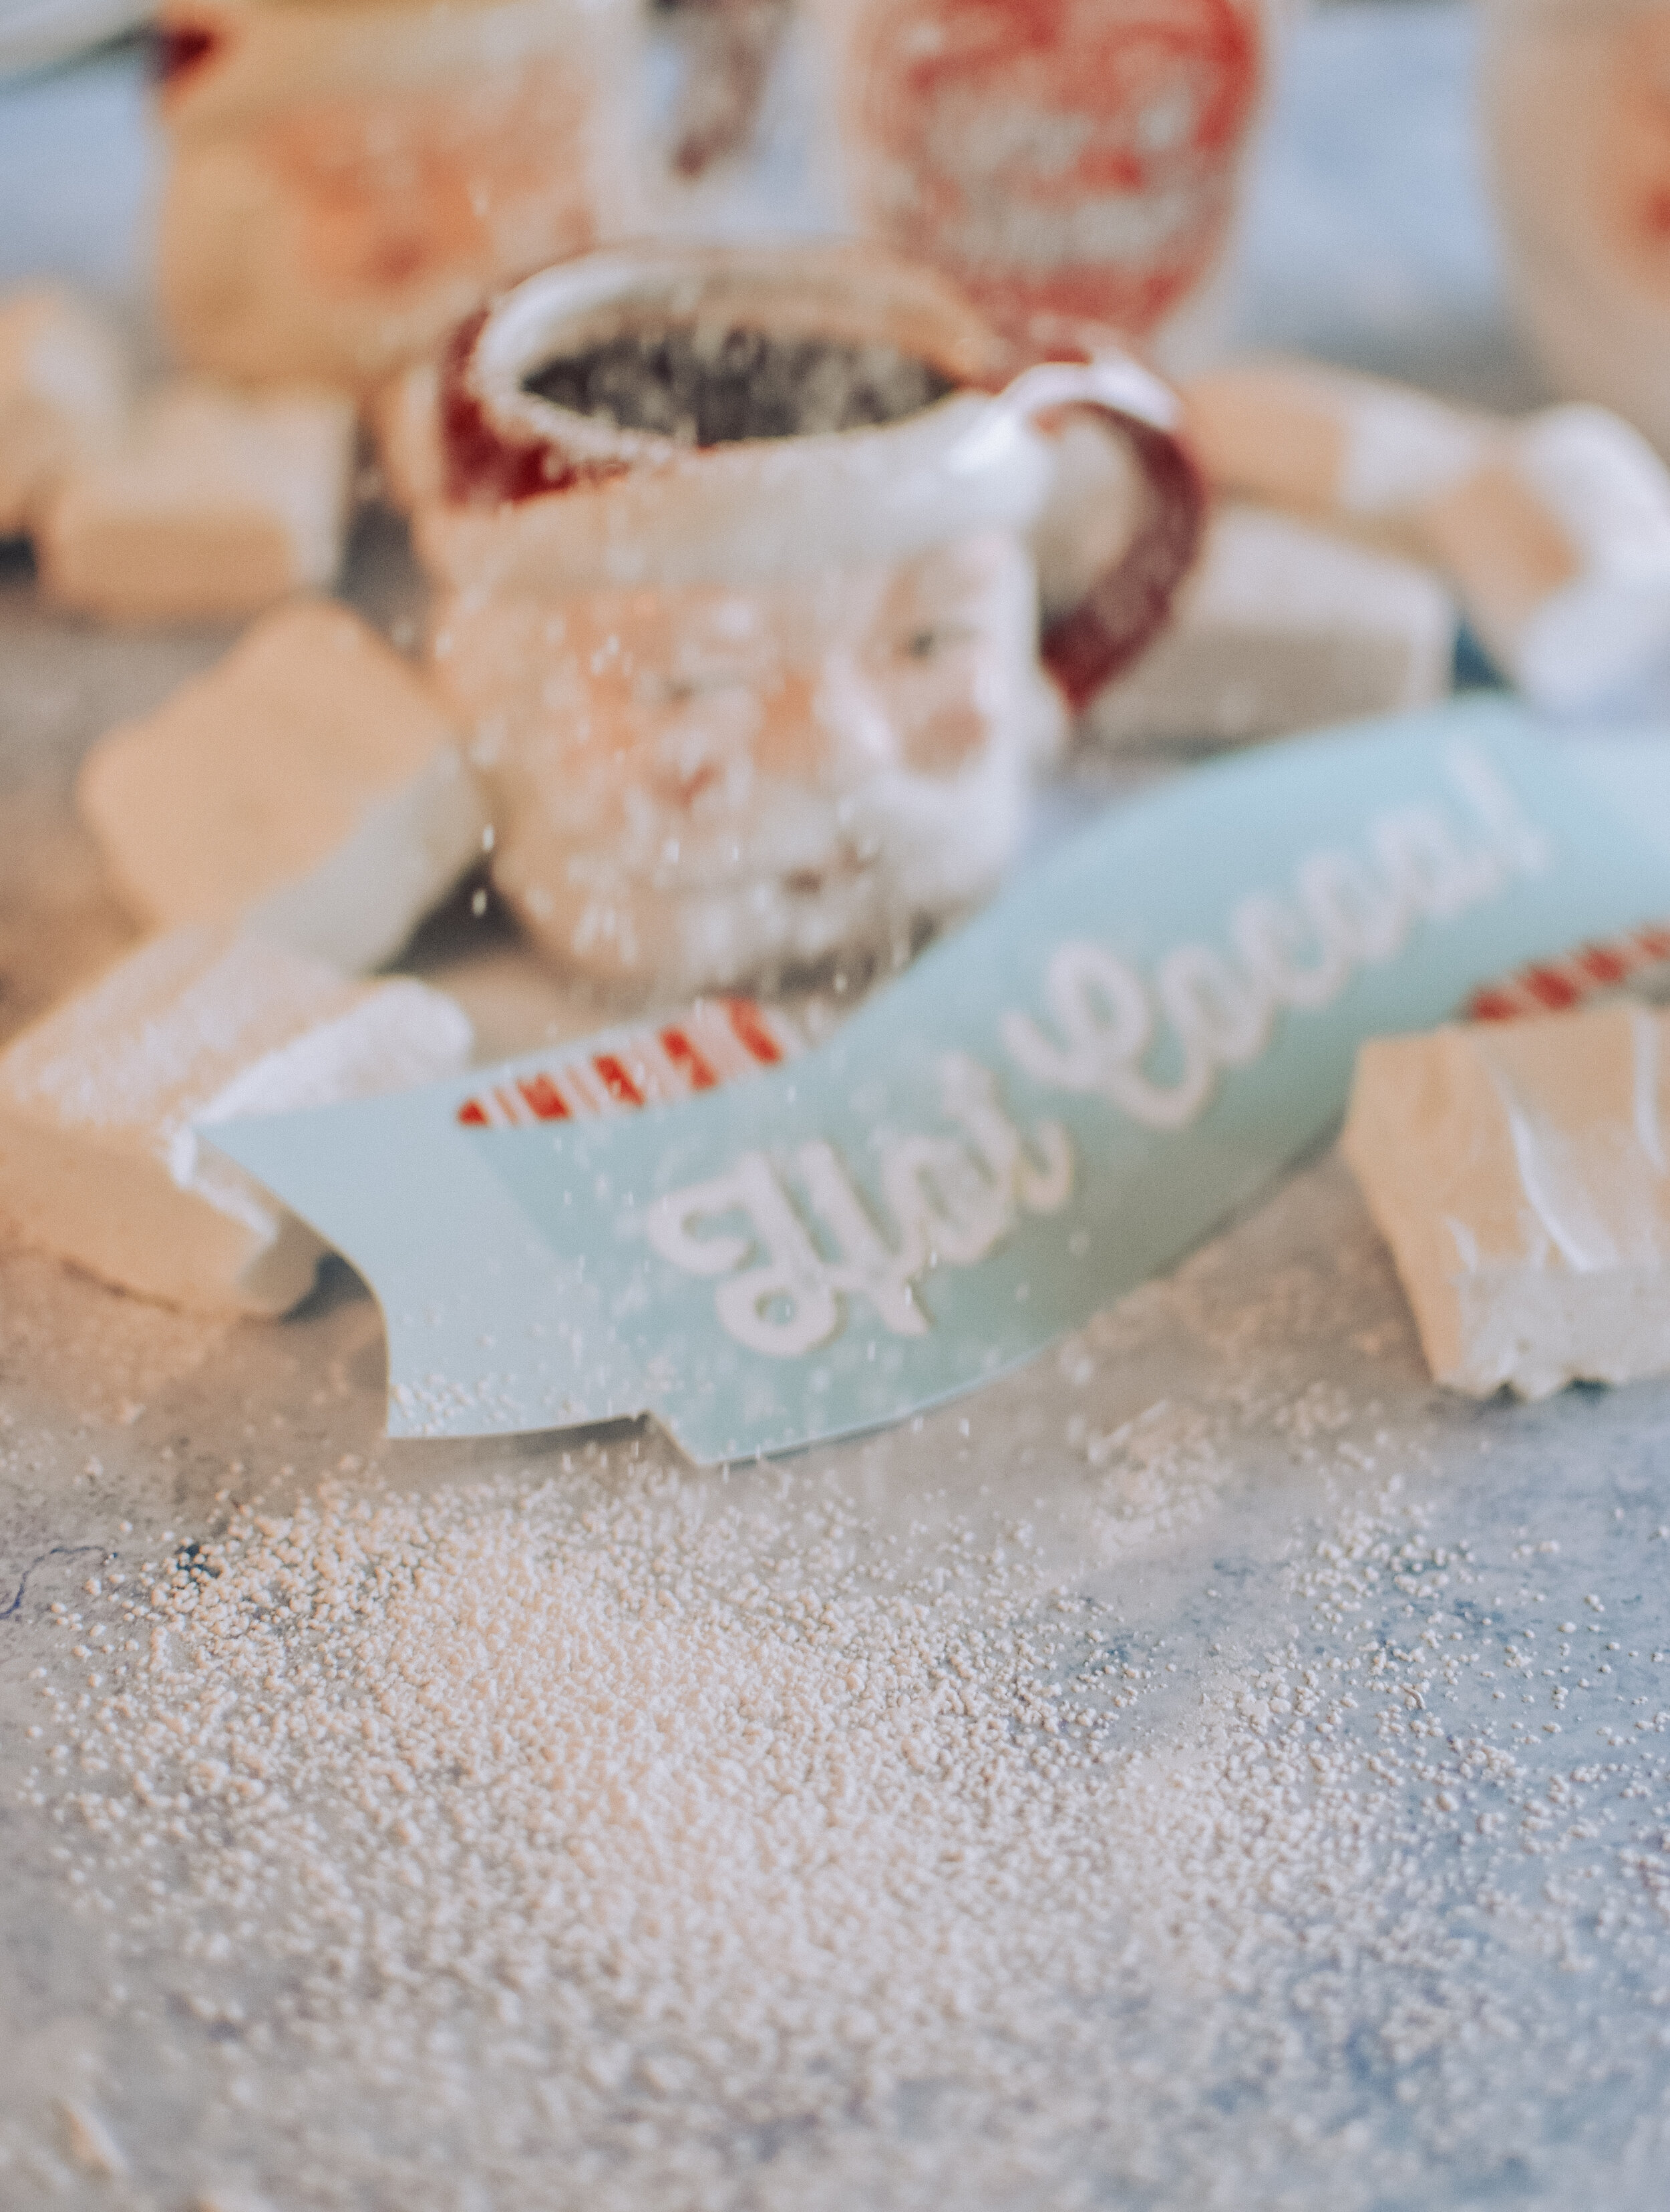
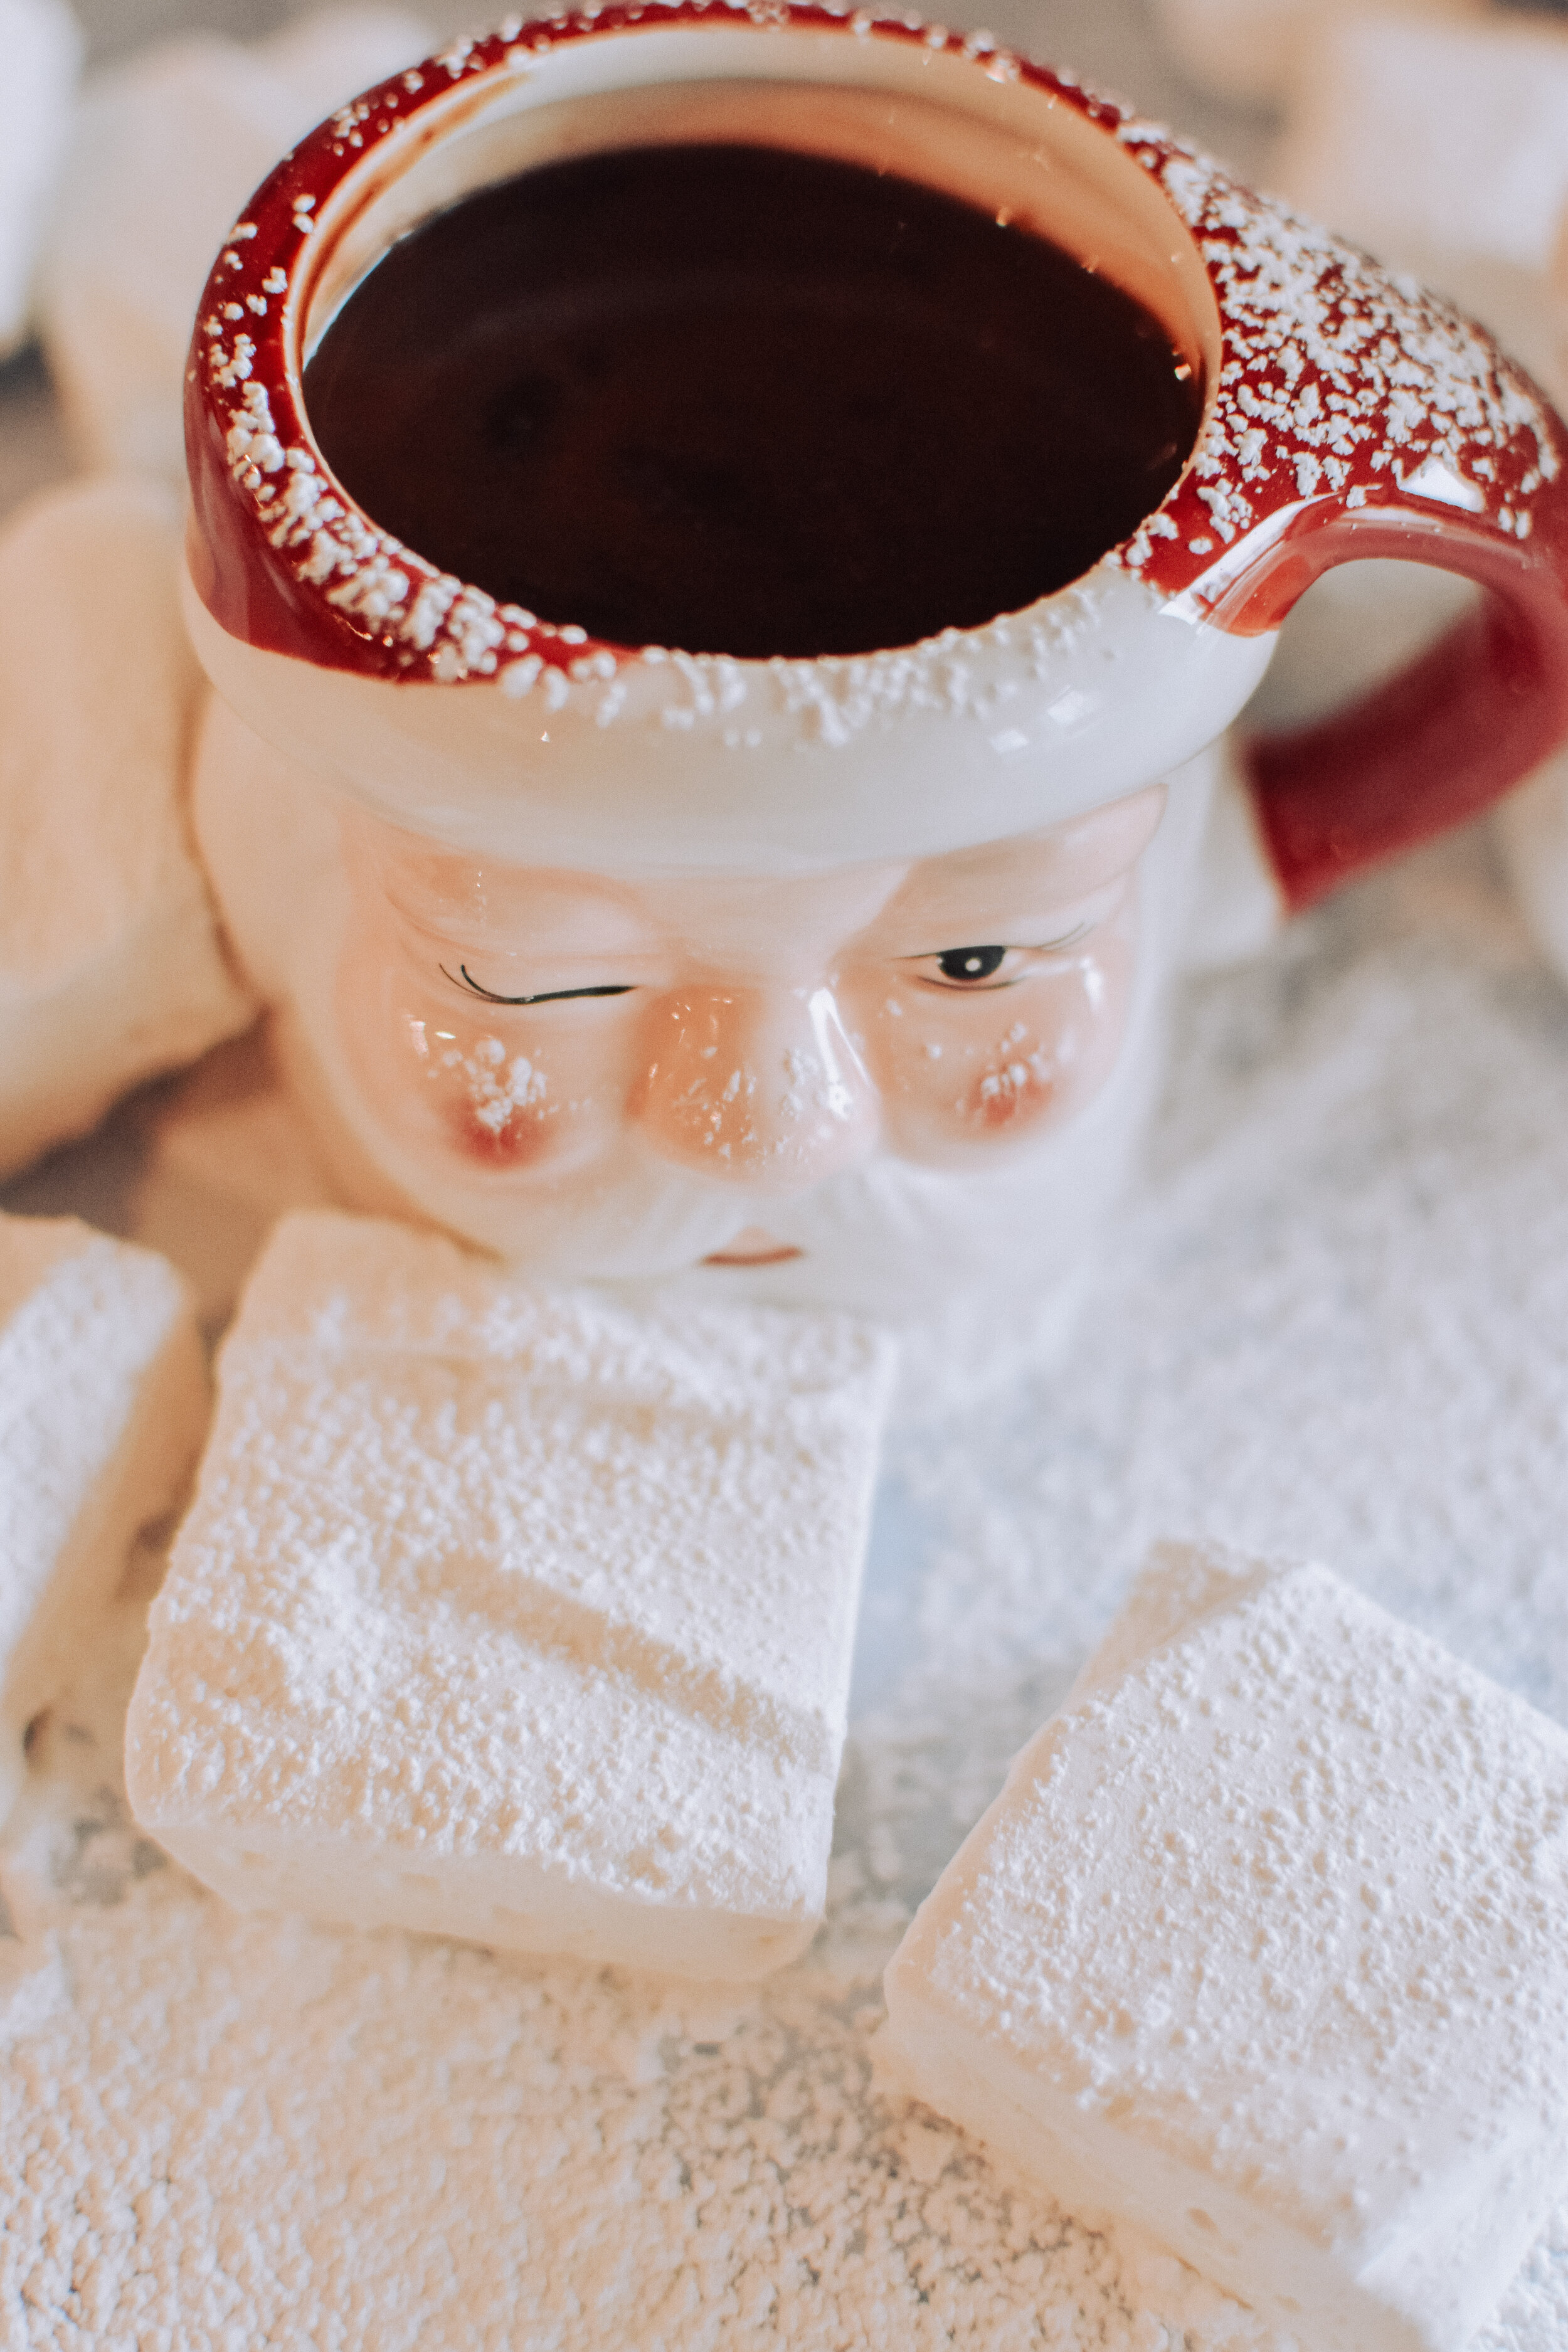
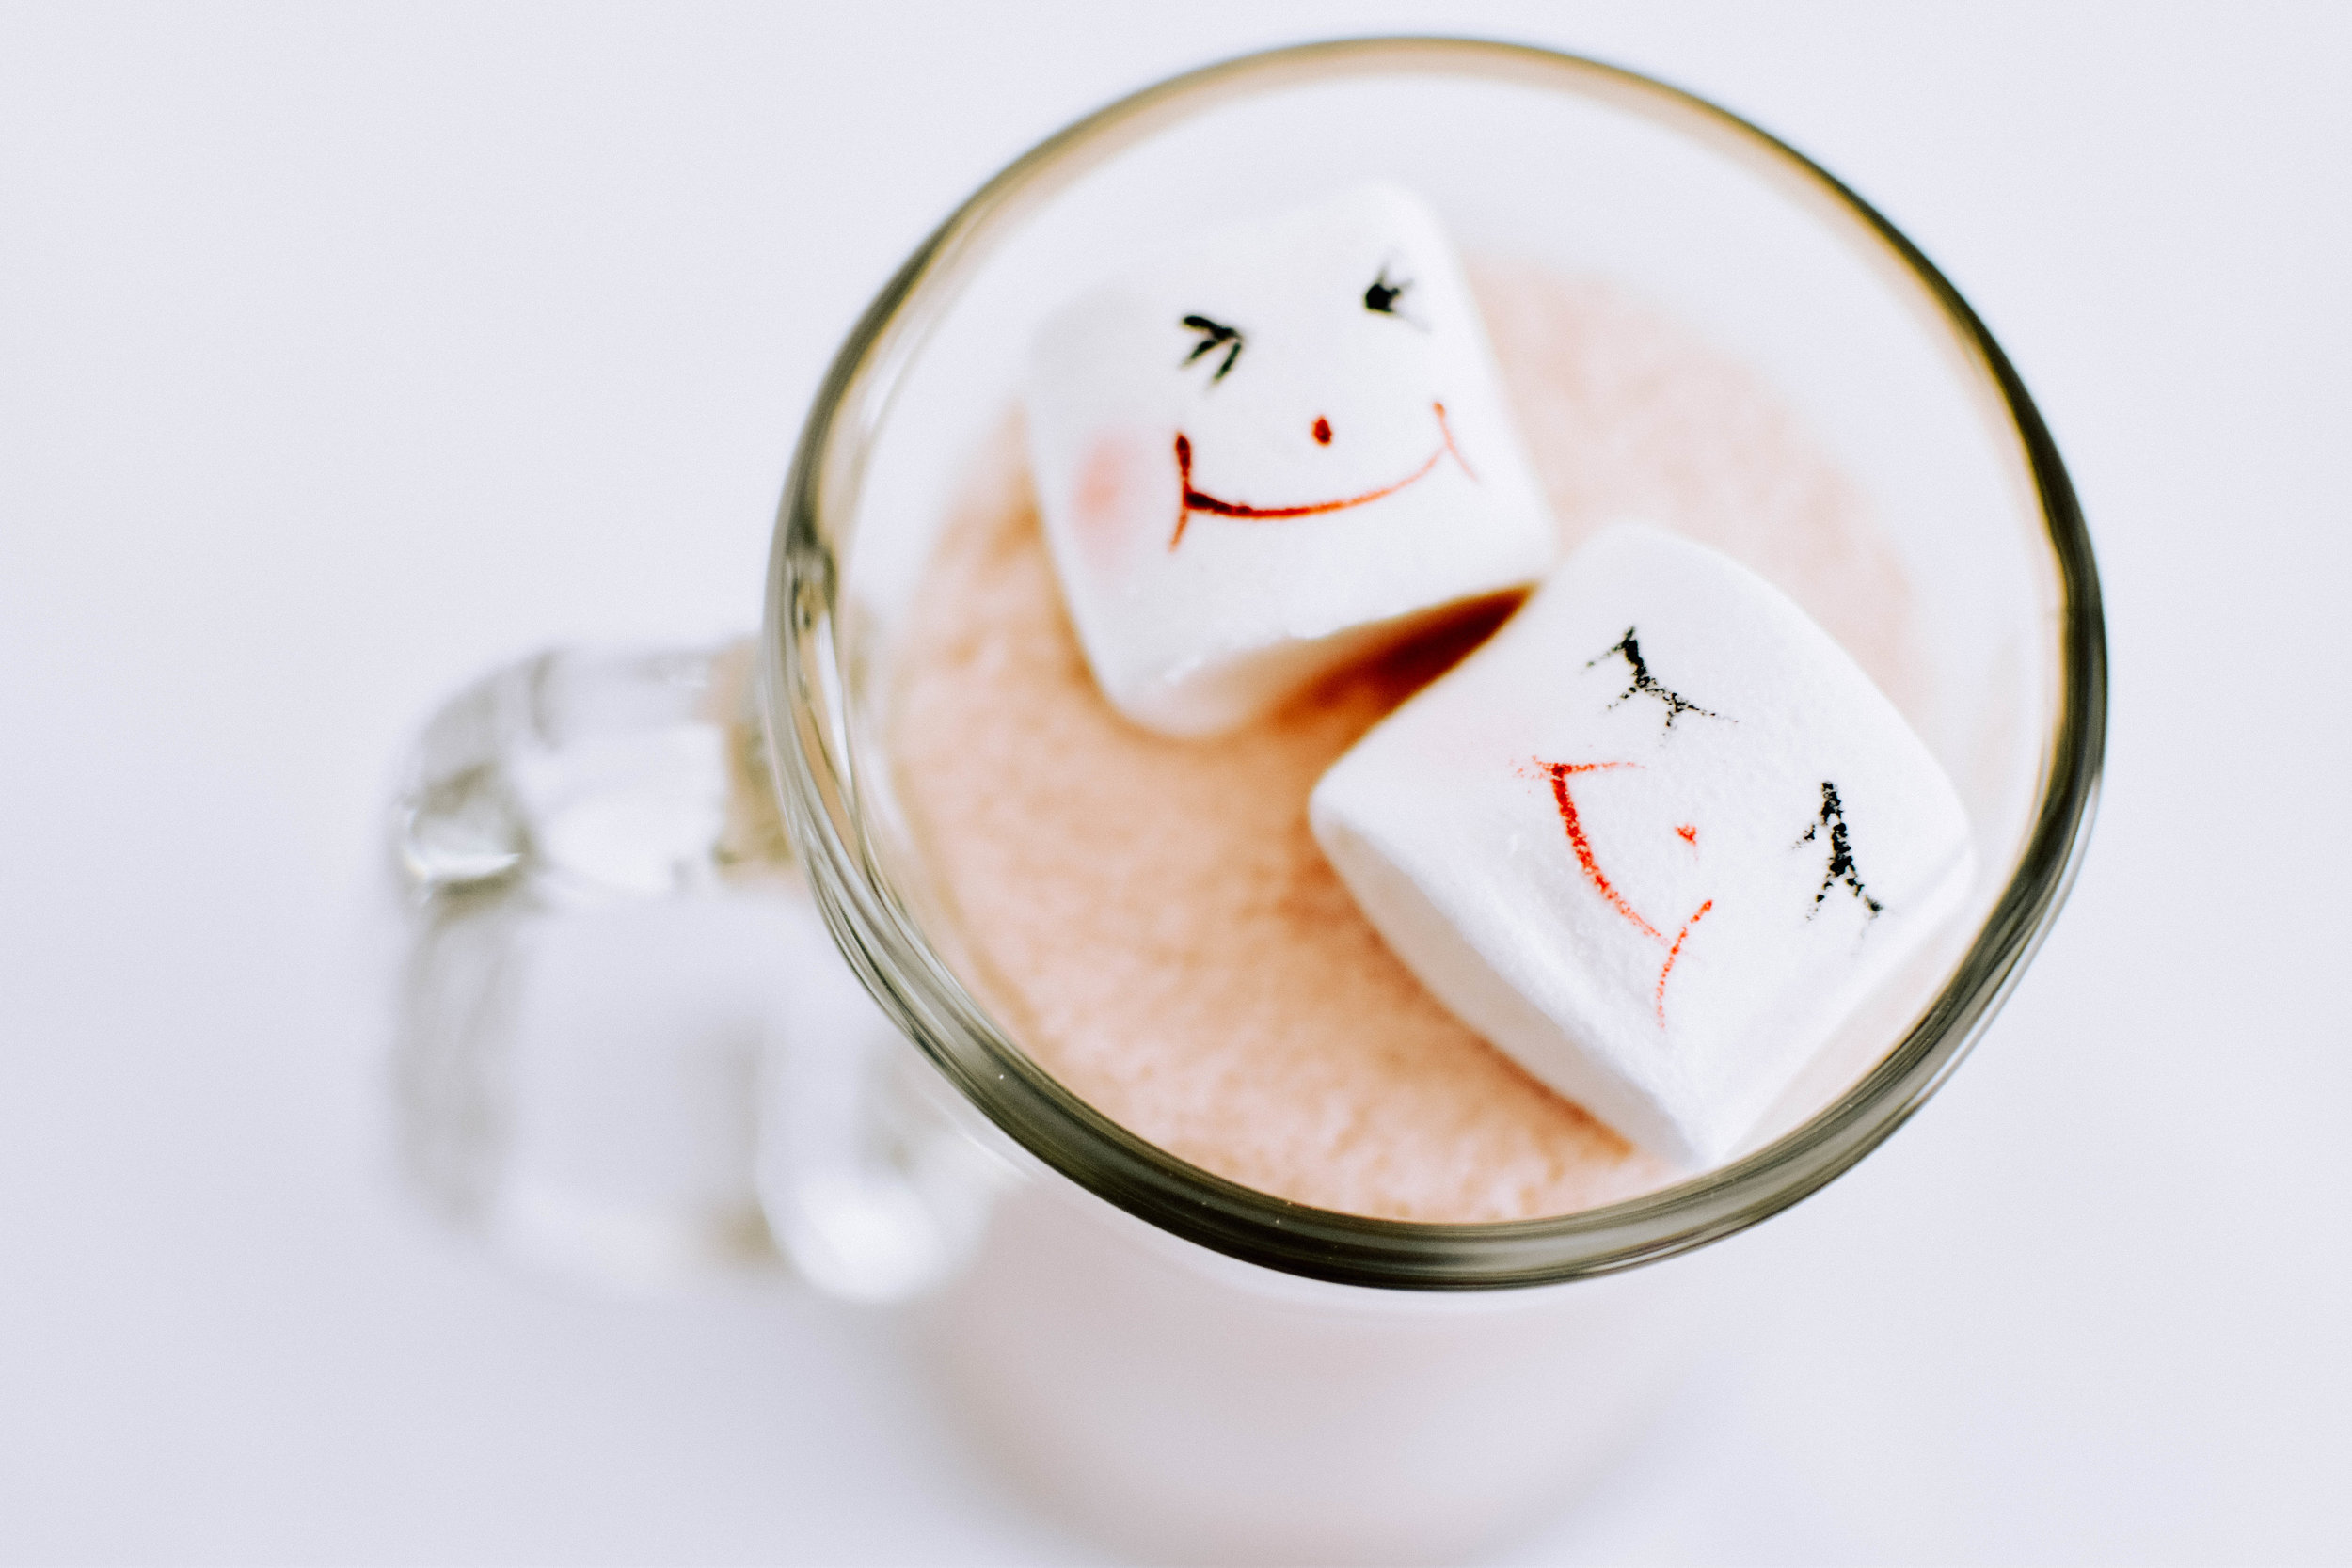
italian hot chocolate with homemade marshmallows

December 13, 2019 by Mandi McQuivey
DSC_0468.jpg
DSC_0500.jpg
DSC_0450.jpg
DSC_0496.jpg
italian hot chocolate
3.5 oz Lindt a Touch of Sea Salt Dark Chocolate
2 T Sugar
2 1/2 T. Ghiradelli Cocoa
1 Cup Whole Milk
1 tsp Corn Starch
In a small bowl whisk 1/4 cup milk and cornstarch until smooth. Set aside. Chop Chocolate and set aside. Sift the cocoa and sugar together, set aside. In a small pot heat 3/4 cup milk until bowling. Reduce heat to low, start whisking and add the milk/cornstarch mixture. Add the cocoa/sugar mixture slowly while continually whisking until smooth. Add the chopped chocolate and whisk for approximately 3 minutes. Serve immediately.
DSC_0476.jpg
Homemade Marshmallows
3 Packages Unflavored Gelatin
1 1/2 Cups Granulated Sugar
1 Cup Light Corn Syrup
1/4 tsp Pink Salt
1 T. Pure Vanilla
Powdered Sugar for Dusting
Combine the gelatin and 1/2 cup of COLD water in the bowl of an electric mixer fitted with the whisk attachment and allow to sit while you make the syrup. Meanwhile, combine the sugar, corn syrup, salt, and 1/2 cup water in a small saucepan and cook over medium heat until the sugar dissolves. Raise the heat to high and cook until the syrup reaches 240 degrees on a candy thermometer. Remove from heat. With the mixer on low speed, slowly pour the sugar syrup into the dissolved gelatin. Put the mixer on high speed and whip until the mixture is very thick, about 15 minutes. Add the vanilla and mix thoroughly. With a sieve, generously dust an 8x12 glass baking dish with powdered sugar. Pour the marshmallow mixture into the pan, smooth the top, and dust with more powdered sugar. Allow to stand uncovered overnight until it dries out. Turn the marshmallows onto a board and cut them into squares. Dust them with more powdered sugar.
December 13, 2019 /Mandi McQuivey
Comment
DSC_0887.jpg

breakfast cookies

August 26, 2019 by Mandi McQuivey
DSC_0895.jpg
BREAKFAST COOKIES
3/4 Cup Organic Natural Creamy Peanut Butter
2 T. Honey
1 tsp. Vanilla
2 T. Bob's Red Mill Chia Seeds
2 T. Hemp Seeds
3/4 Cup Bob's Red Mill Old Fashioned Rolled Oats
2 T. Mini Chocolate Chips
2 T. Sliced Almonds (crush with hands)
Put the peanut butter, honey and vanilla in a microwavable bowl and microwave for 20 seconds. Stir the mixture until well combined. Add in the remaining ingredients, mix well. Roll the mixture into 8 balls and place the balls on parchment paper. Press the balls flat. Put the cookies in the fridge to set for an hour. Put them in an airtight container. You can store the cookies in the fridge up to two weeks.
DSC_0890.jpg
August 26, 2019 /Mandi McQuivey
Comment
DSC_0172 4.jpg

frozen hot chocolate

March 19, 2018 by Mandi McQuivey
DSC_0175 5.jpg
DSC_0178 4.jpg
FROZEN HOT CHOCOLATE
INGREDIENTS:
1 cup whole milk
1 cup chocolate milk
1/2 cup hot chocolate mix (you could use any flavor)
1 tsp. vanilla bean paste (or vanilla extract)
3 cups of ice
DIRECTIONS:
Put all ingredients in a blender and mix until smooth! Top with whipped cream, marshmallows, chocolate sauce. Whatever you want.
March 19, 2018 /Mandi McQuivey
Comment
DSC_0837 4.jpg

cotton candy sugar scrub

February 20, 2018 by Mandi McQuivey
COTTON CANDY SUGAR SCRUB
INGREDIENTS:
1 cup sugar
1/2 cup coconut oil
1 tsp cotton candy flavoring
tiny drop of pink food coloring
DIRECTIONS:
Mix ingredients together! You could use any flavoring you want. I love vanilla and coconut!
Scrub your skin, rinse off with water and pat dry with a towel. It leaves your skin SO SOFT!
February 20, 2018 /Mandi McQuivey
Comment
DSC_0597 3.jpg

fettuccine alfredo

January 17, 2018 by Mandi McQuivey
HOMEMADE FETTUCCINE NOODLES:
INGREDIENTS:
3 1/2 cups flour
1 tablespoon fine grain himalayan pink salt
4 eggs
1 tablespoon olive oil
4-5 tablespoons water
INSTRUCTIONS:
Blend the flour and salt together. Make a little hole and drop the eggs, olive oil and water in the center. Slowly mix with the flour. Form into a ball that holds together.
Knead the dough for 3-4 minutes until the dough is smooth and elastic.
Cover with plastic wrap and let it sit for 30 minutes.
Divide the dough into 4 parts. Roll out each part of dough with a little flour. Using your 1 setting on your kitchen aid run it through then go to setting 2 then setting 3.
Put your fettuccine attachment on your kitchen aid and put the dough through. While the water is boiling let the noodles sit on a lightly floured surface.
Place in boiling water for 2-3 minutes.
ALFREDO SAUCE
INGREDIENTS:
2 1/2 cups heavy cream
juice from half a lemon
1 1/2 sticks butter
2 cups finely grated parmigiano reggiano
pinch freshly grated nutmeg
salt and pepper to taste
INSTRUCTIONS:
Add cream, butter, lemon, nutmeg, salt and pepper over medium-medium low heat. Cook for 3 minutes then remove from heat and add the cheese. Pour over noodles. Cook with noodles over low heat until sauce thickens, about 1 minute.
January 17, 2018 /Mandi McQuivey
Comment
DSC_0852.jpg

vanilla milkshake

October 10, 2017 by Mandi McQuivey
DSC_0868.jpg
VANILLA MILKSHAKE
INGREDIENTS:
sprinkles
1/4 cup store-bought vanilla frosting, plus more for glasses
1/2 cup cold whole milk
7 scoops french vanilla ice cream
couple drops of vanilla
pinch of salt
INSTRUCTIONS:
Chill your milkshake glasses in the freezer for at least 30 minutes. Put a few sprinkles in a small bowl. Dip the glasses into the frosting, then into the sprinkles. Set aside.
In a blender, combine the milk, frosting, vanilla, ice cream and salt. Blend until ingredients are mixed together. Pour into prepared glasses. Enjoy!
October 10, 2017 /Mandi McQuivey
Comment
IMG_8833.JPG

creamy corn

October 04, 2017 by Mandi McQuivey
CREAMY CORN
INGREDIENTS:
24 oz bag of frozen corn
1 cup heavy cream
1 teaspoon salt
2 tablespoons sugar
3 tablespoons butter
fresh cracked pepper
pinch of cayenne pepper
1/2 cup milk
2 tablespoons flour
1/4 cup parmigiano reggiano
DIRECTIONS:
Add frozen corn, cream, salt, sugar, pepper and butter to a pot. Whisk together the milk and the flour. Add to the corn mixture and cook over medium heat, stirring often, until the mixture is thick. 8-12 minutes. Remove from heat and stir in the cheese.
IMG_8837.JPG
IMG_8835.JPG
IMG_8834.JPG
IMG_8836.JPG
October 04, 2017 /Mandi McQuivey
Comment

chicken purse

June 06, 2017 by Mandi McQuivey
CHICKEN PURSE
INGREDIENTS:
4 oz. cream cheese, softened
1 rotisserie chicken
1 tsp herbes de provence
1 tablespoon very finely chopped onion
salt and pepper to taste
2 cans pillsbury crescent rolls-very cold
DIRECTIONS:
Preheat oven to 375 degrees.
Combine all ingredients except for the rolls. Mix well. Open the rolls, don't pull apart. Keep every two triangles together. Make eight rectangles. Pinch the seams closed.
Divide the chicken and cream cheese mixture into eight parts. Put the mixture into the center of each rectangle. Fold the corners up and pinch together like a purse. Sprinkle with a little more herbes de provence on top.
Place on a lightly greased cookie sheet (I put tin foil on a cookie sheet and spray with pam for easy cleanup). Bake for 15-20 minutes or until golden brown.
June 06, 2017 /Mandi McQuivey
Comment

tres leches cake

May 05, 2017 by Mandi McQuivey
IMG_5312.JPG
IMG_5313.JPG
TRES LECHES CAKE
INGREDIENTS:
Cake:
1 1/2 CUPS CAKE FLOUR
1 TSP BAKING POWDER
1/2 TSP SALT
1/2 CUP BUTTER, ROOM TEMPERATURE
1 CUP SUGAR
5 EGGS, ROOM TEMPERATURE
2 TSP PURE VANILLA EXTRACT
2 TSP VANILLA BEAN PASTE
Milk Glaze:
12 OZ. CAN EVAPORATED MILK
14 OZ. SWEETENED CONDENSED MILK'
3/4 CUP HEAVY CREAM
1 TSP VANILLA BEAN PASTE
Whipped Cream Topping:
2 CUPS HEAVY CREAM
1/2 CUP SUGAR
1 TSP PURE VANILLA EXTRACT
DIRECTIONS:
Preheat oven to 350 degrees. Grease pan. In a medium bowl whisk together the flour, baking powder and salt. Beat the butter on medium speed until fluffy, about one minute. Decrease speed to low. Gradually add the sugar. Add in the eggs one at a time. Add vanilla. Add flour in slowly. Pour in prepared pan and bake for 20-25 minutes or until golden brown on top. Poke holes in the top of the cake. Cool completely. Combine the milk and vanilla for the glaze. When cake is cooled pour over the cake and put it in the fridge to set. Combine the cream, sugar and vanilla and whip until firm. Pipe or spread on cake. Let set in the fridge for an hour.
Enjoy!
May 05, 2017 /Mandi McQuivey
Comment
DSC_0948.jpg

peach frozen yogurt

March 08, 2017 by Mandi McQuivey
DSC_0948.jpg
DSC_0928.jpg
DSC_0945.jpg
PEACH FROZEN YOGURT
INGREDIENTS:
1 16 oz Bag of Frozen Peaches
3 Tablespoons Honey
6 oz. or 1 Container Vanilla Yogurt
1 Tablespoon Fresh Lemon Juice
DIRECTIONS:
Combine all ingredients in a food processor. Pulse until smooth and creamy. About 5 minutes. Serve immediately or put in a container and freeze.
March 08, 2017 /Mandi McQuivey
Comment

cinnamon scones

February 21, 2017 by Mandi McQuivey
GLAZED CINNAMON SCONES
INGREDIENTS:
2 Cups Flour
2 tsp Baking Powder
1/2 tsp Baking Soda
1/2 tsp Salt
1 Stick Butter
1 Egg, Separated
3 T. Honey
1/3 Cup Milk or Half and Half
2 T. Brown Sugar
Cinnamon
1 Cup Powdered Sugar
3 tsp Milk
Vanilla
DIRECTIONS:
Preheat oven to 400 degrees. Combine flour, baking powder, baking soda, salt and 1/4 tsp cinnamon. Cut in butter until crumbly, using a pastry blender or two knives.
Separate the egg white and yolk. Set the egg white aside. In a separate bowl, mix egg yolk, honey, vanilla, and milk. Add to the dry ingredients and stir until just combined.
Form the dough into a ball on a sheet pan covered with a silpat mat. Roll out into a circle about 8 inches in diameter and a half inch thick. Cut into eight equal pieces. Try to handle to dough as little as possible.
Whisk the egg white until frothy. Brush over the top of the dough. Sprinkle about 2 tablespoons of brown sugar and some cinnamon over the scones.
Bake at 400 degrees for 10 to 12 minutes. I baked my scone for 9 minutes, but everything cooks faster in Vegas!
Mix together powdered sugar, milk, vanilla and cinnamon (to taste) until a glaze forms. Drizzle over scones after they bake.
fullsizeoutput_d2.jpeg
DSC_0157.JPG
fullsizeoutput_d3.jpeg
fullsizeoutput_d1.jpeg
DSC_0163.JPG
February 21, 2017 /Mandi McQuivey
Comment
DSC_0963.JPG

raddish kids cooking club

February 11, 2017 by Mandi McQuivey

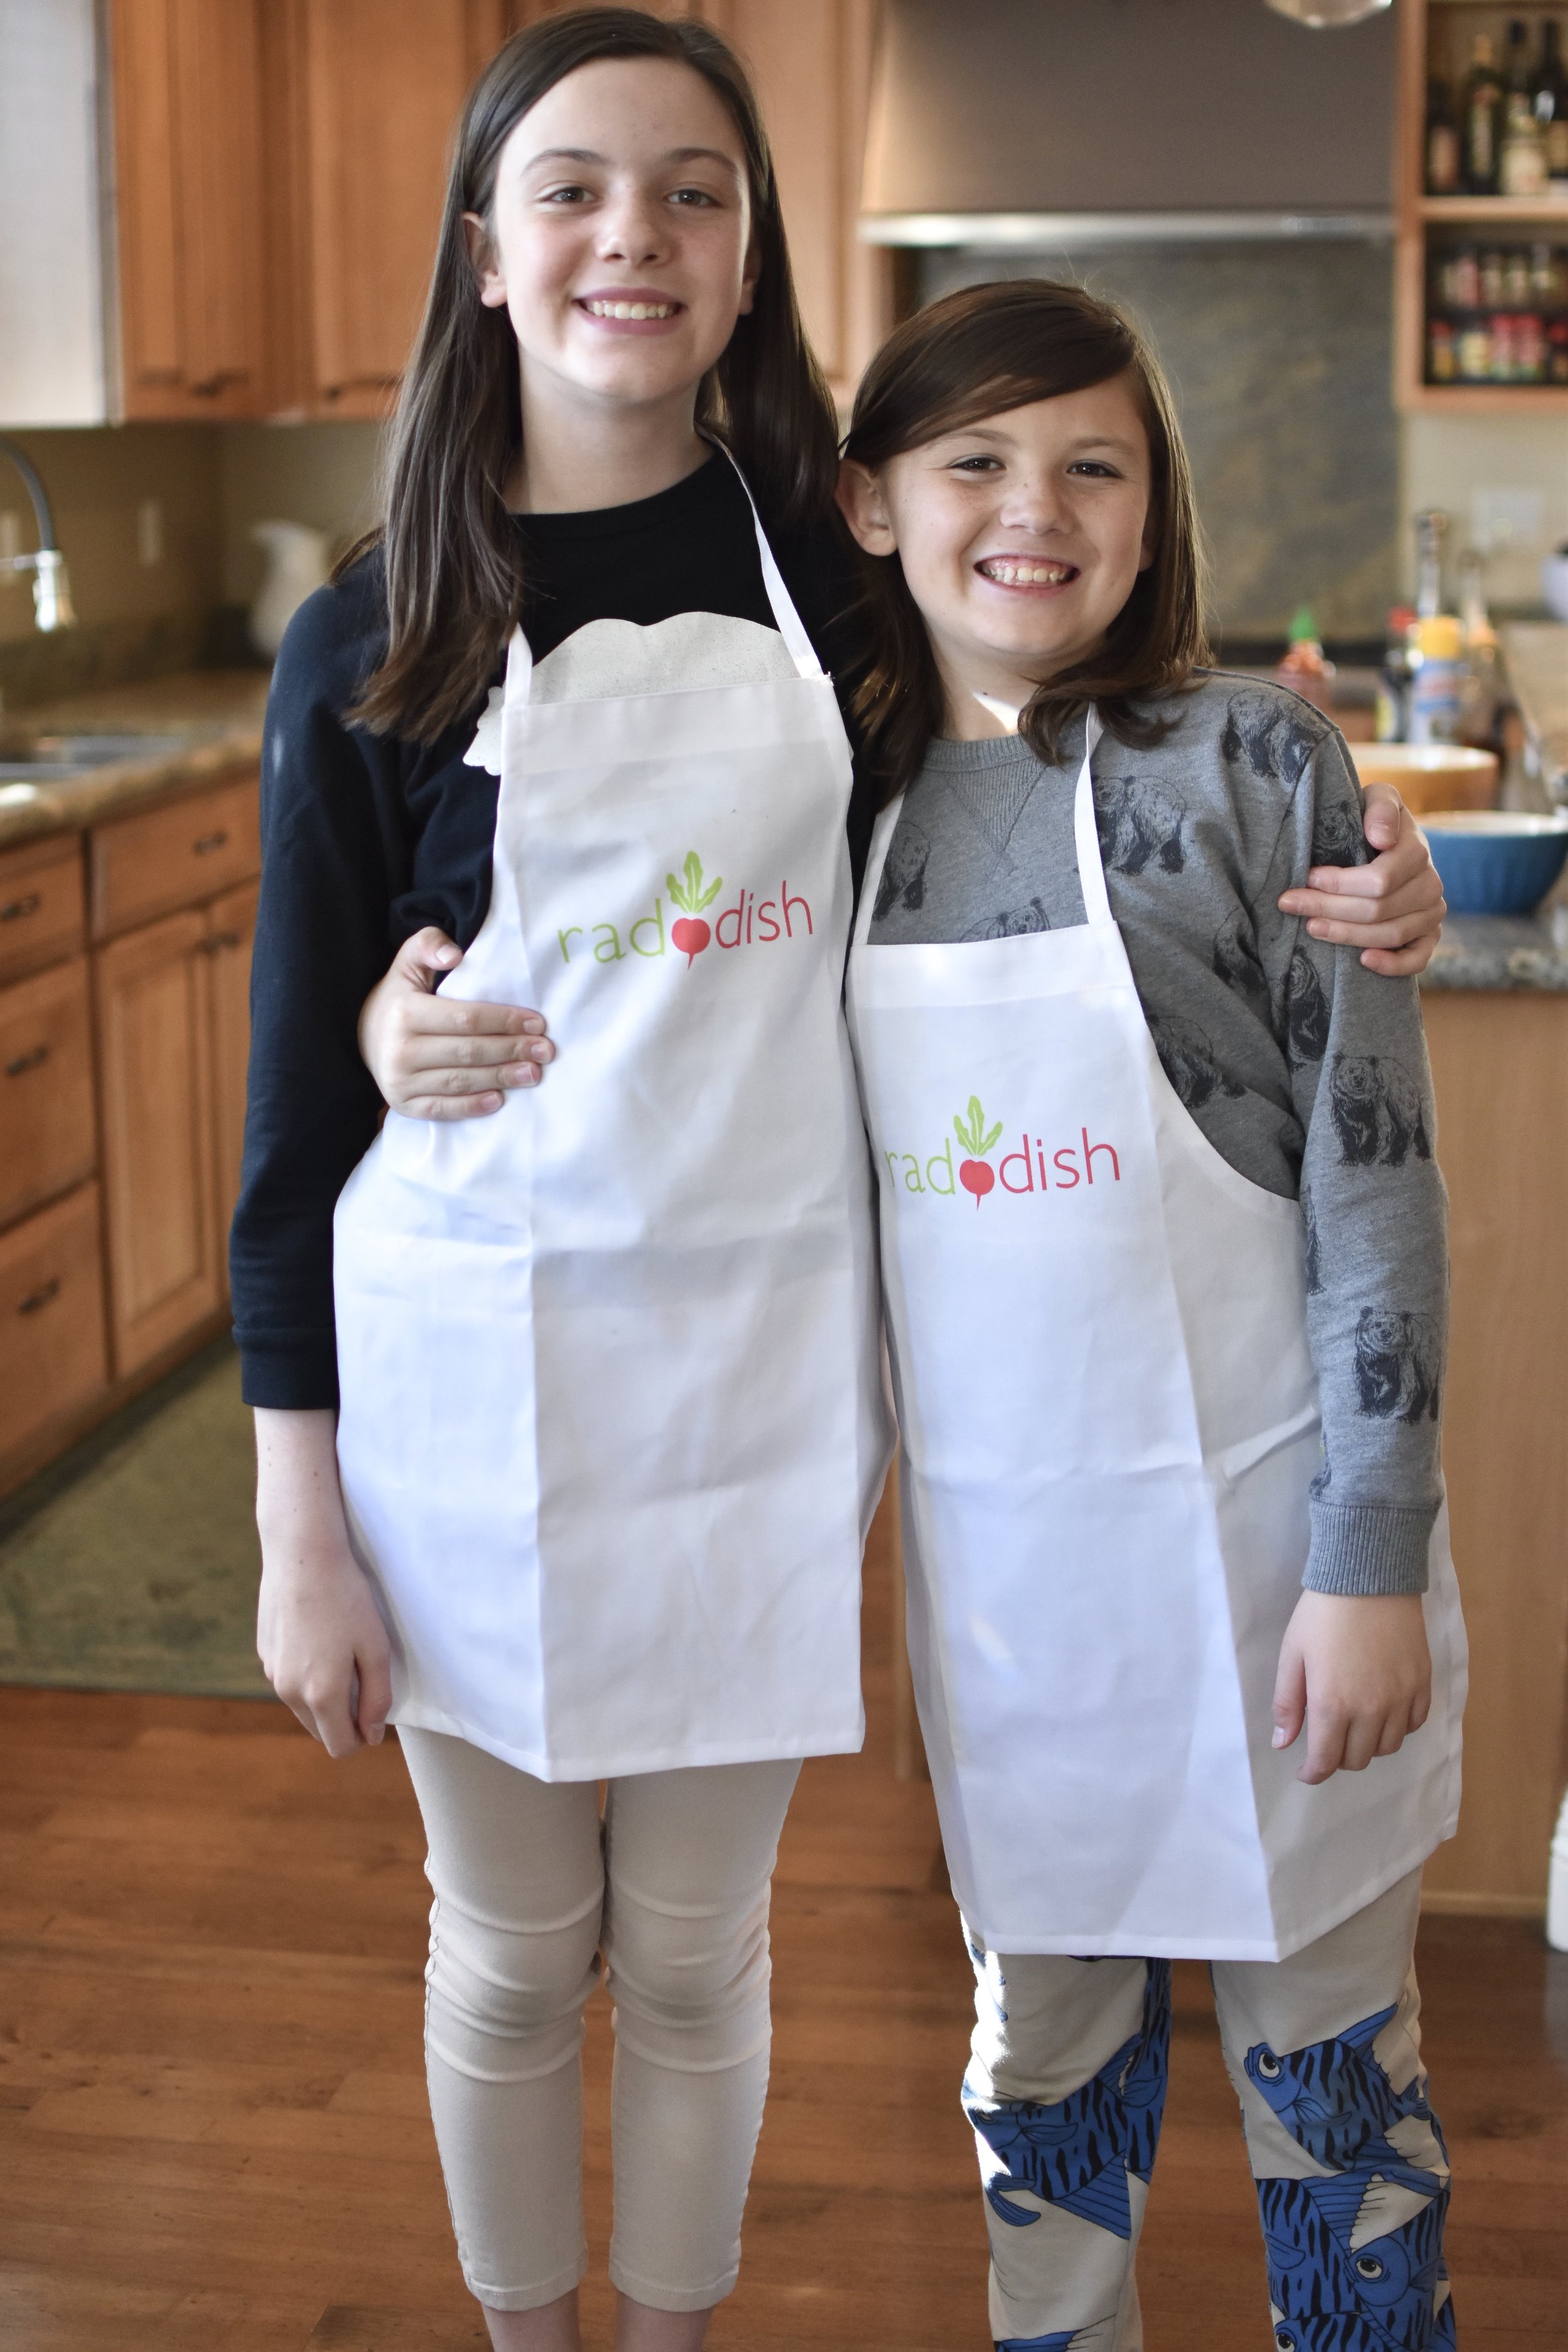
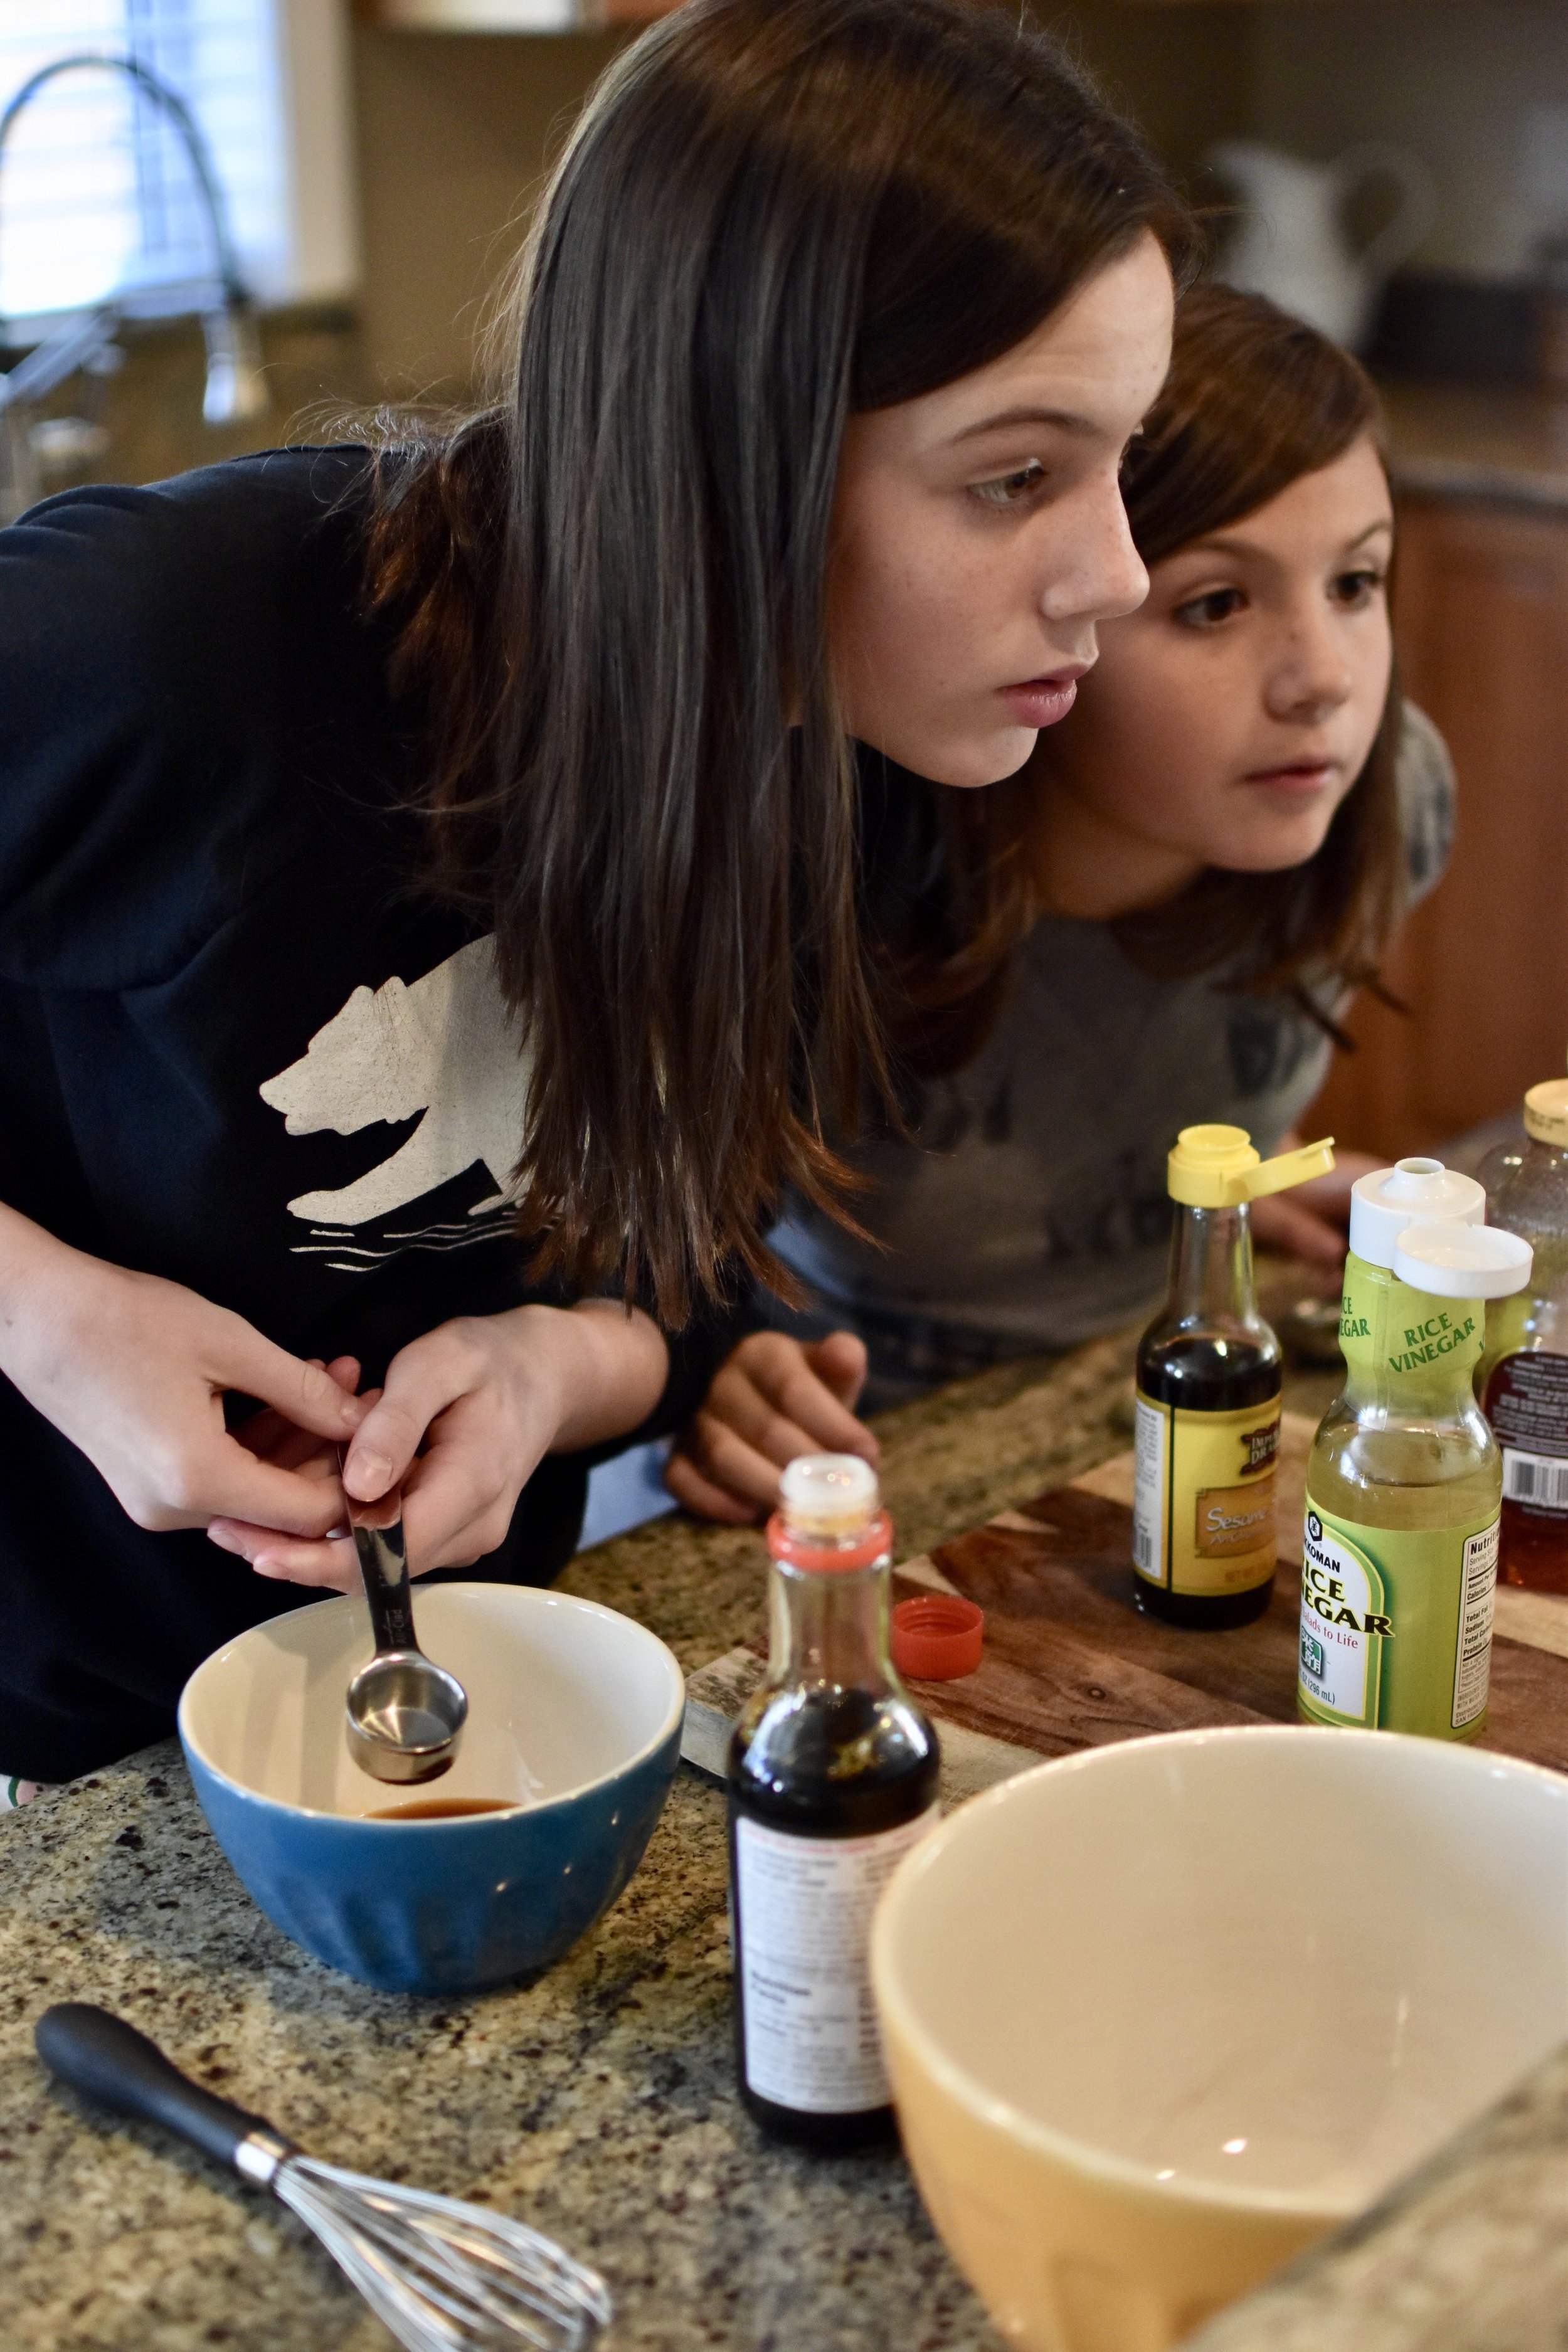
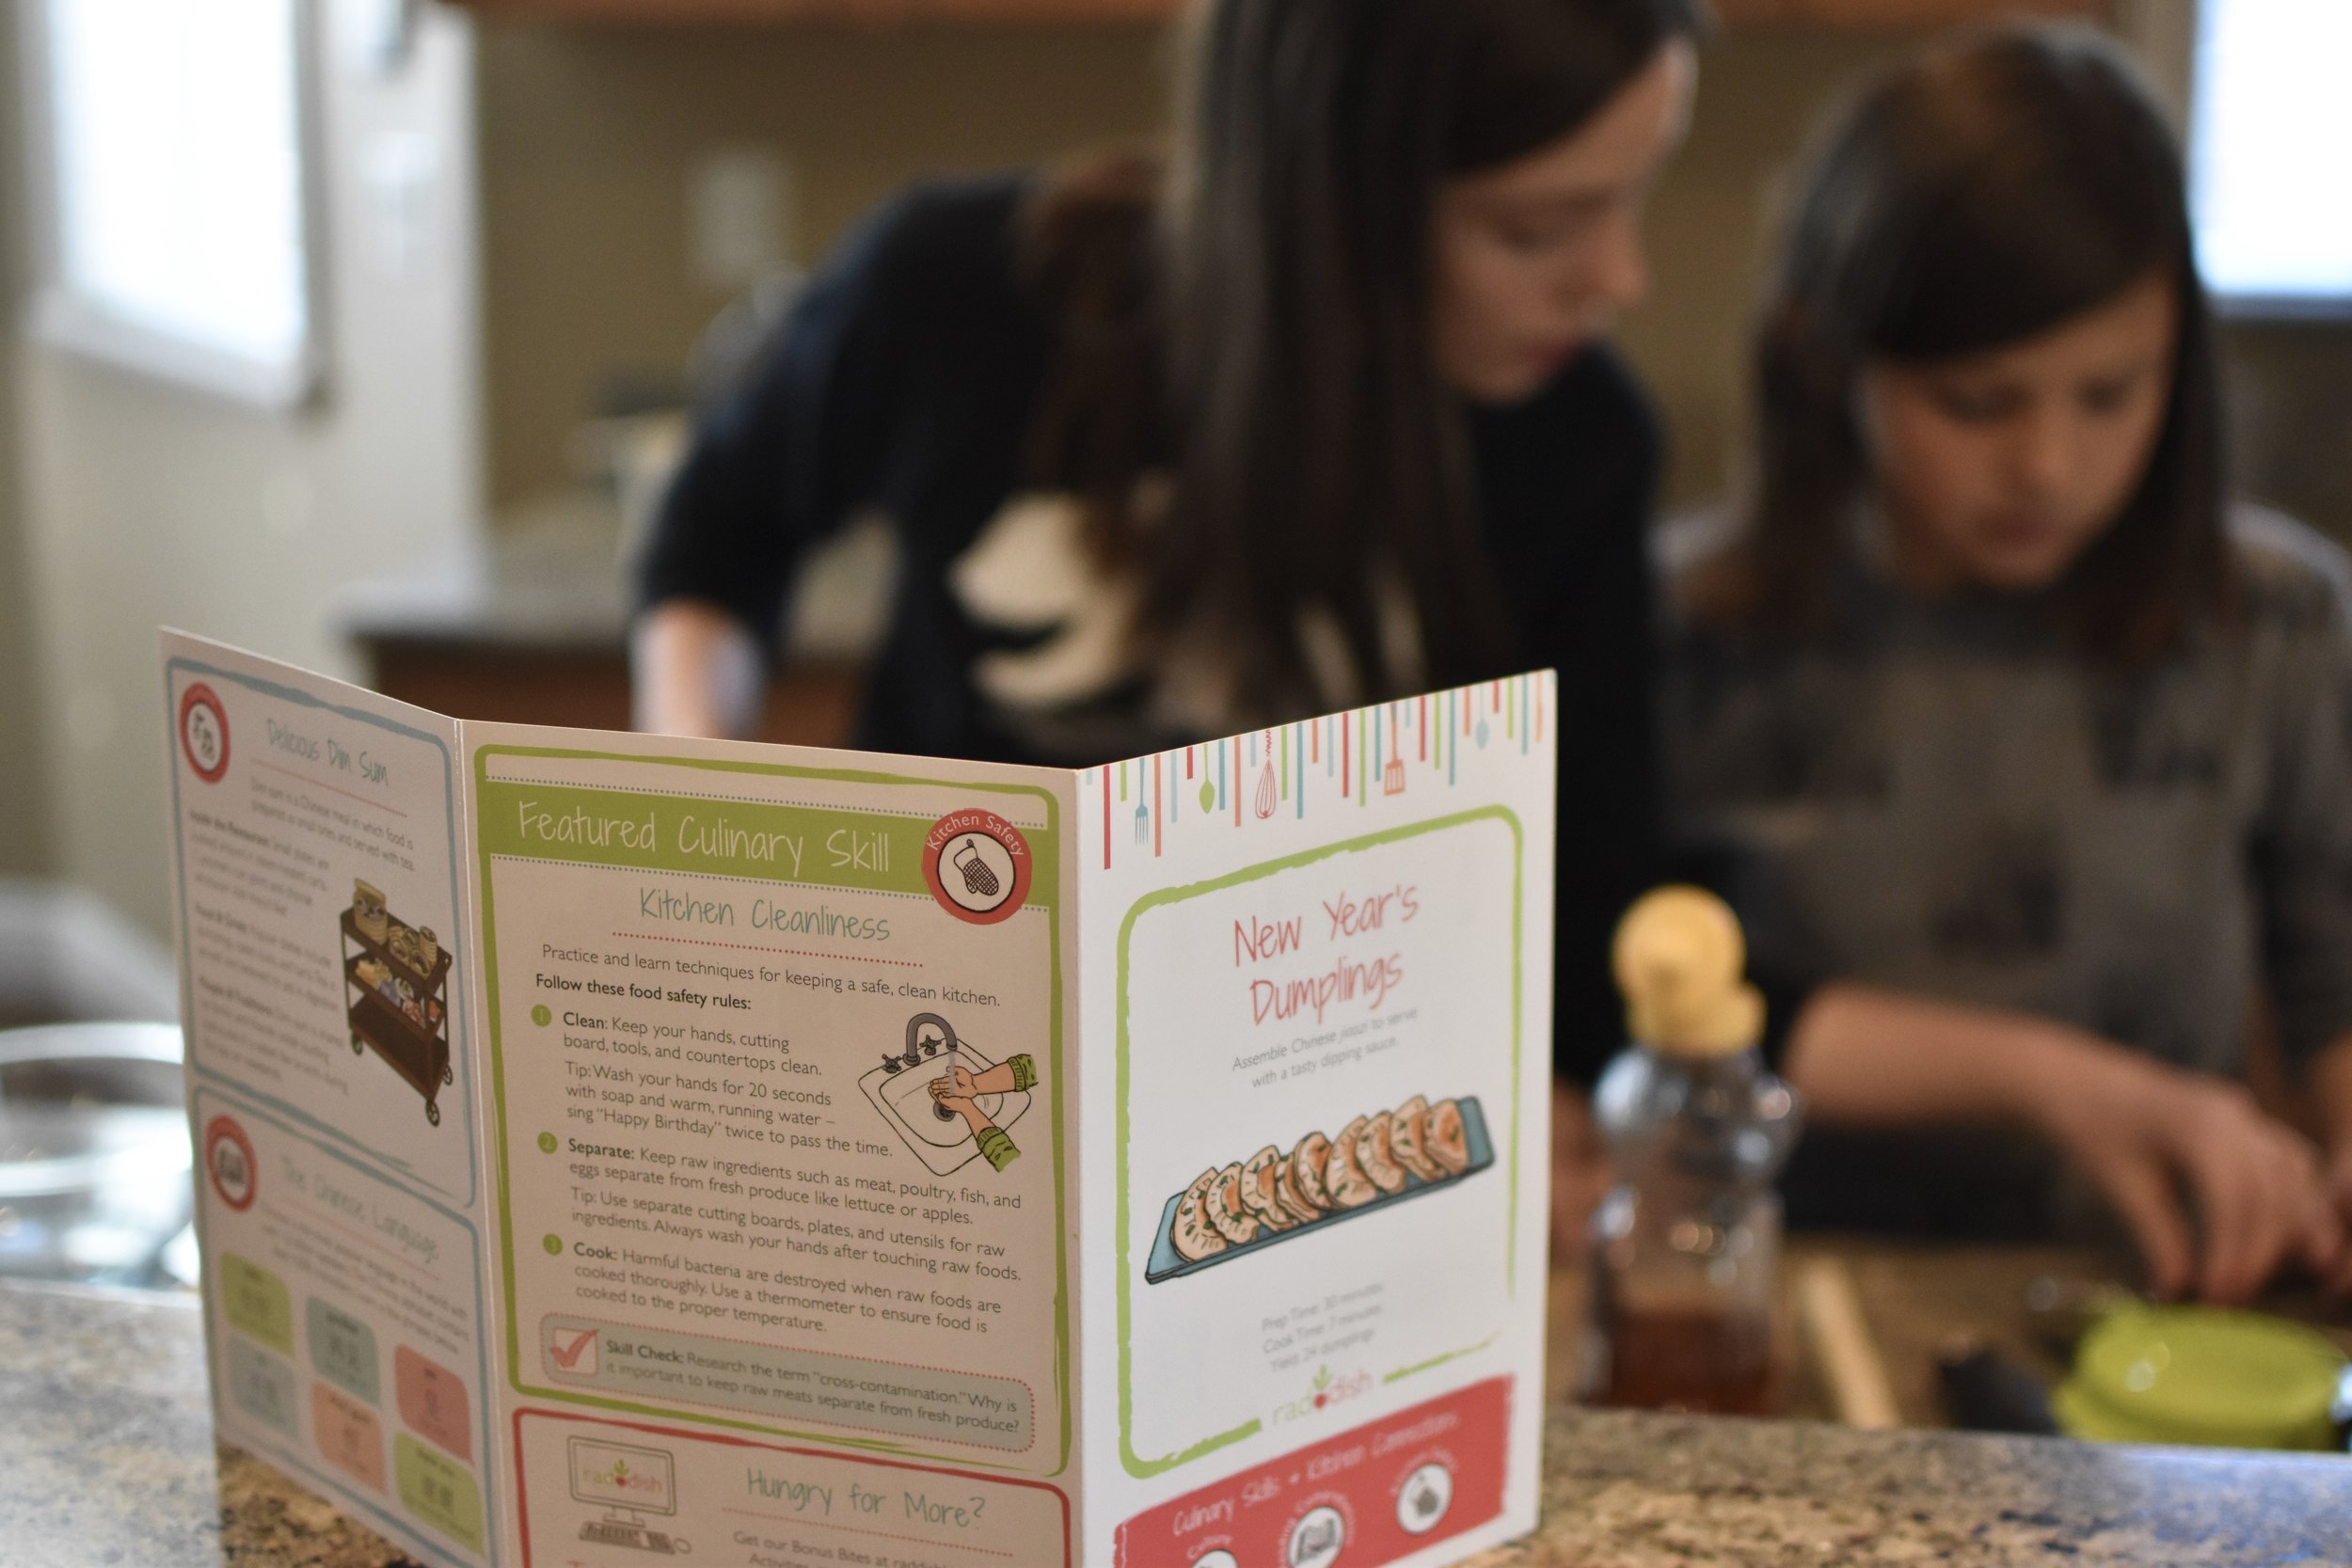
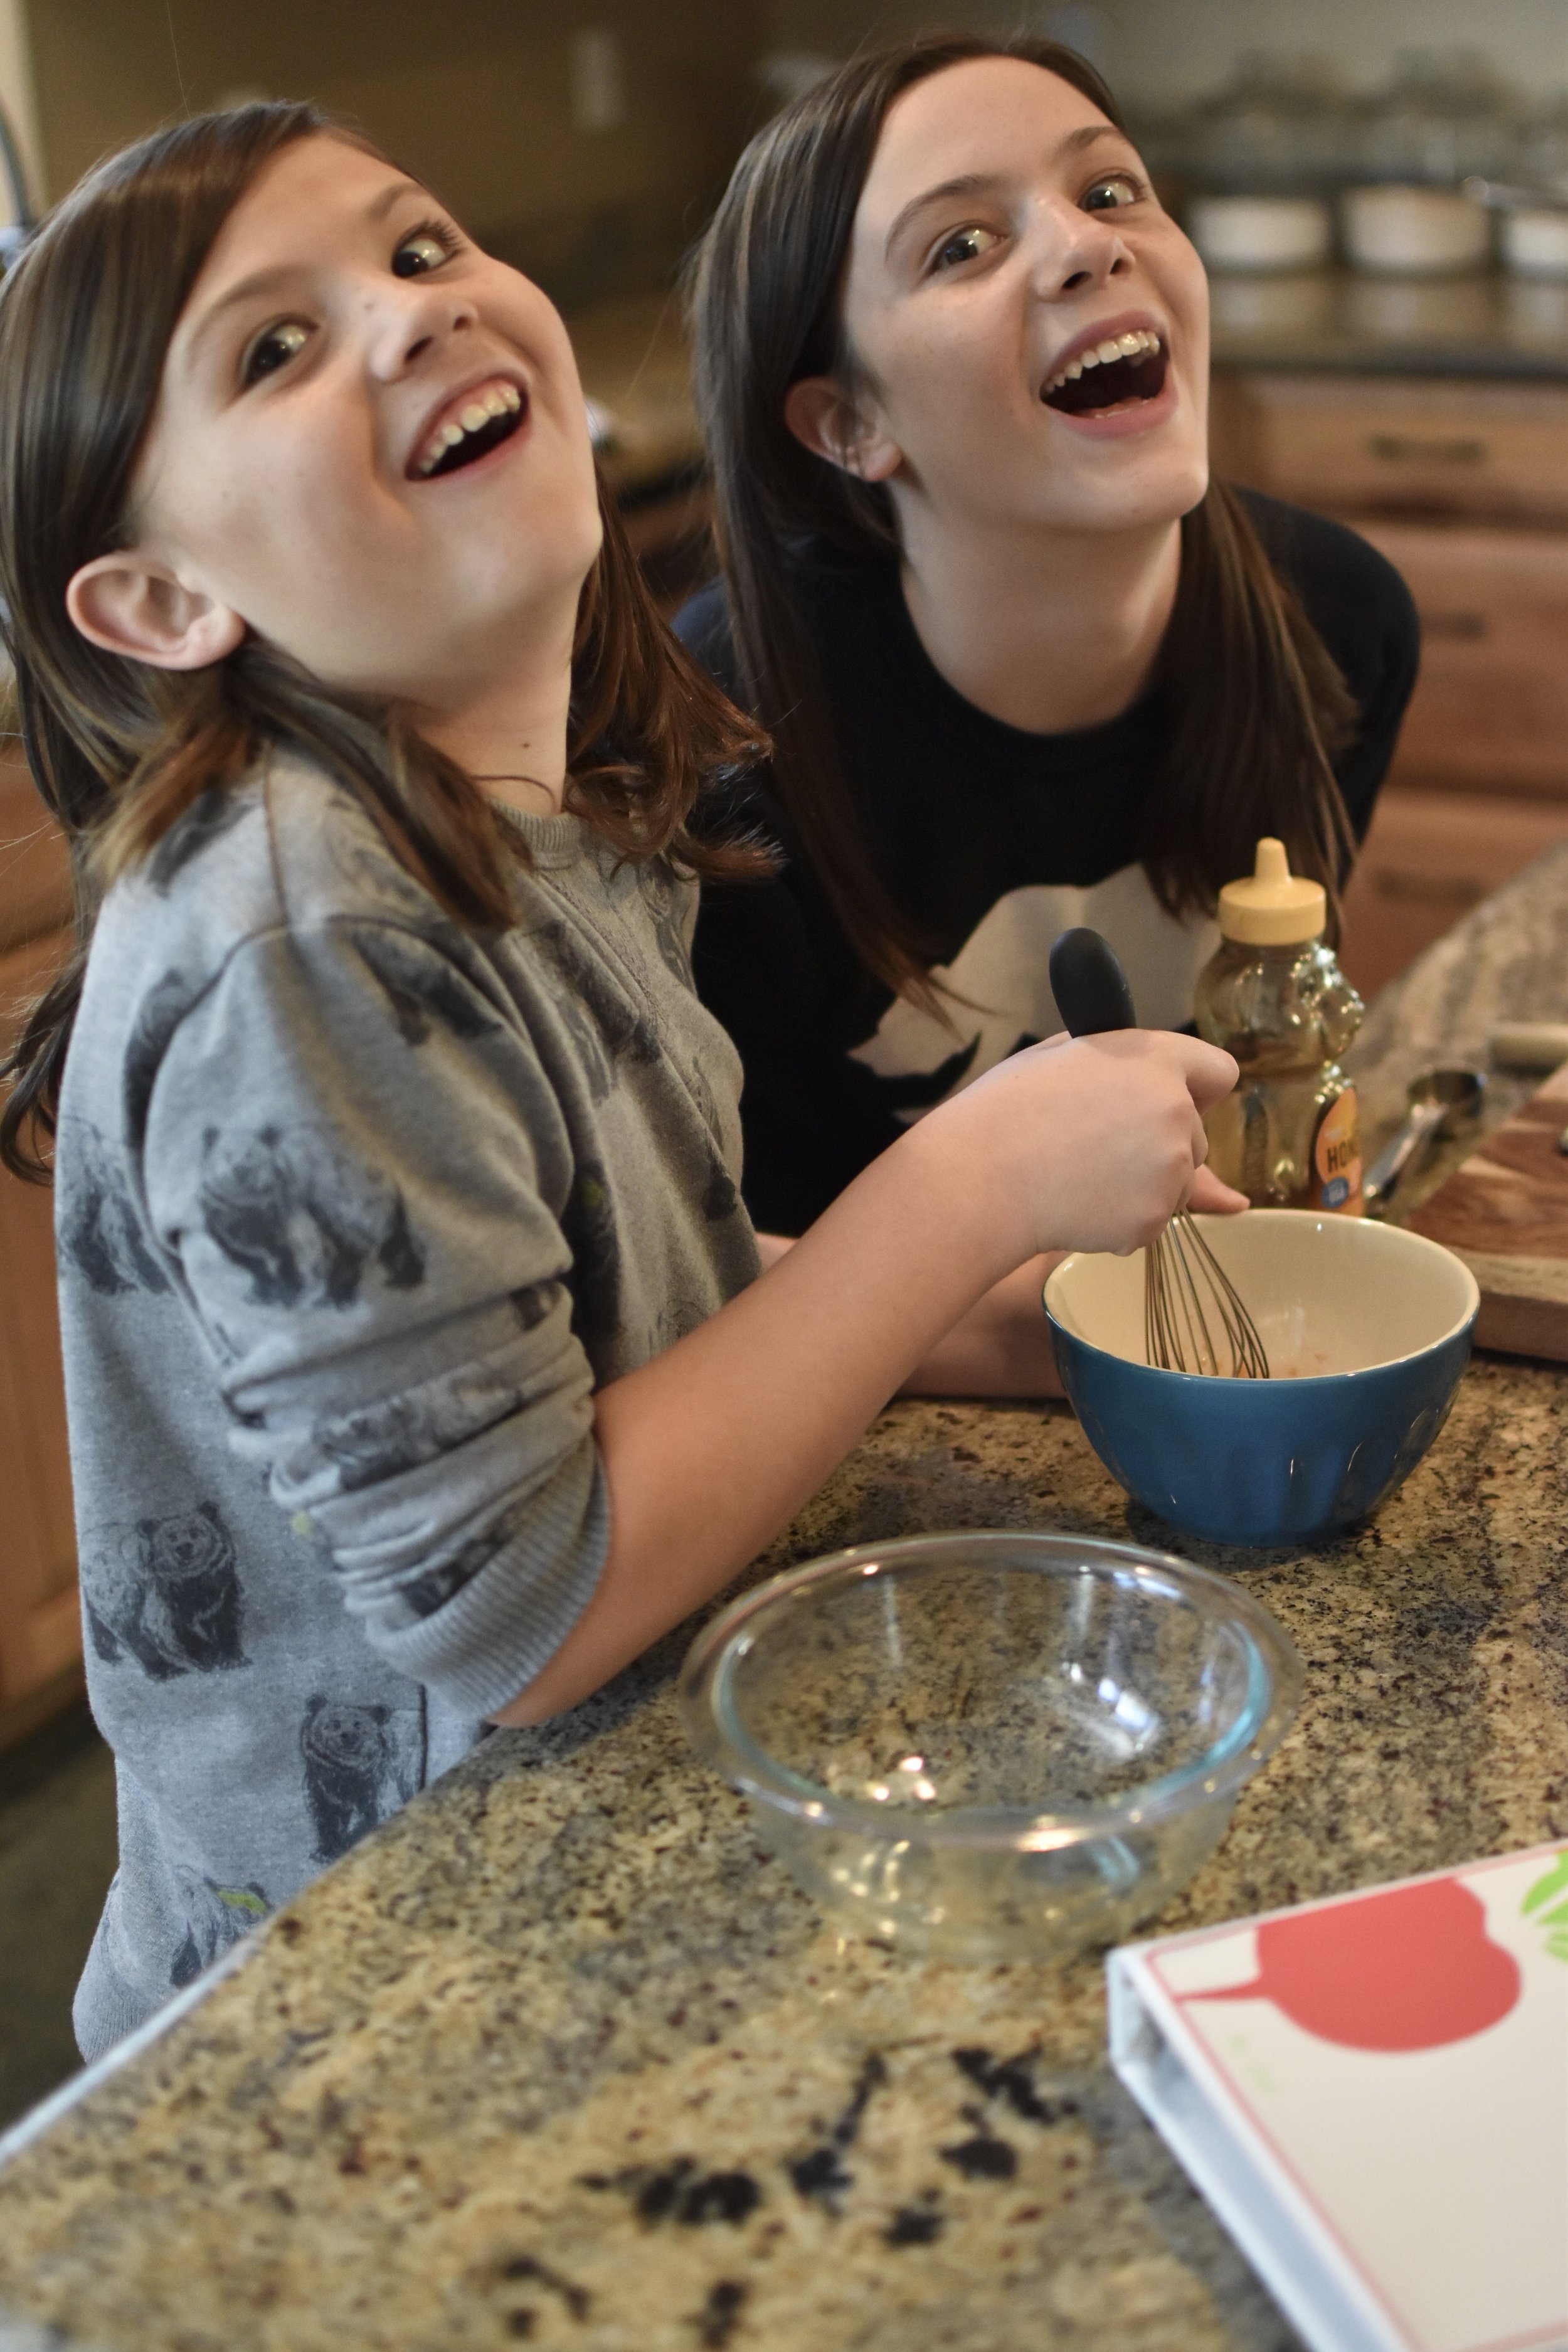
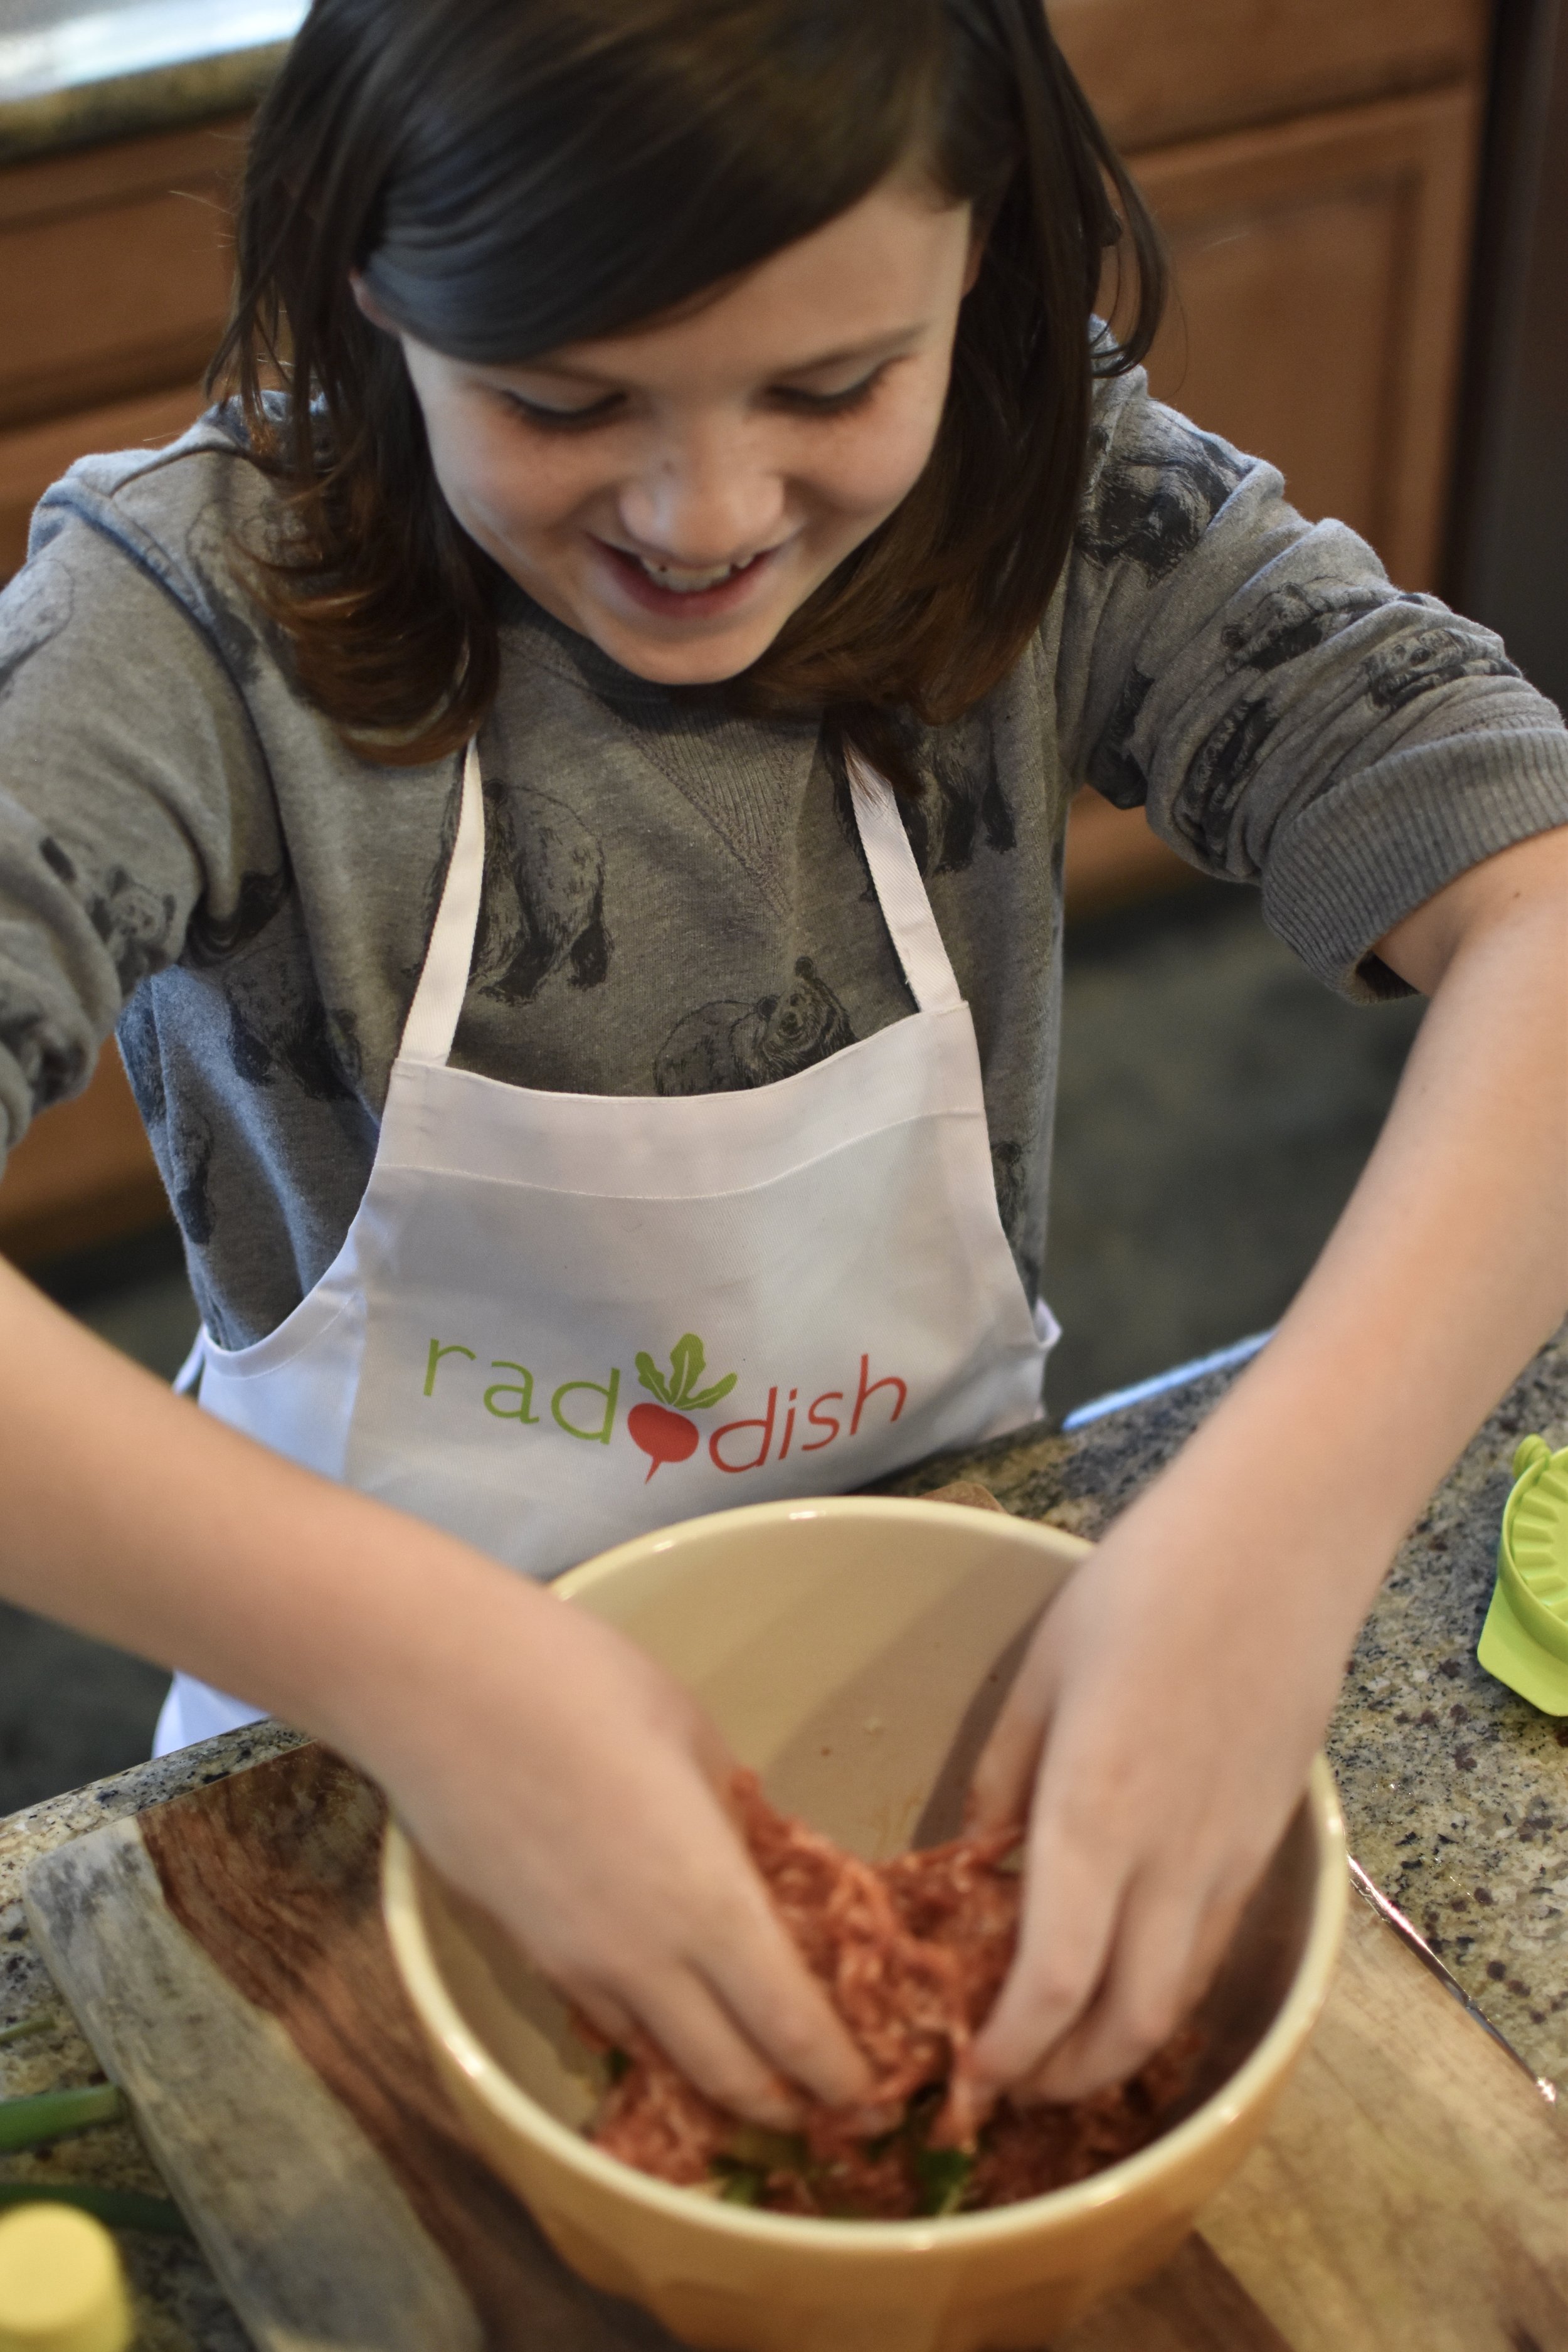
I signed J and K up for a monthly cooking club, to say they love it is the understatement of the year. This program is AMAZING! I am very impressed with how easy the instructions are to follow. They teach you the right culinary techniques, food safety and much more. Each month you will receive new recipes and tools. Cooking is such an important skill to have. It inspires confidence, independence and an appreciation of food. If you have picky eaters, this would be so great for them. They will be so excited to eat what they have cooked themselves! I don't have this problem with my kids, but I know so many kids that do. My favorite part was taking a night off of cooking and cleaning up!

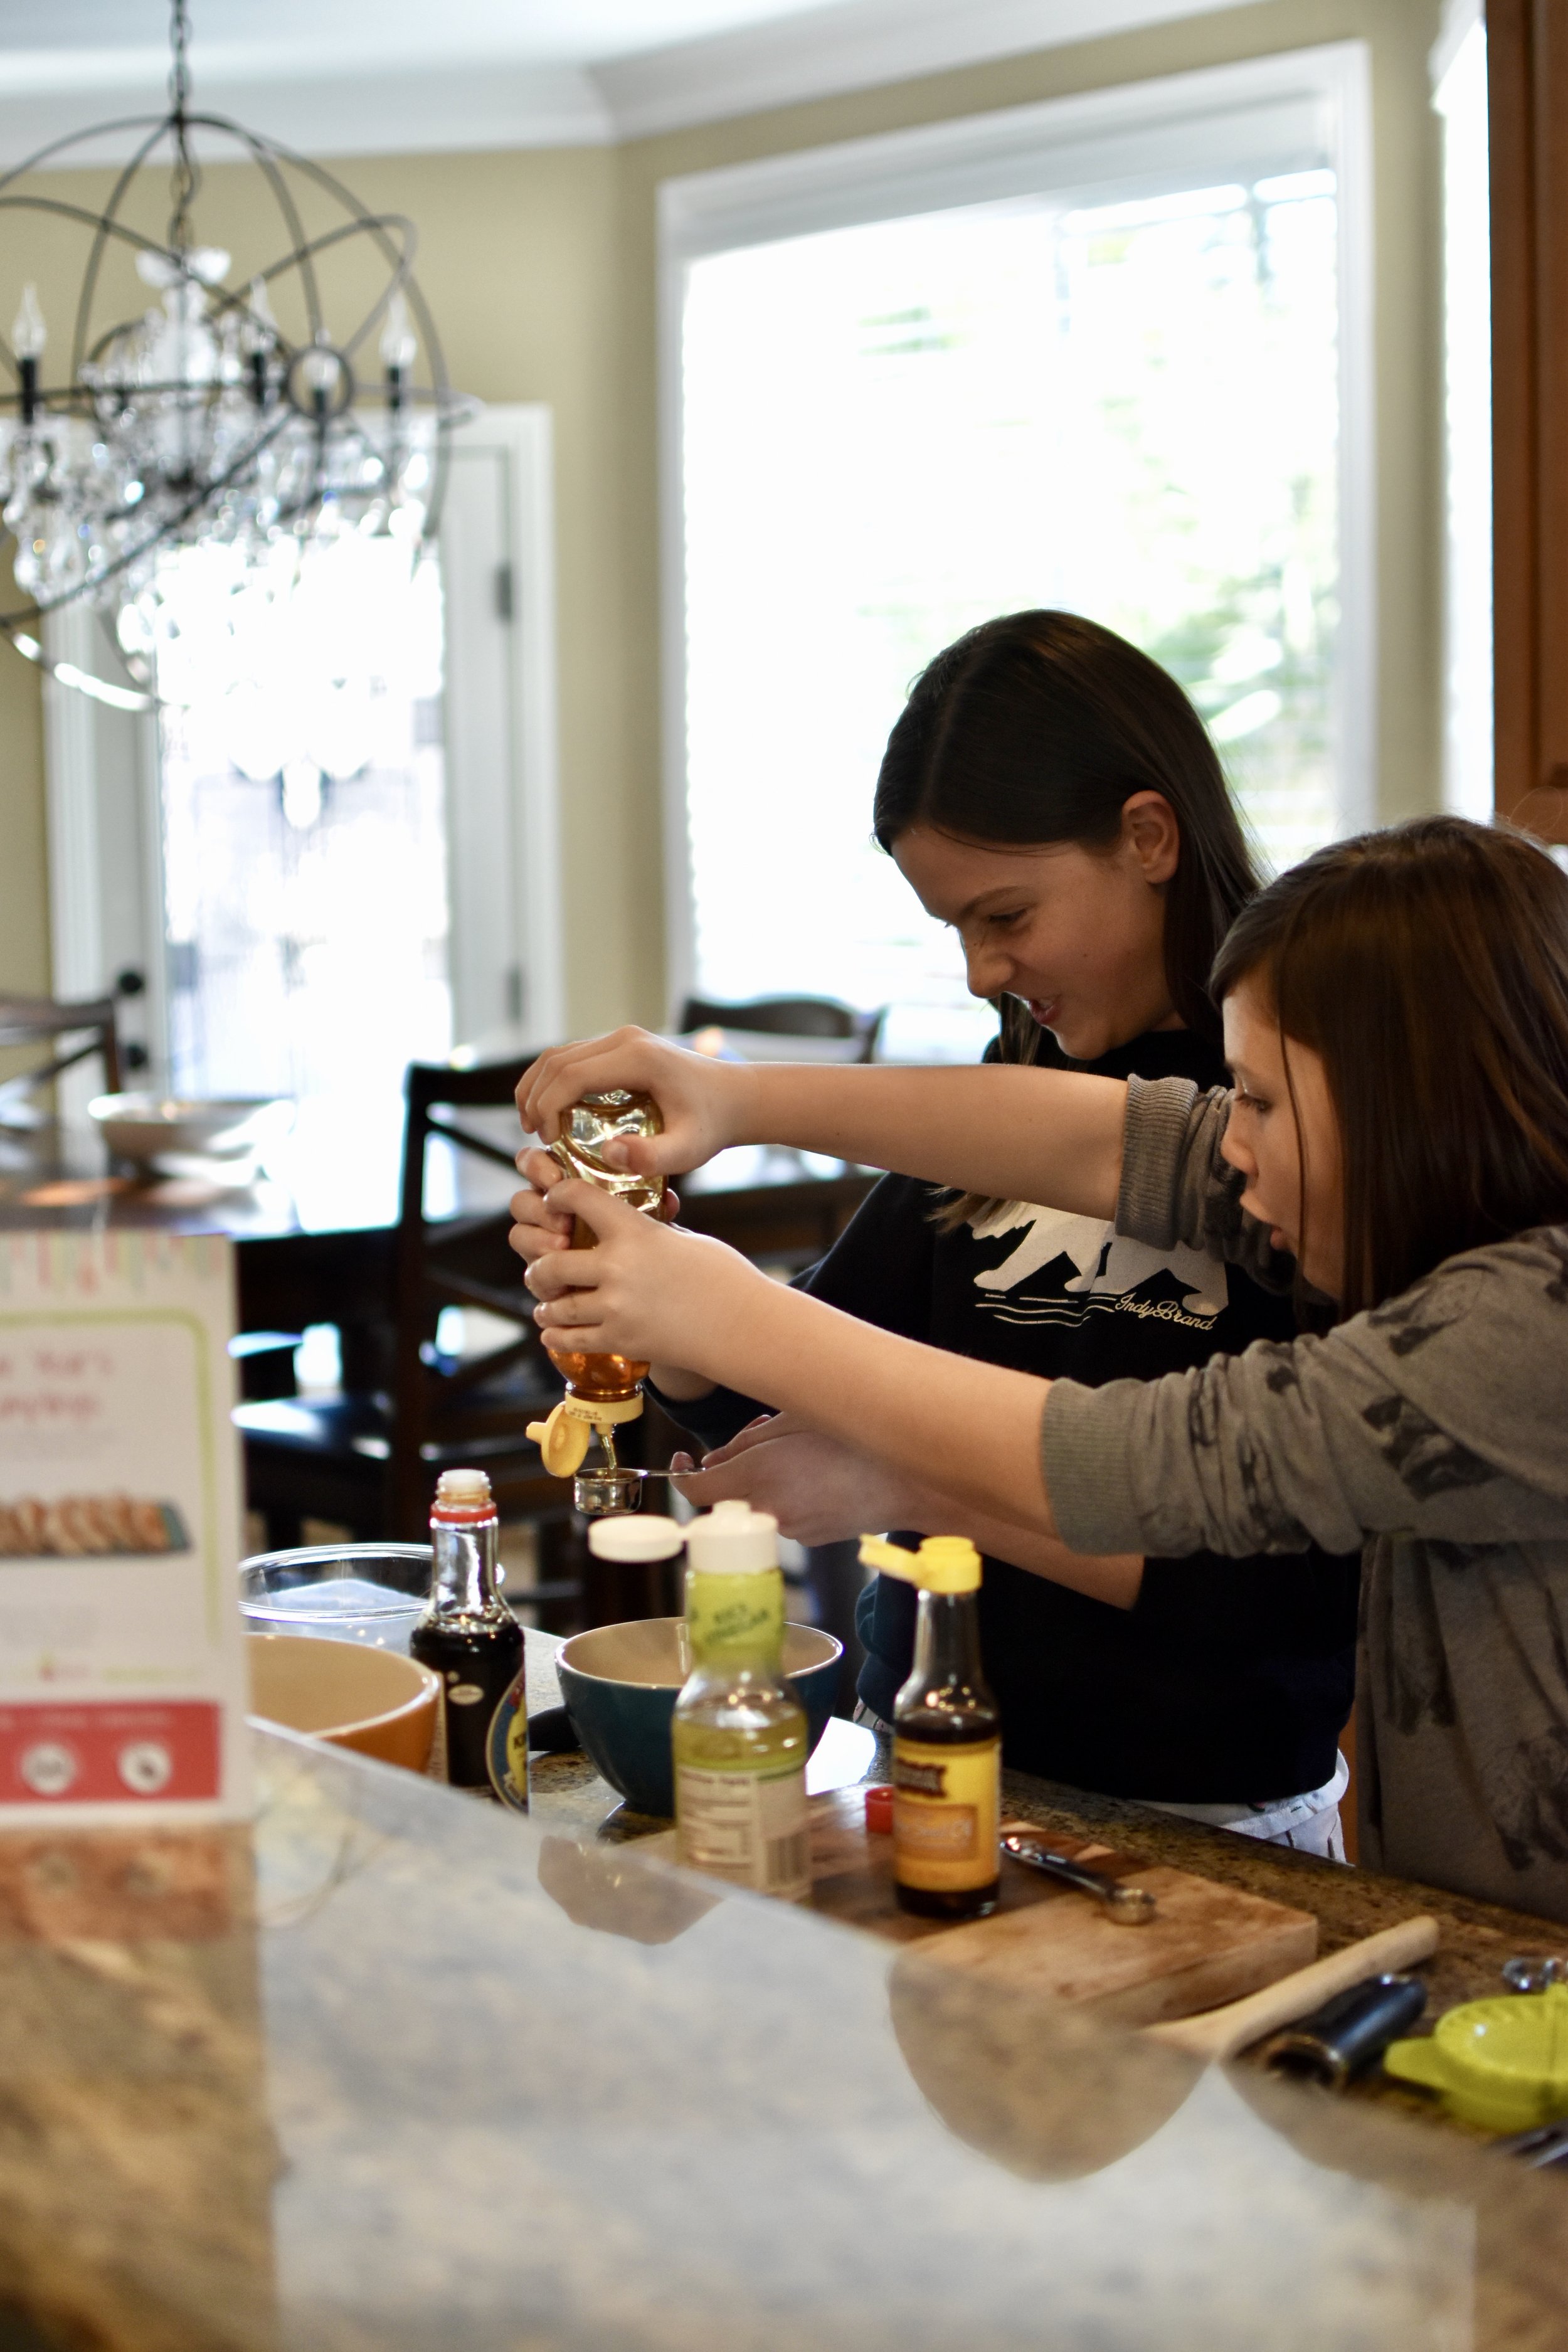
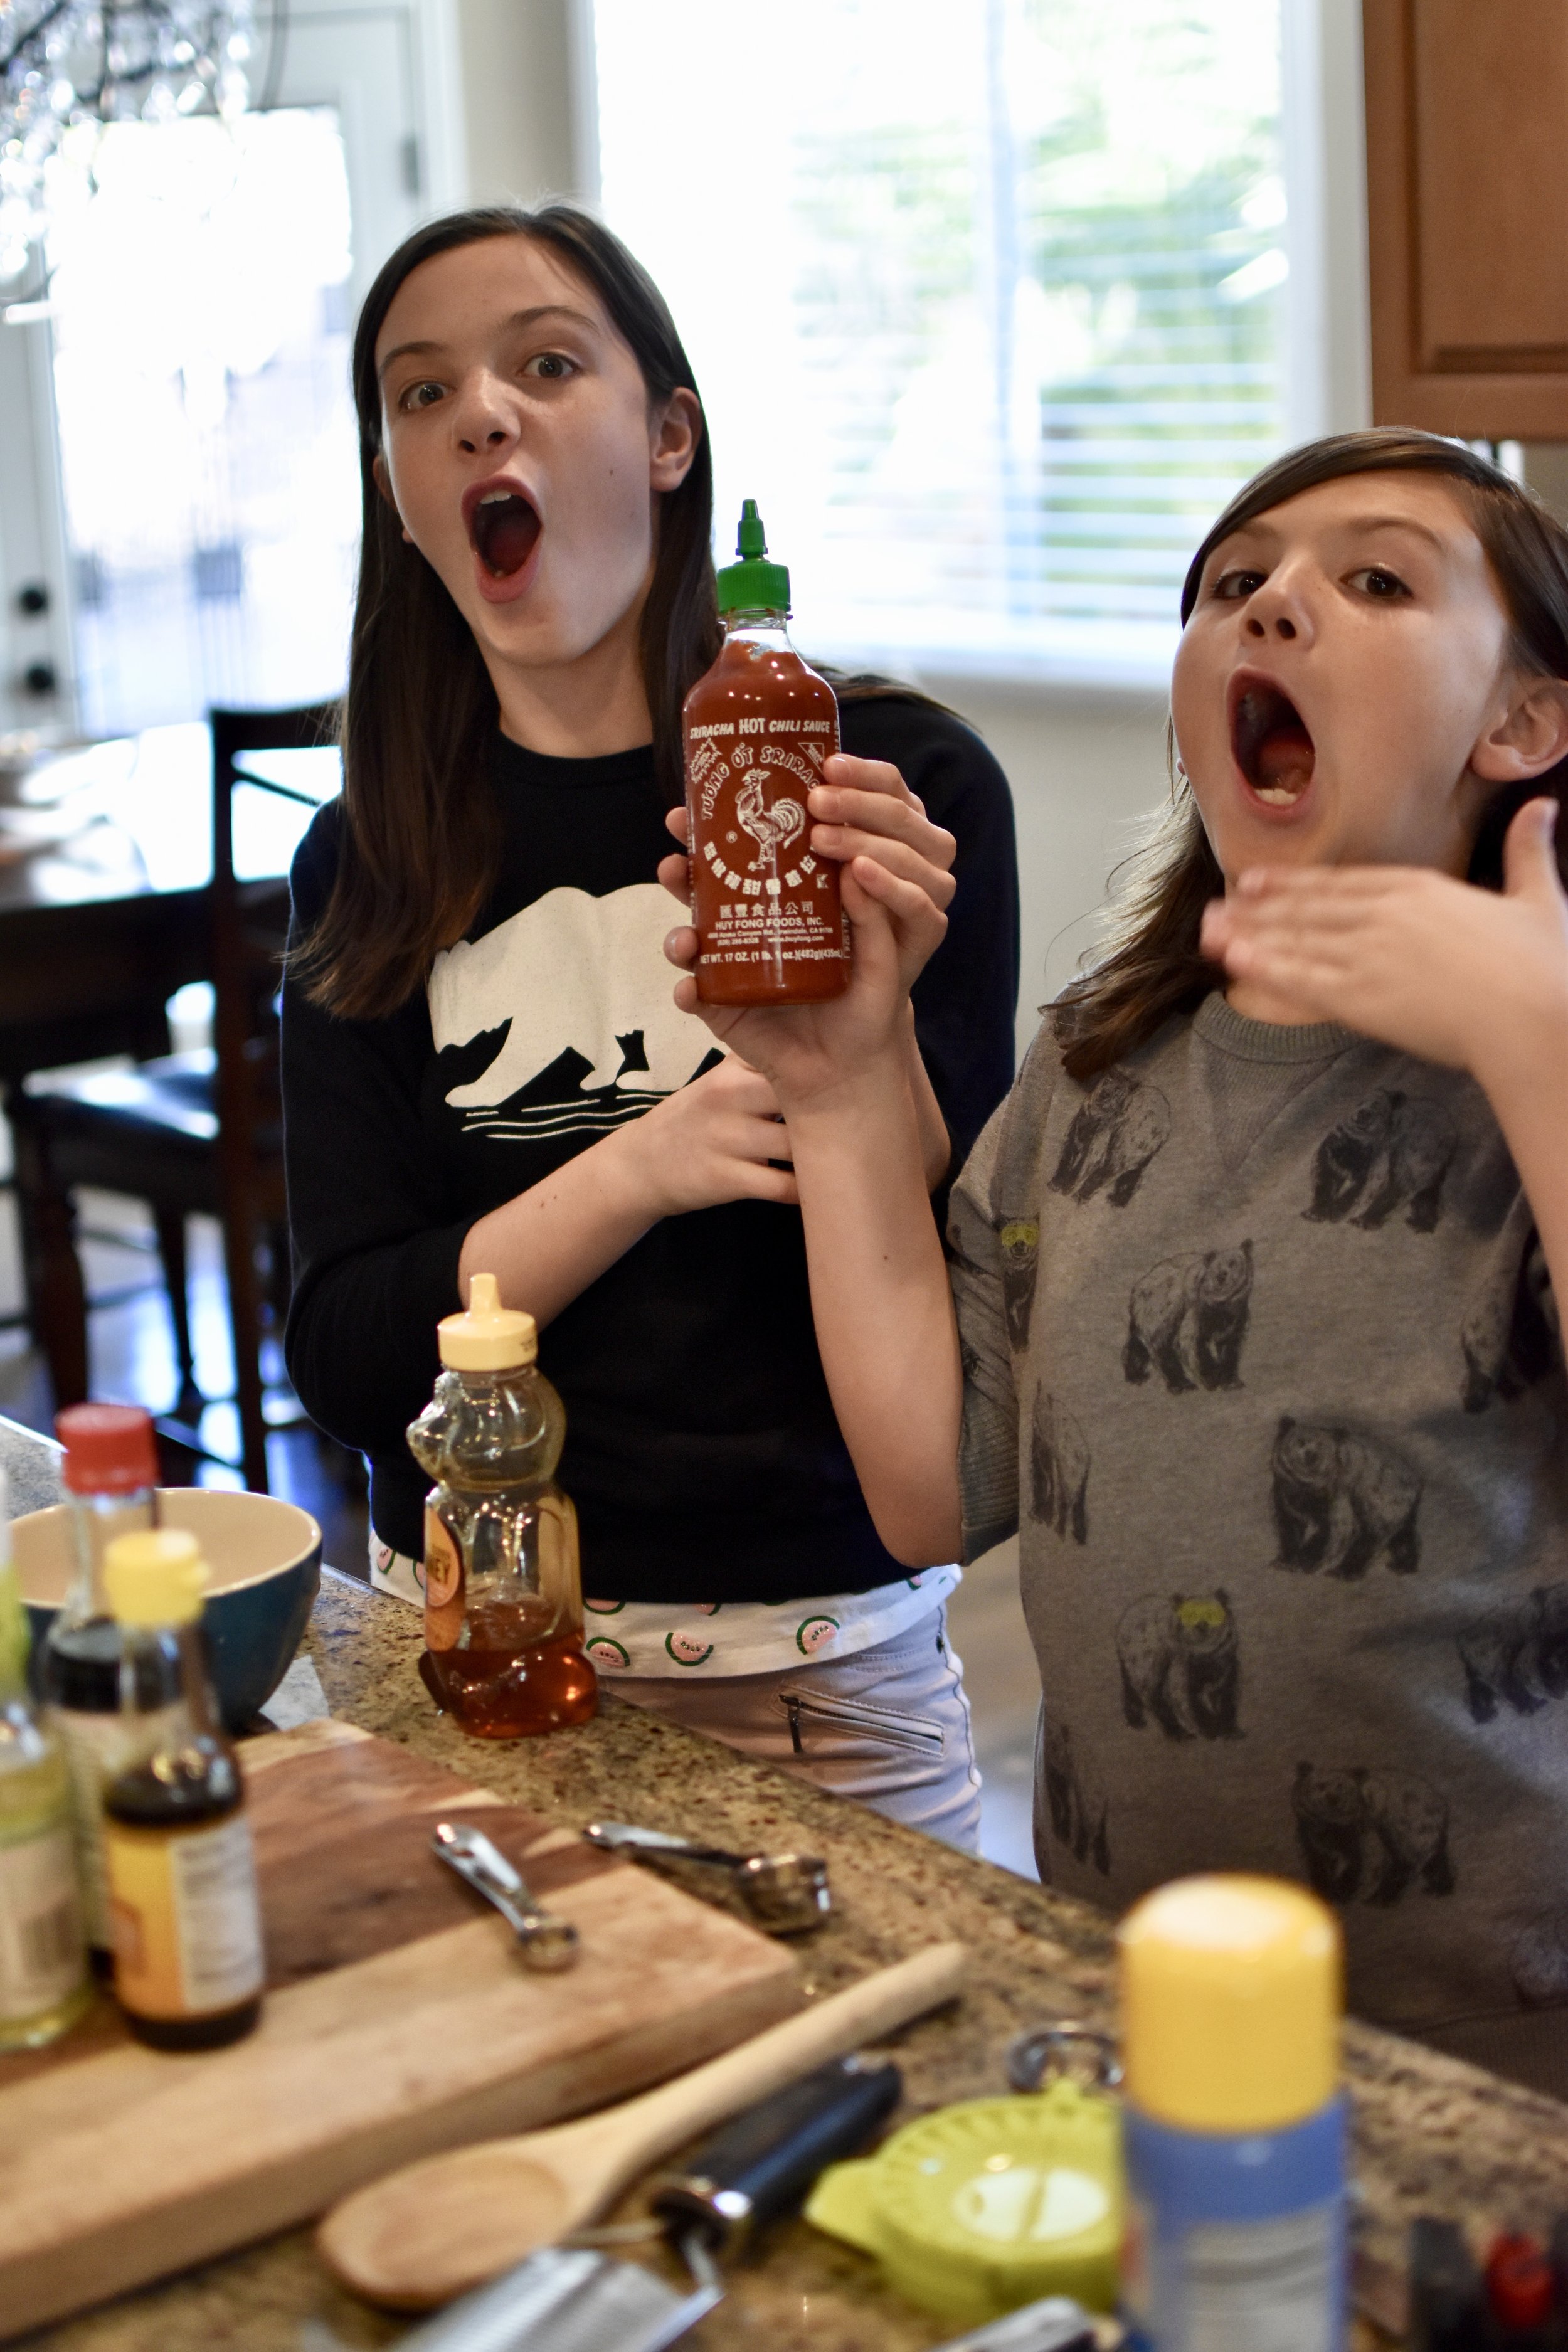
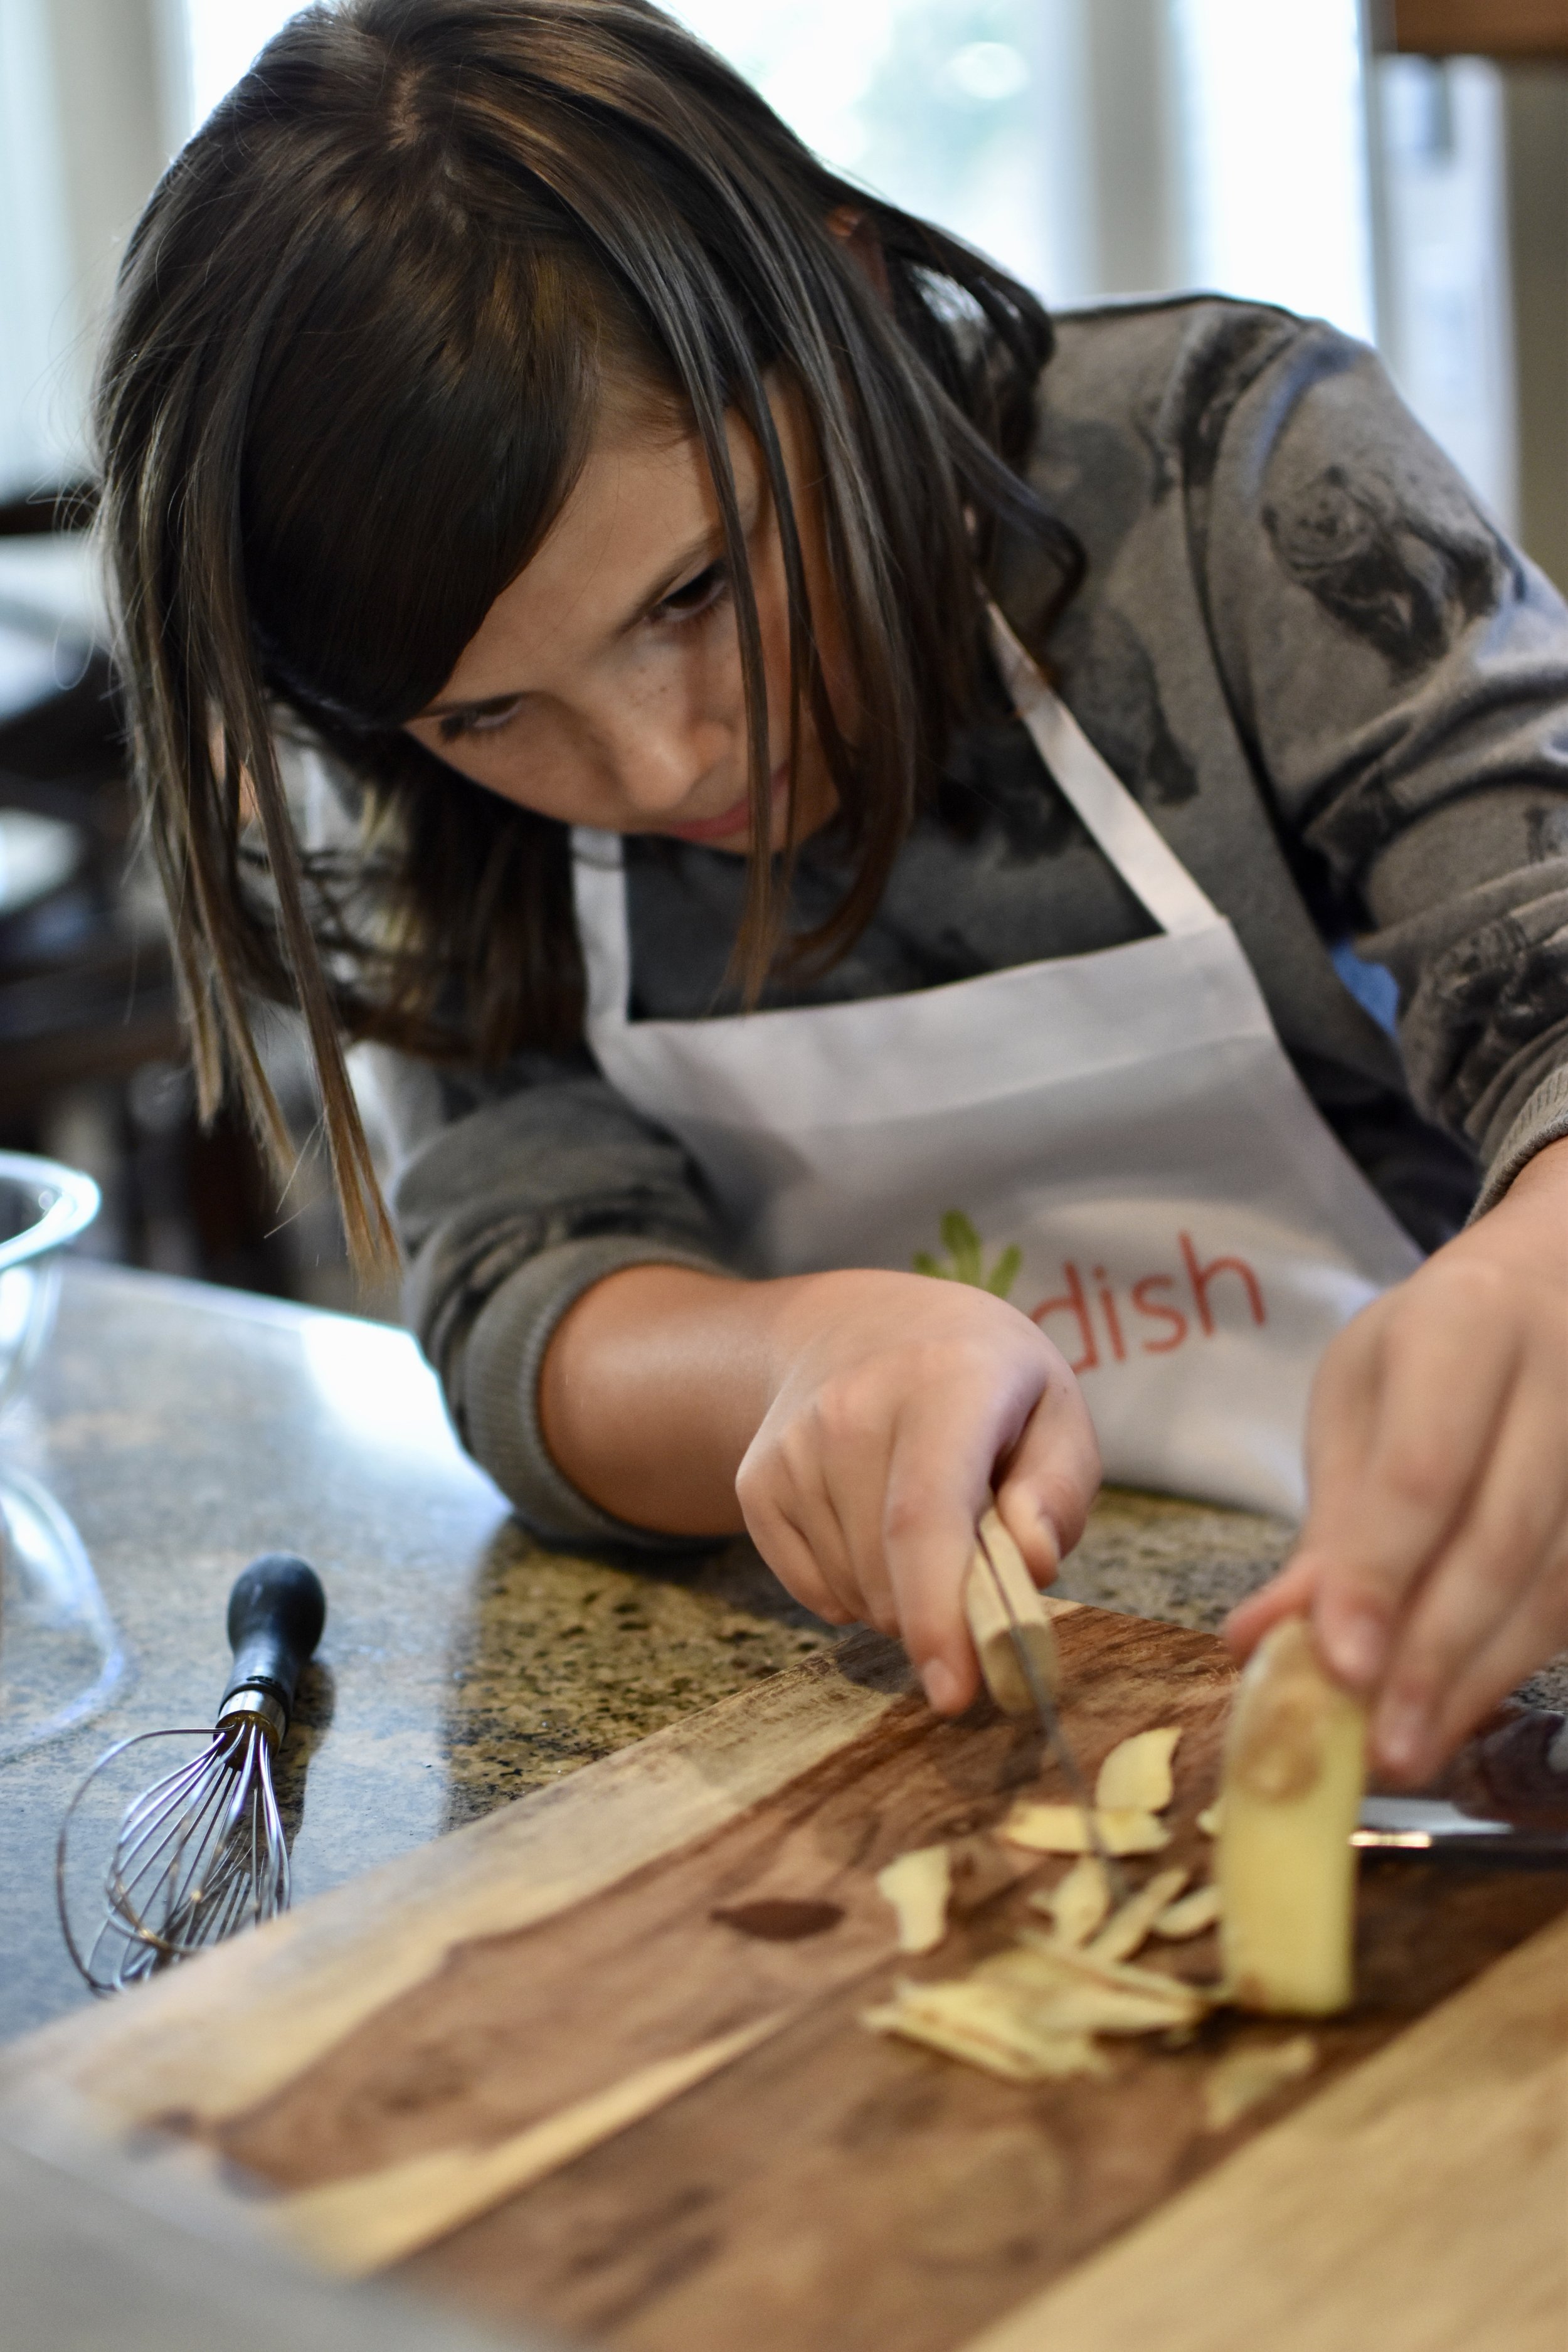
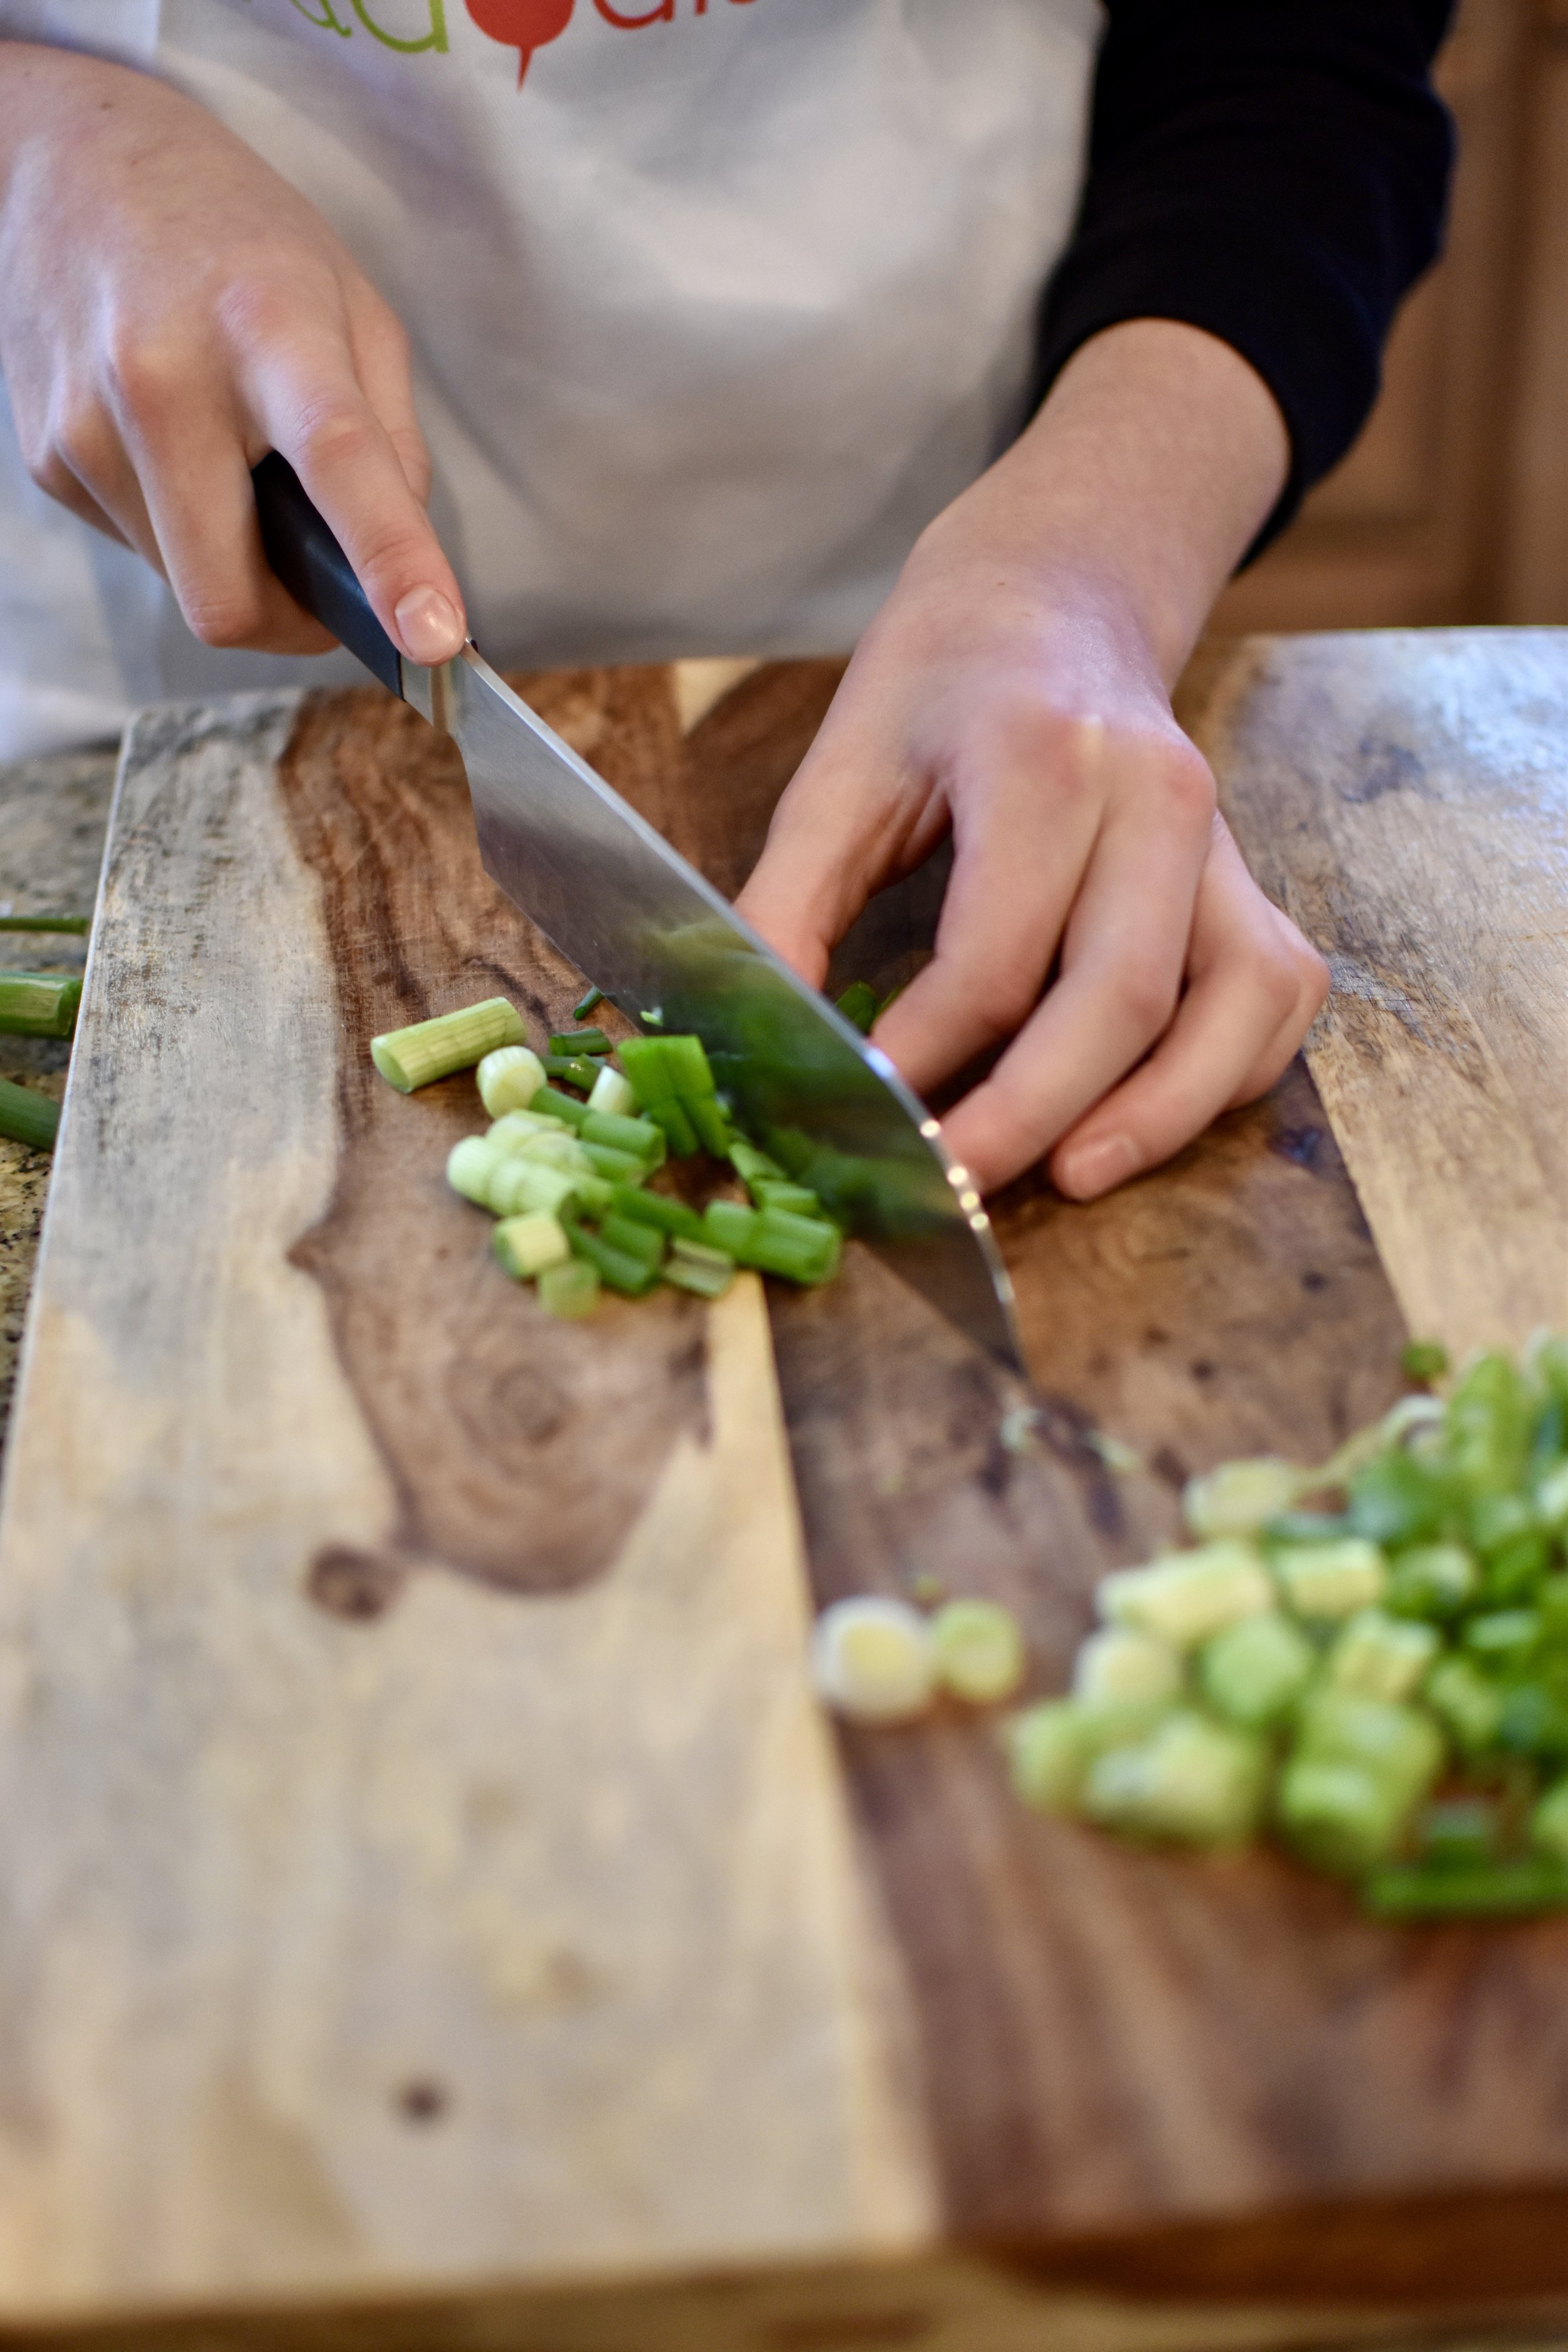
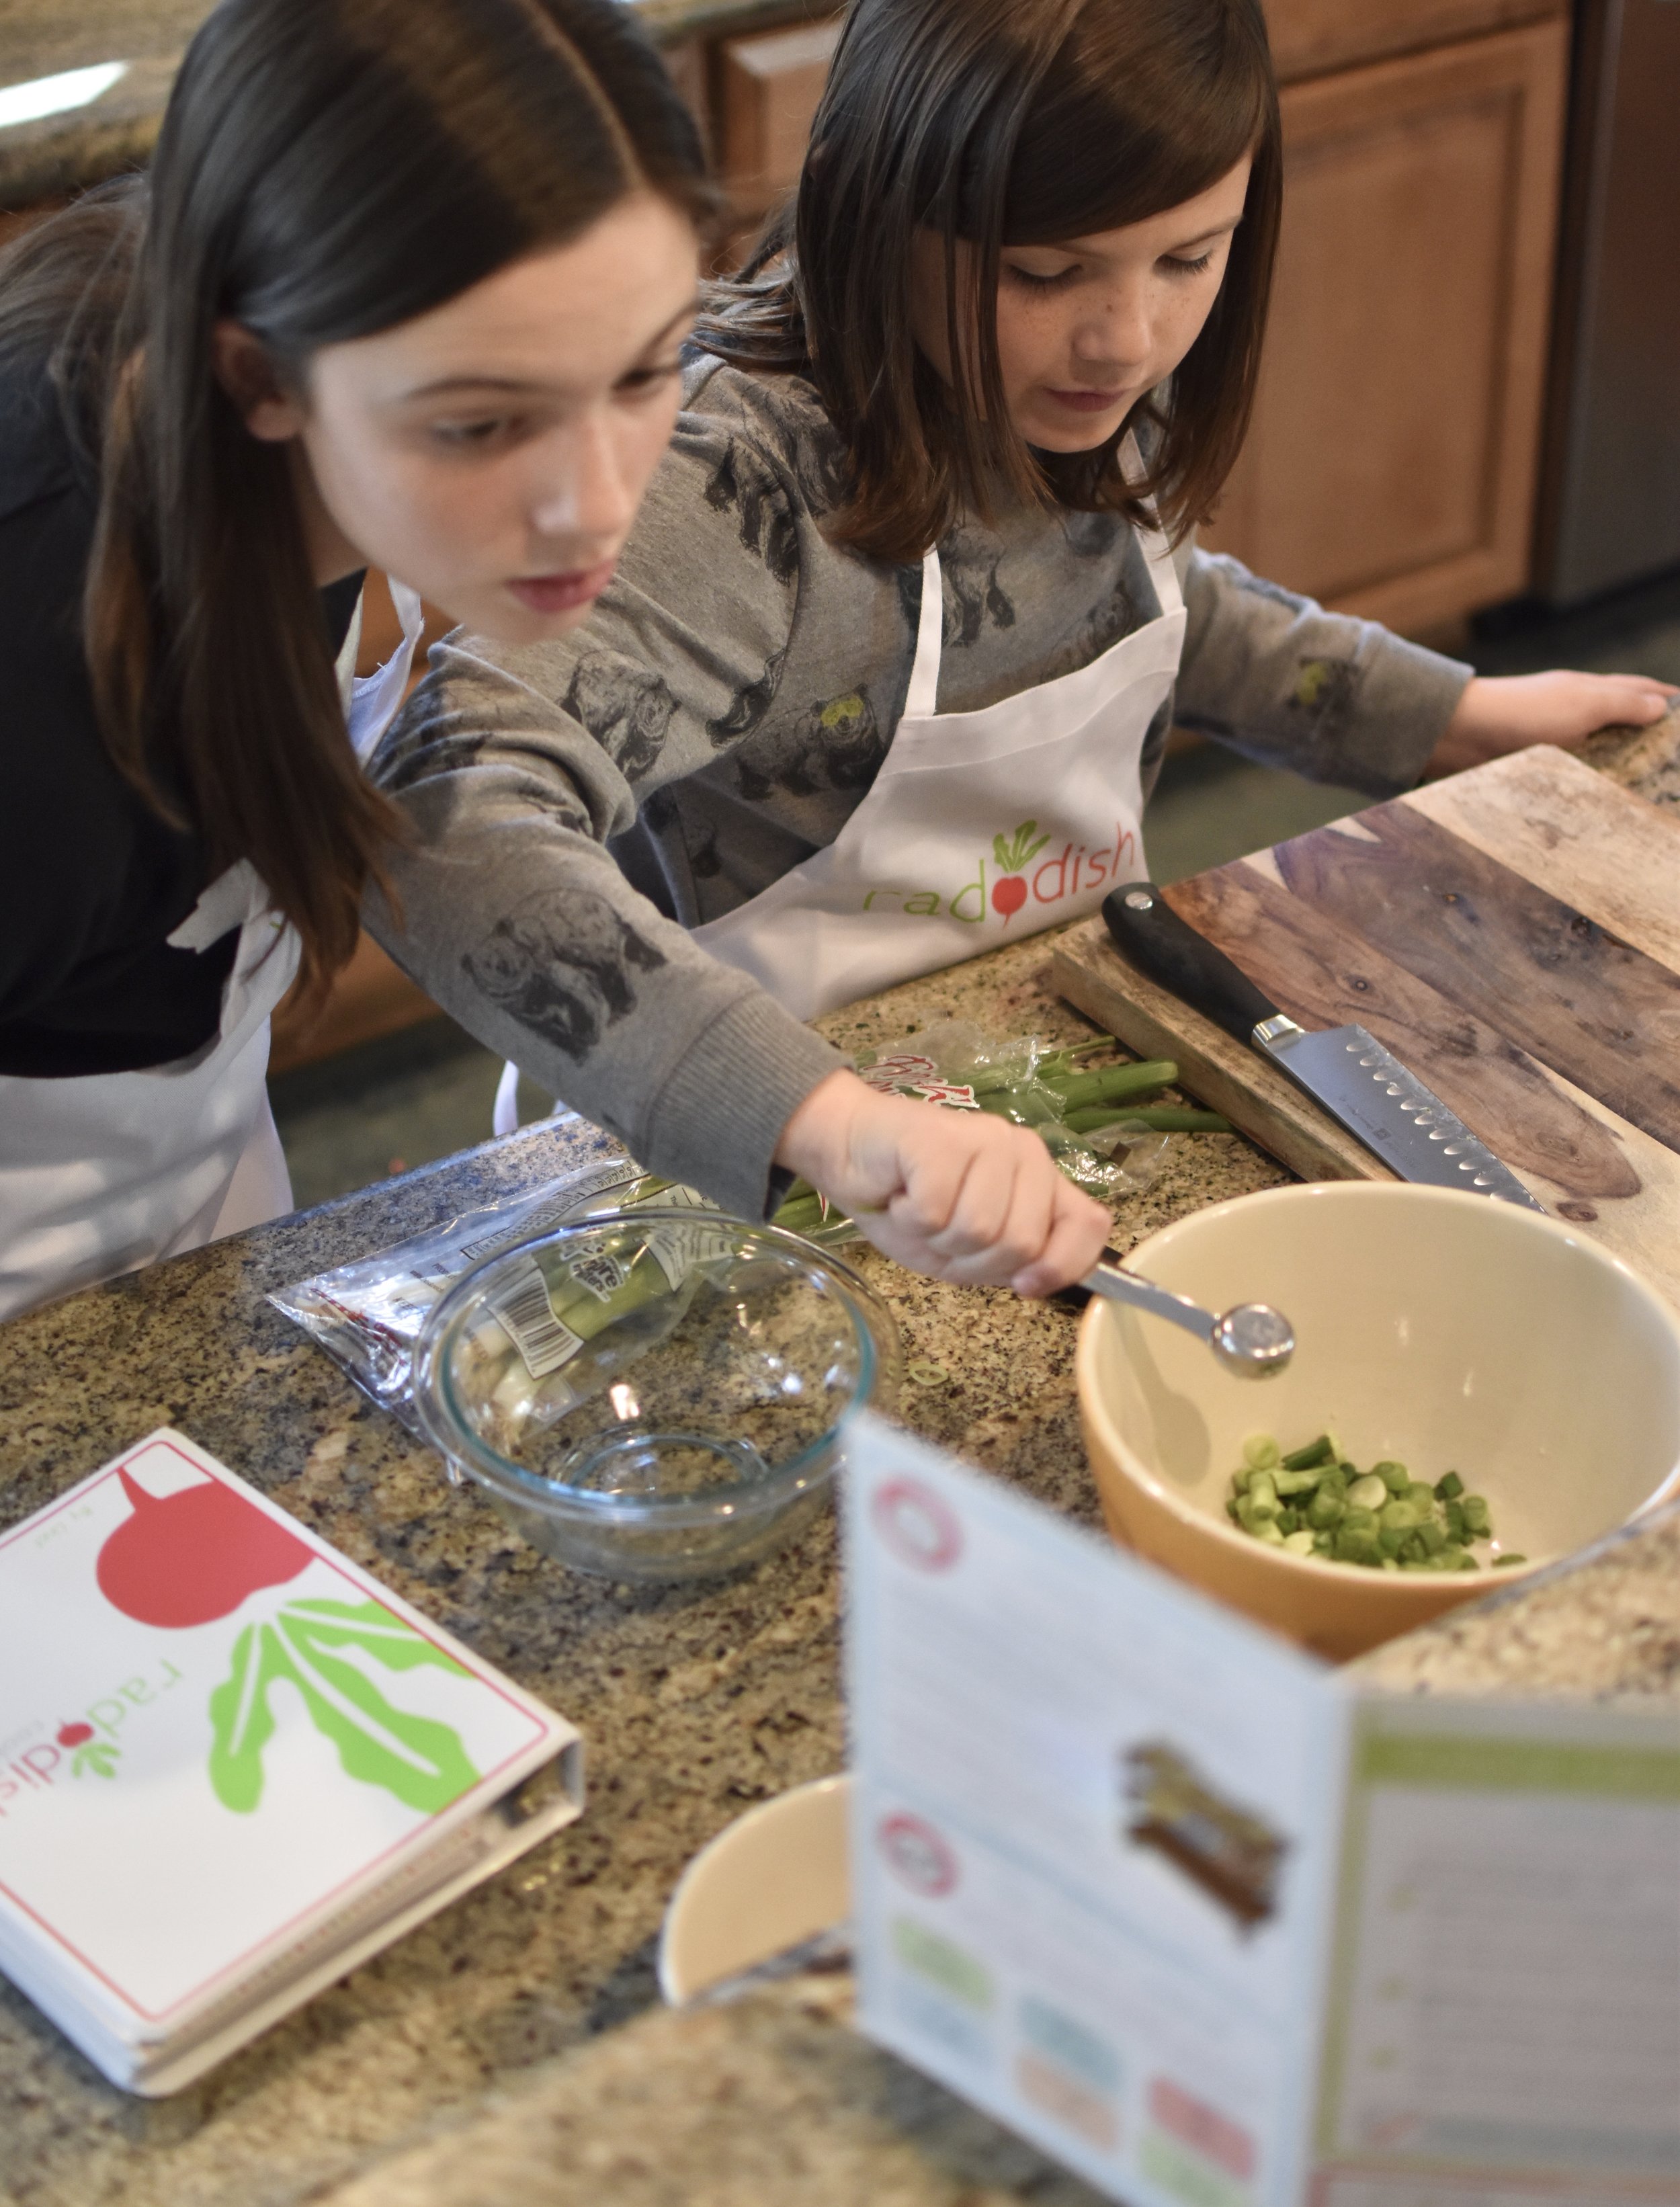
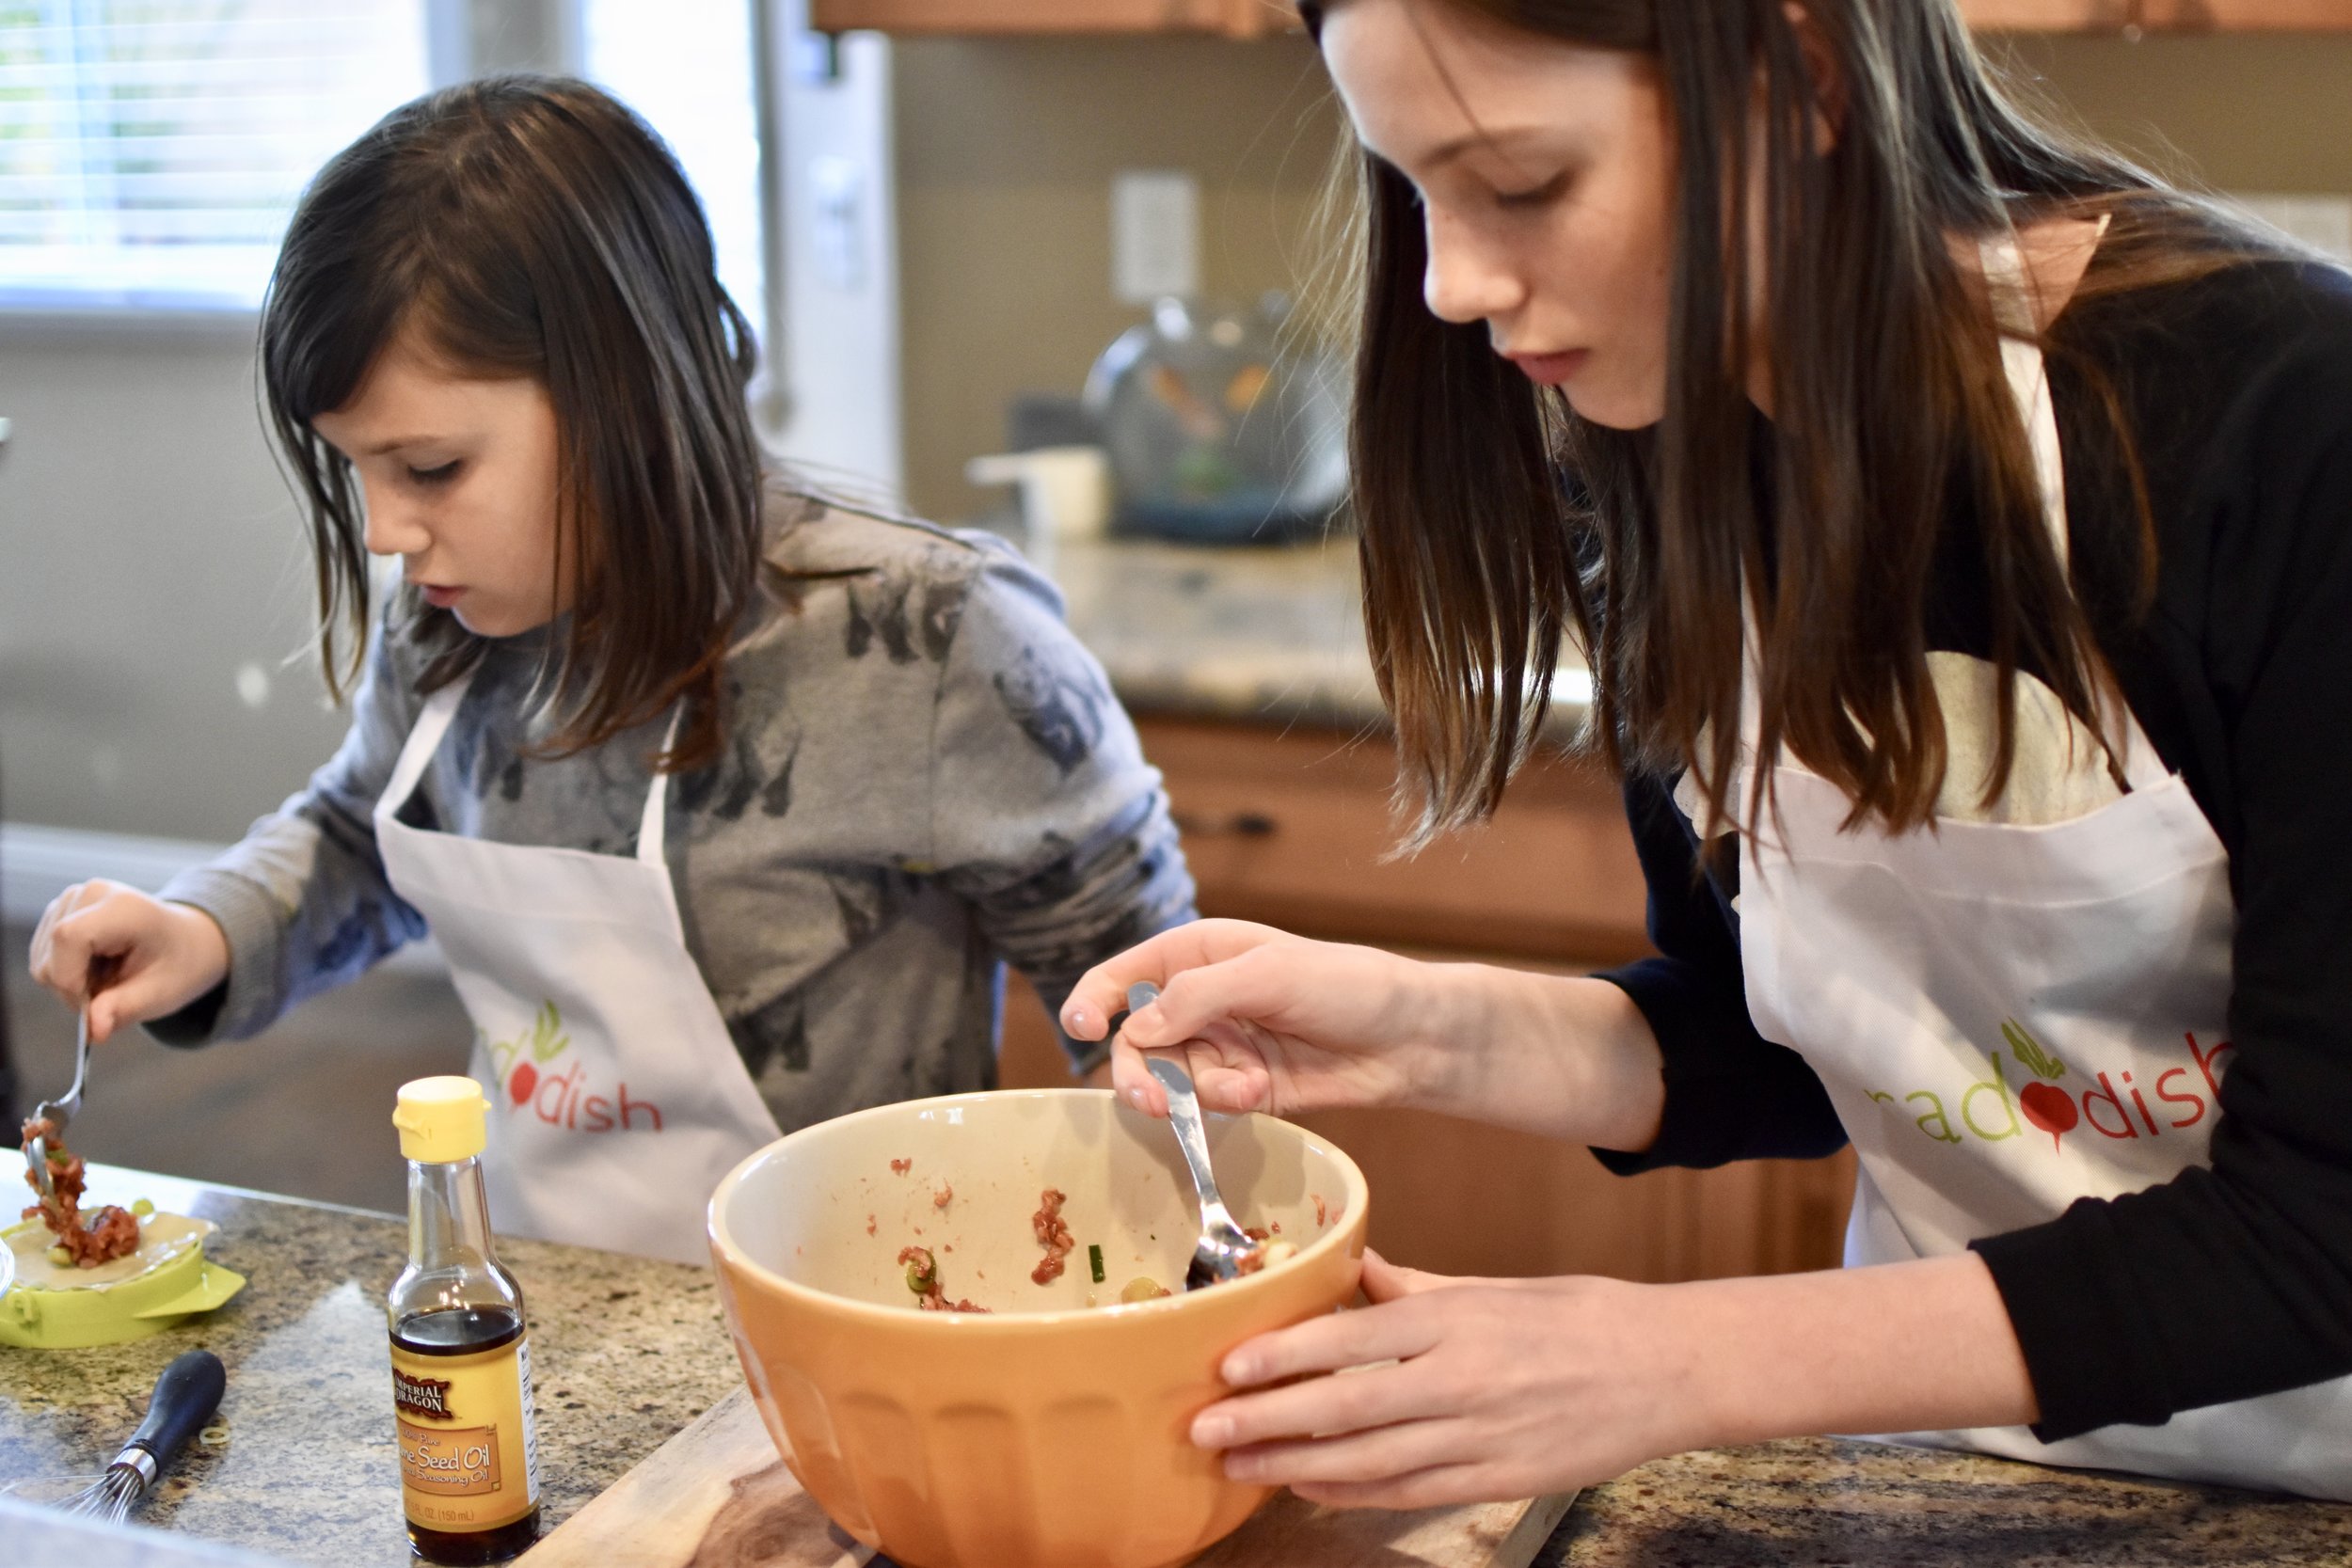
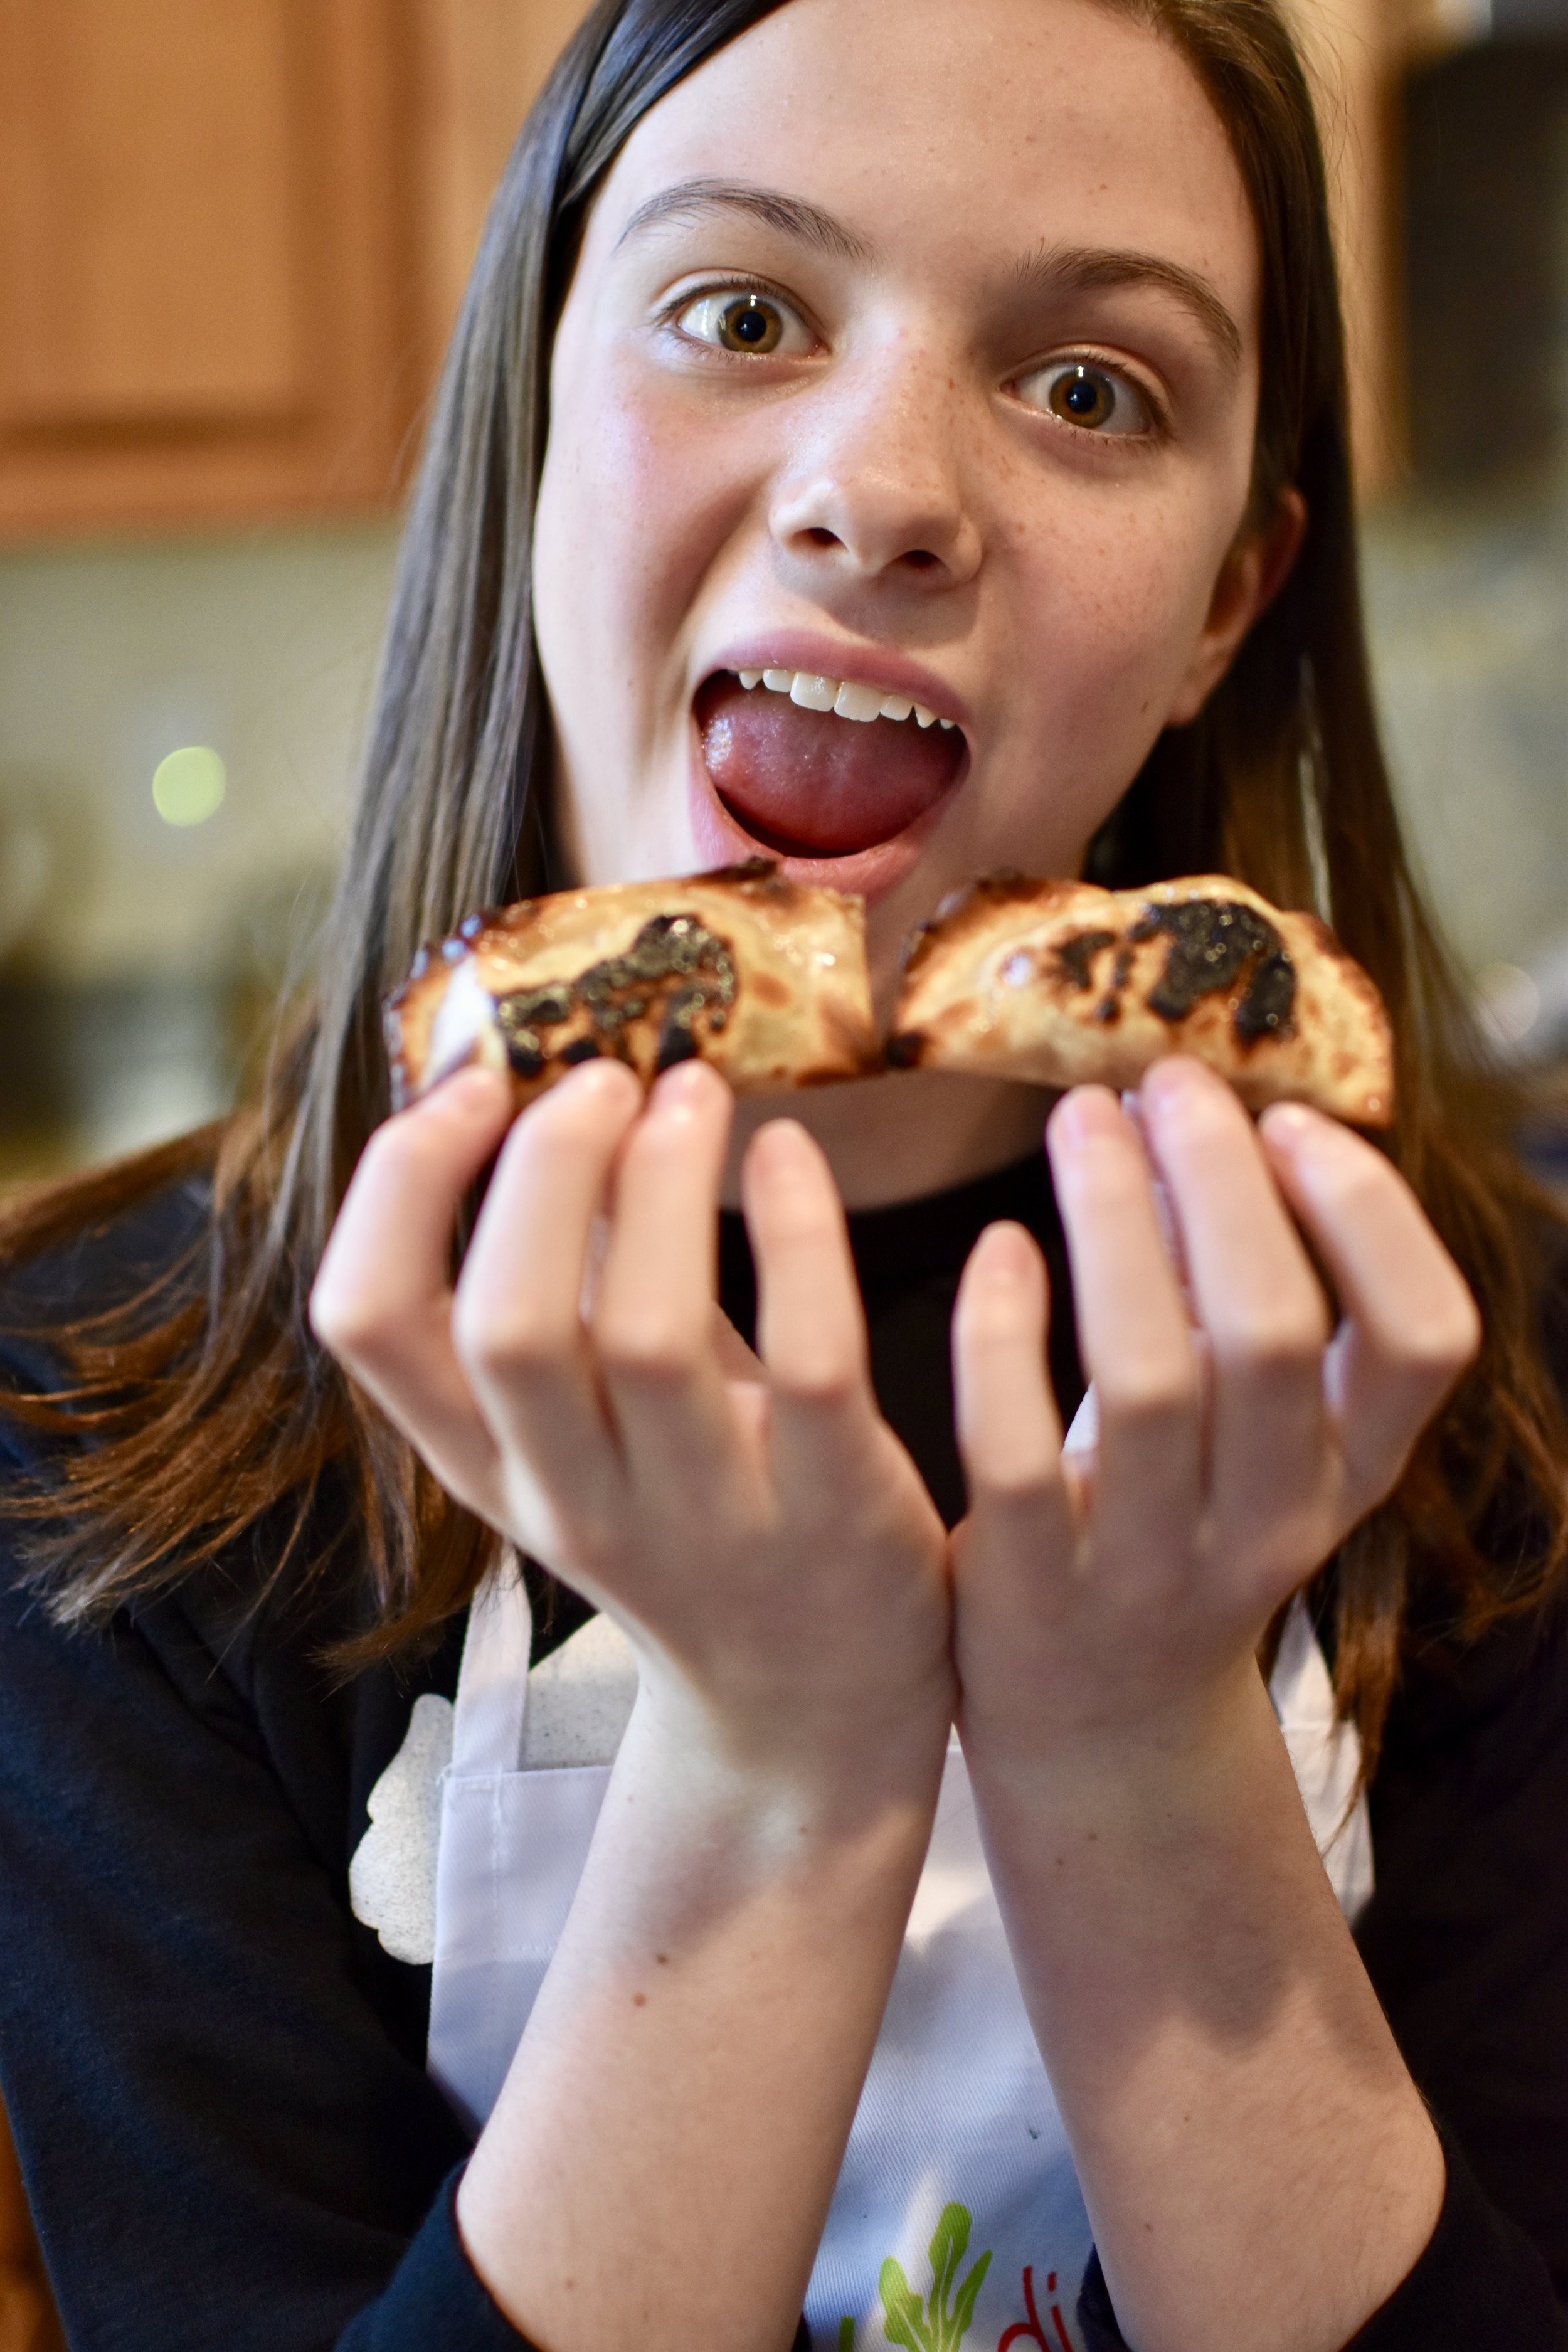
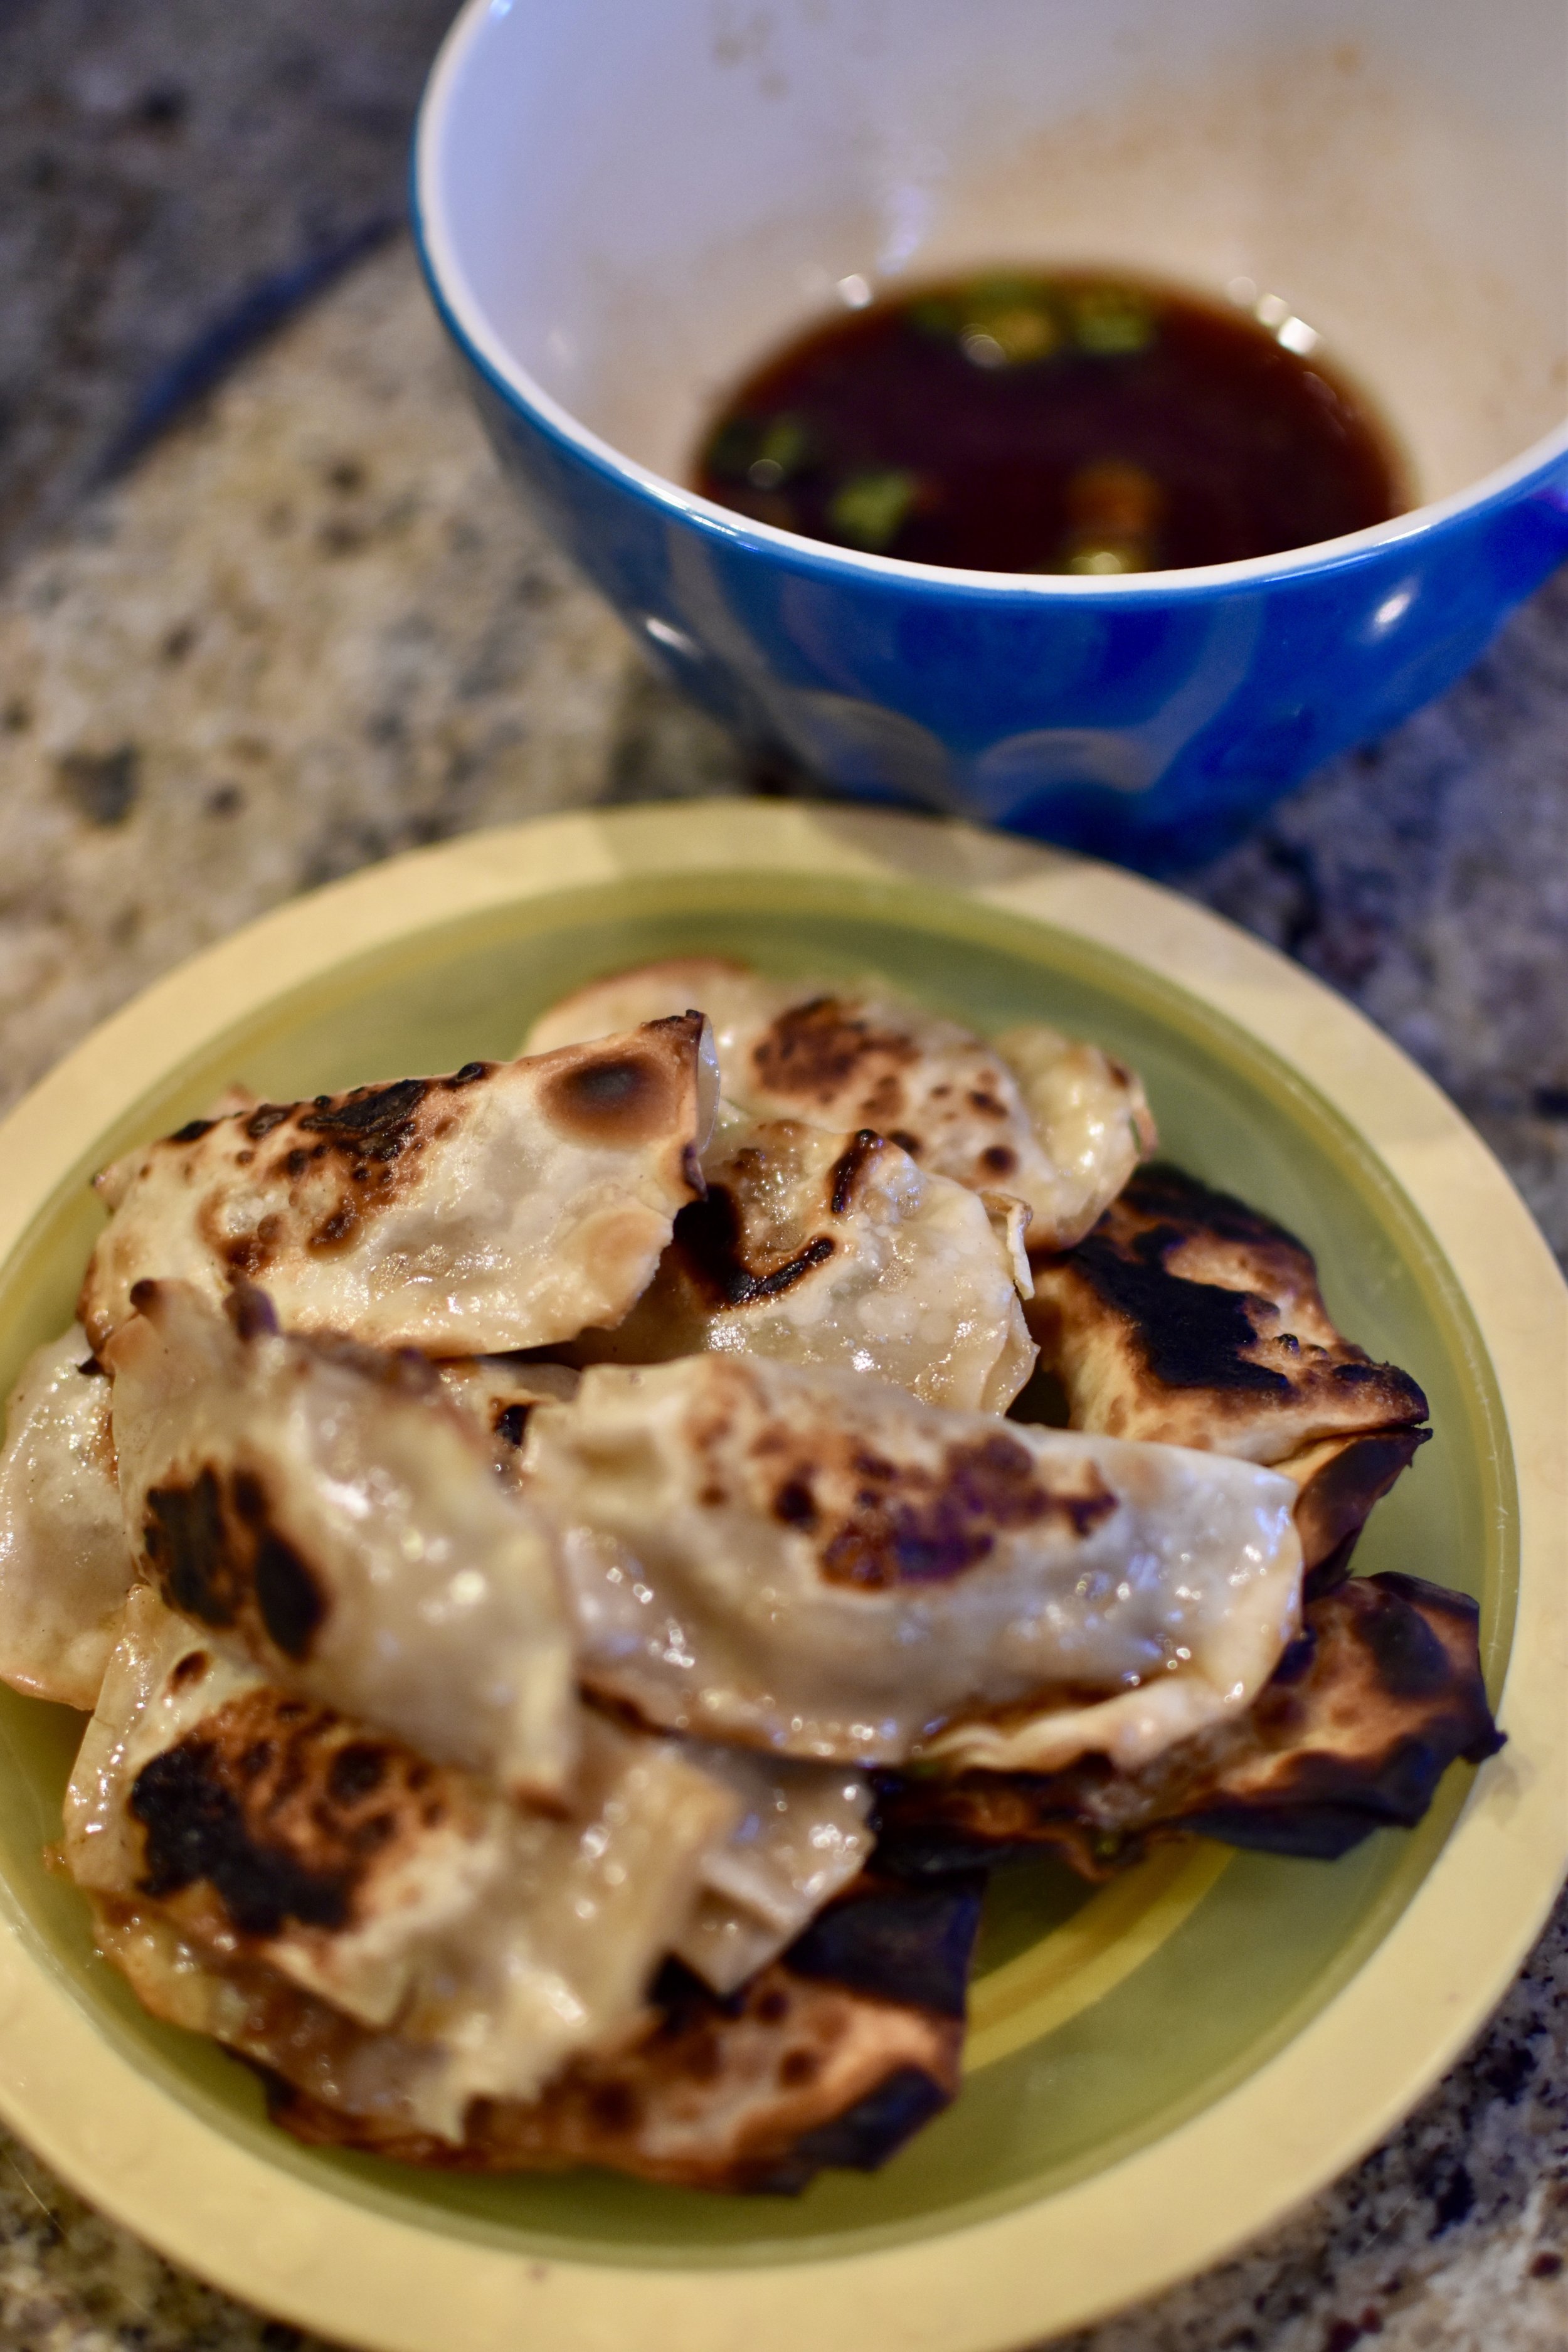
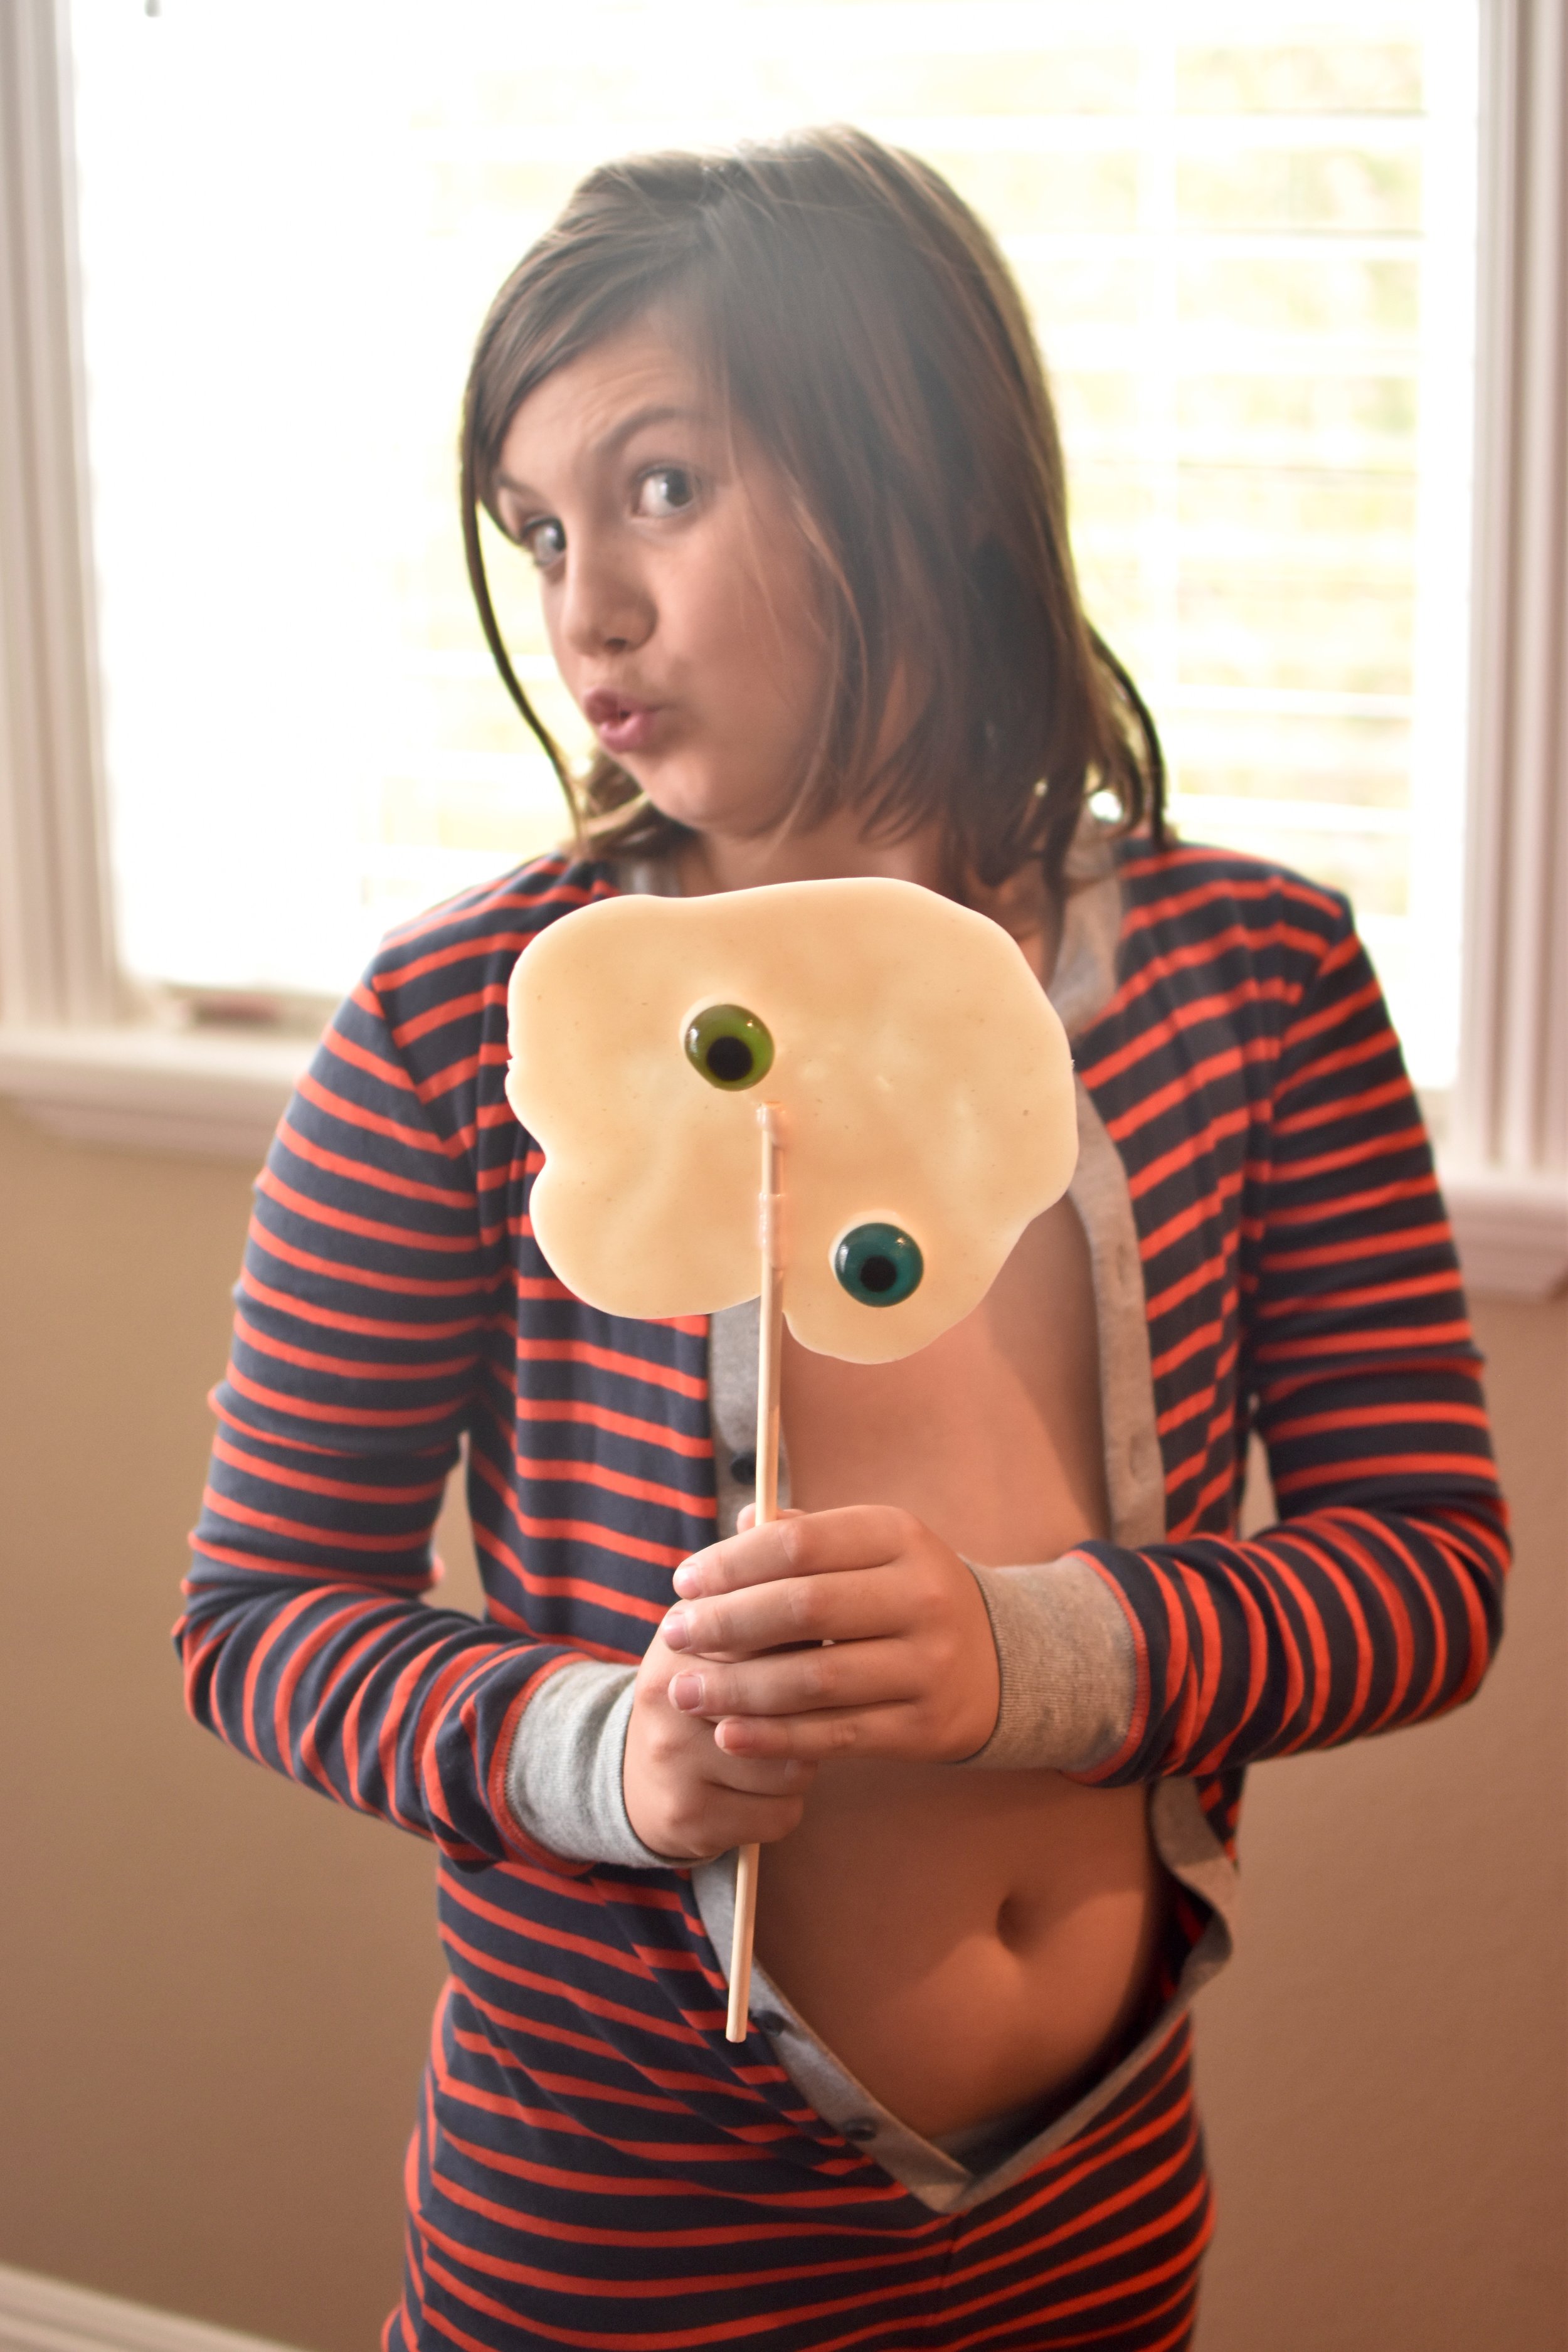
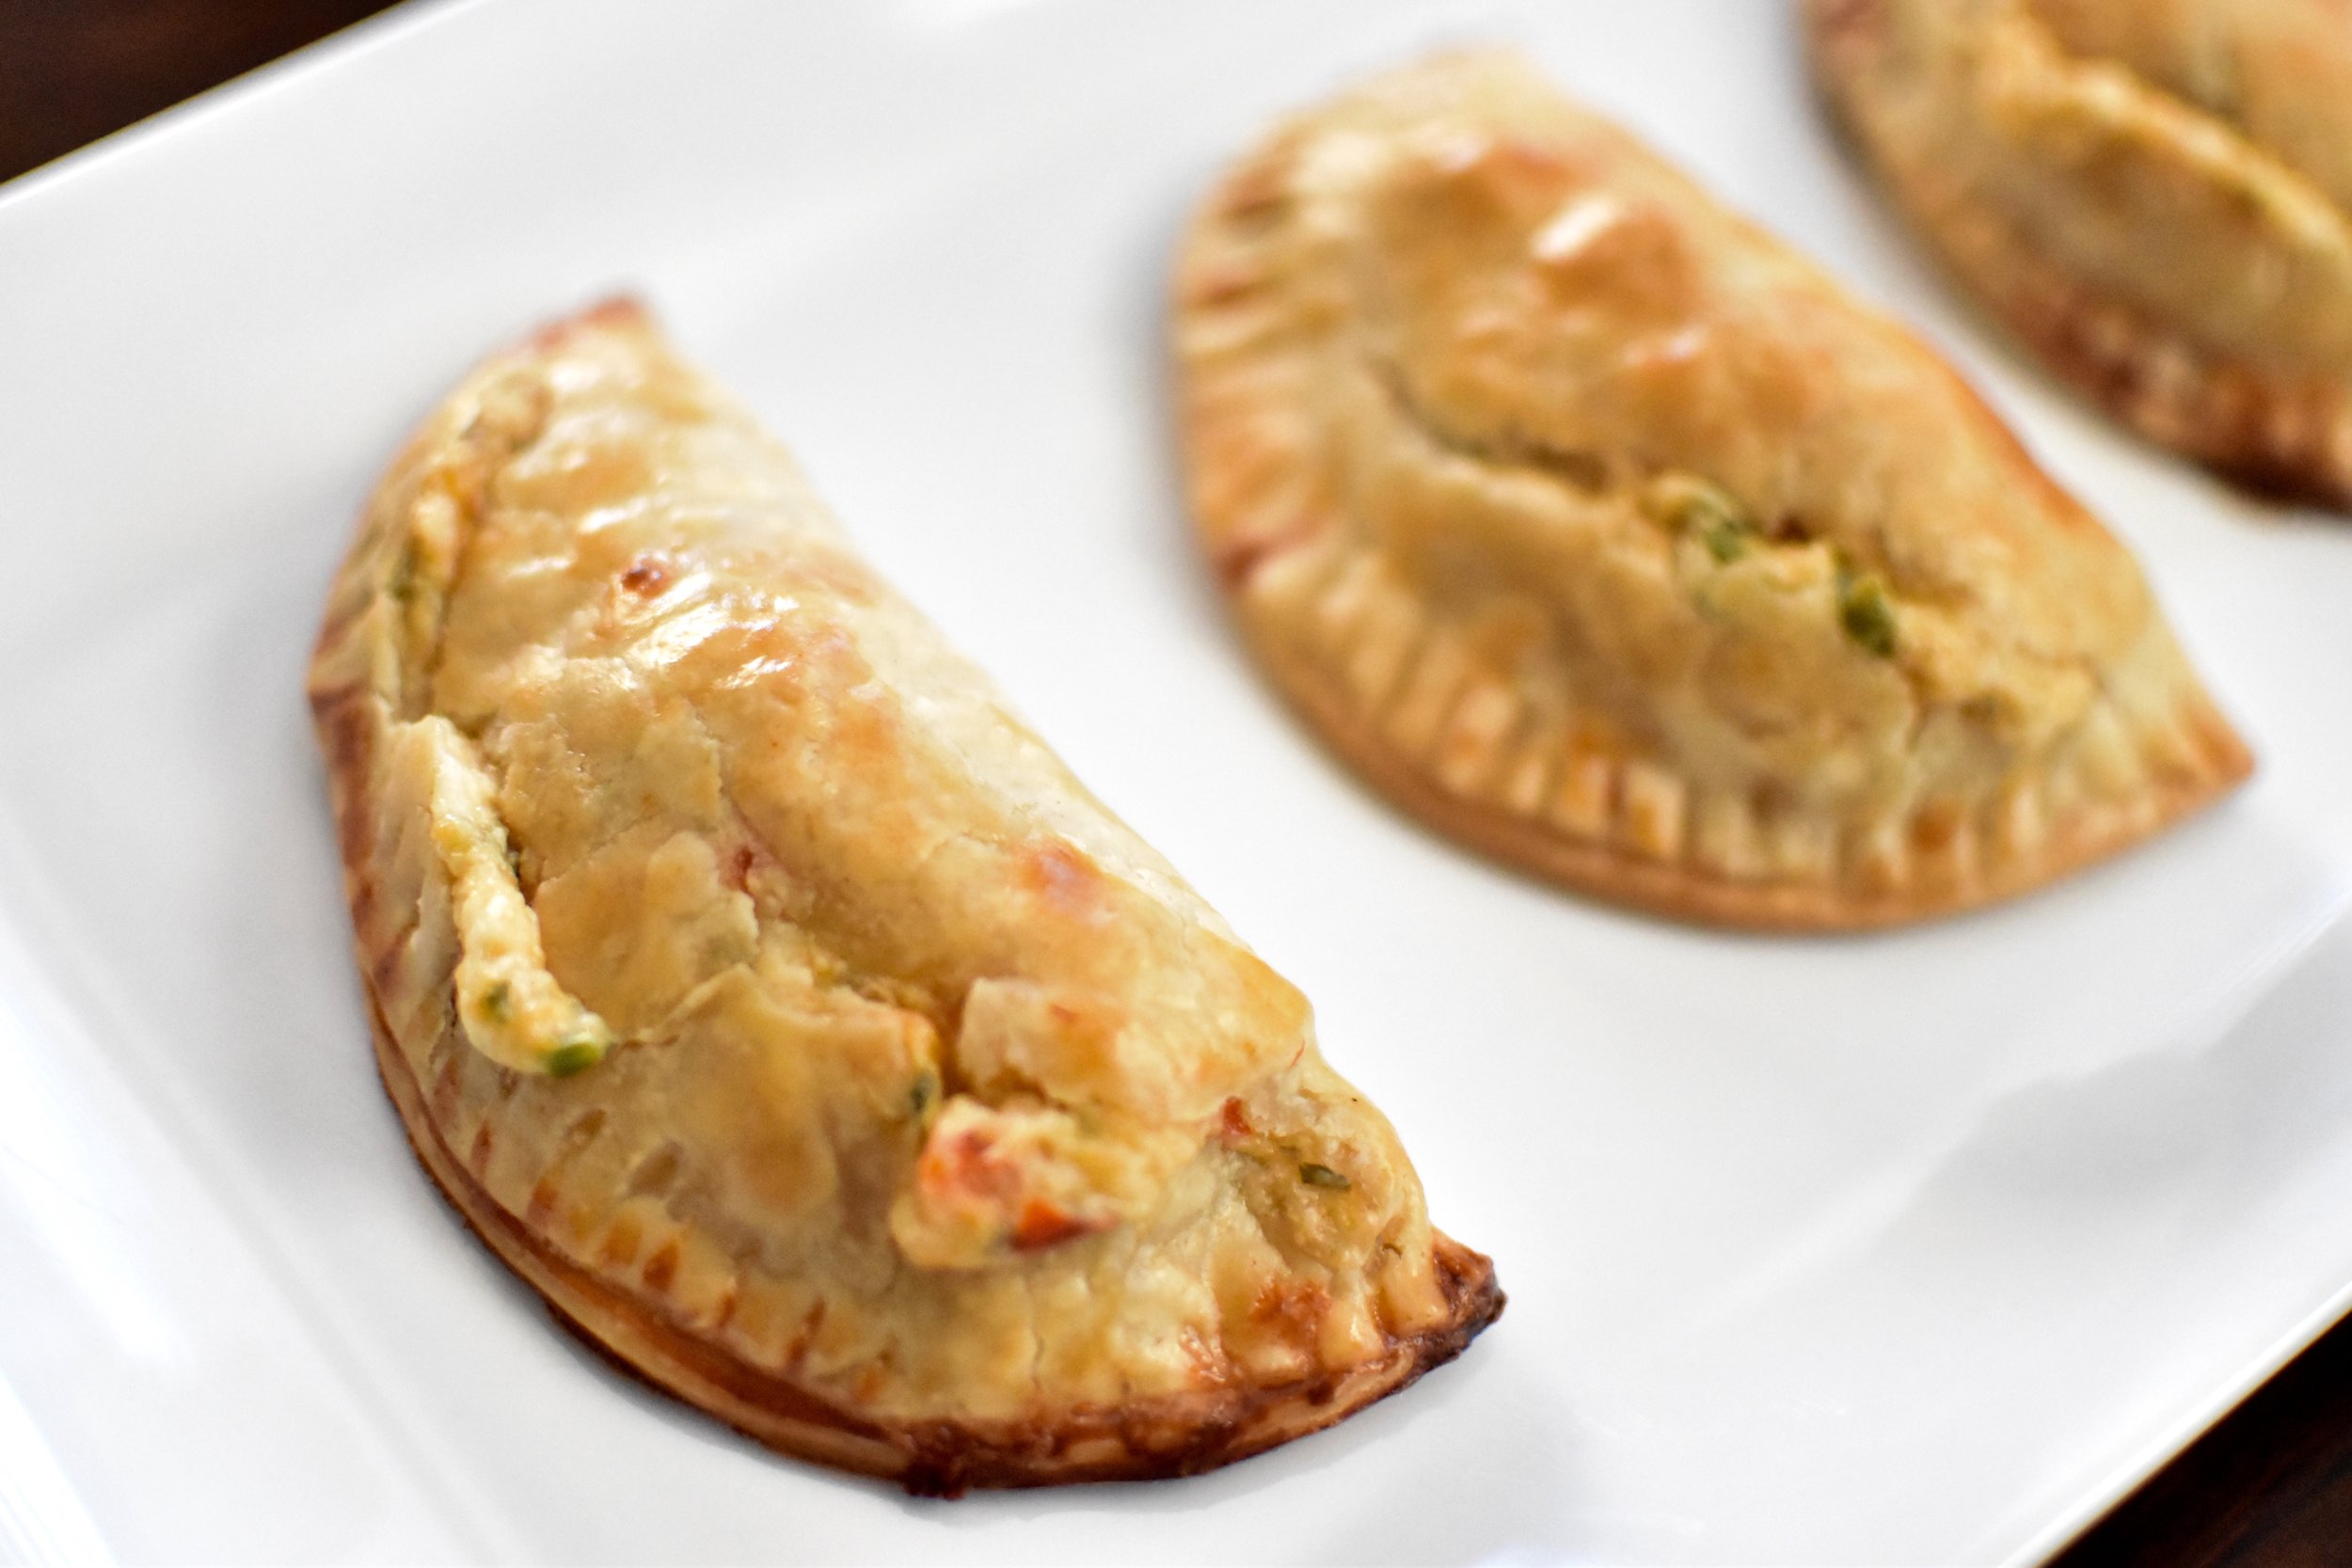
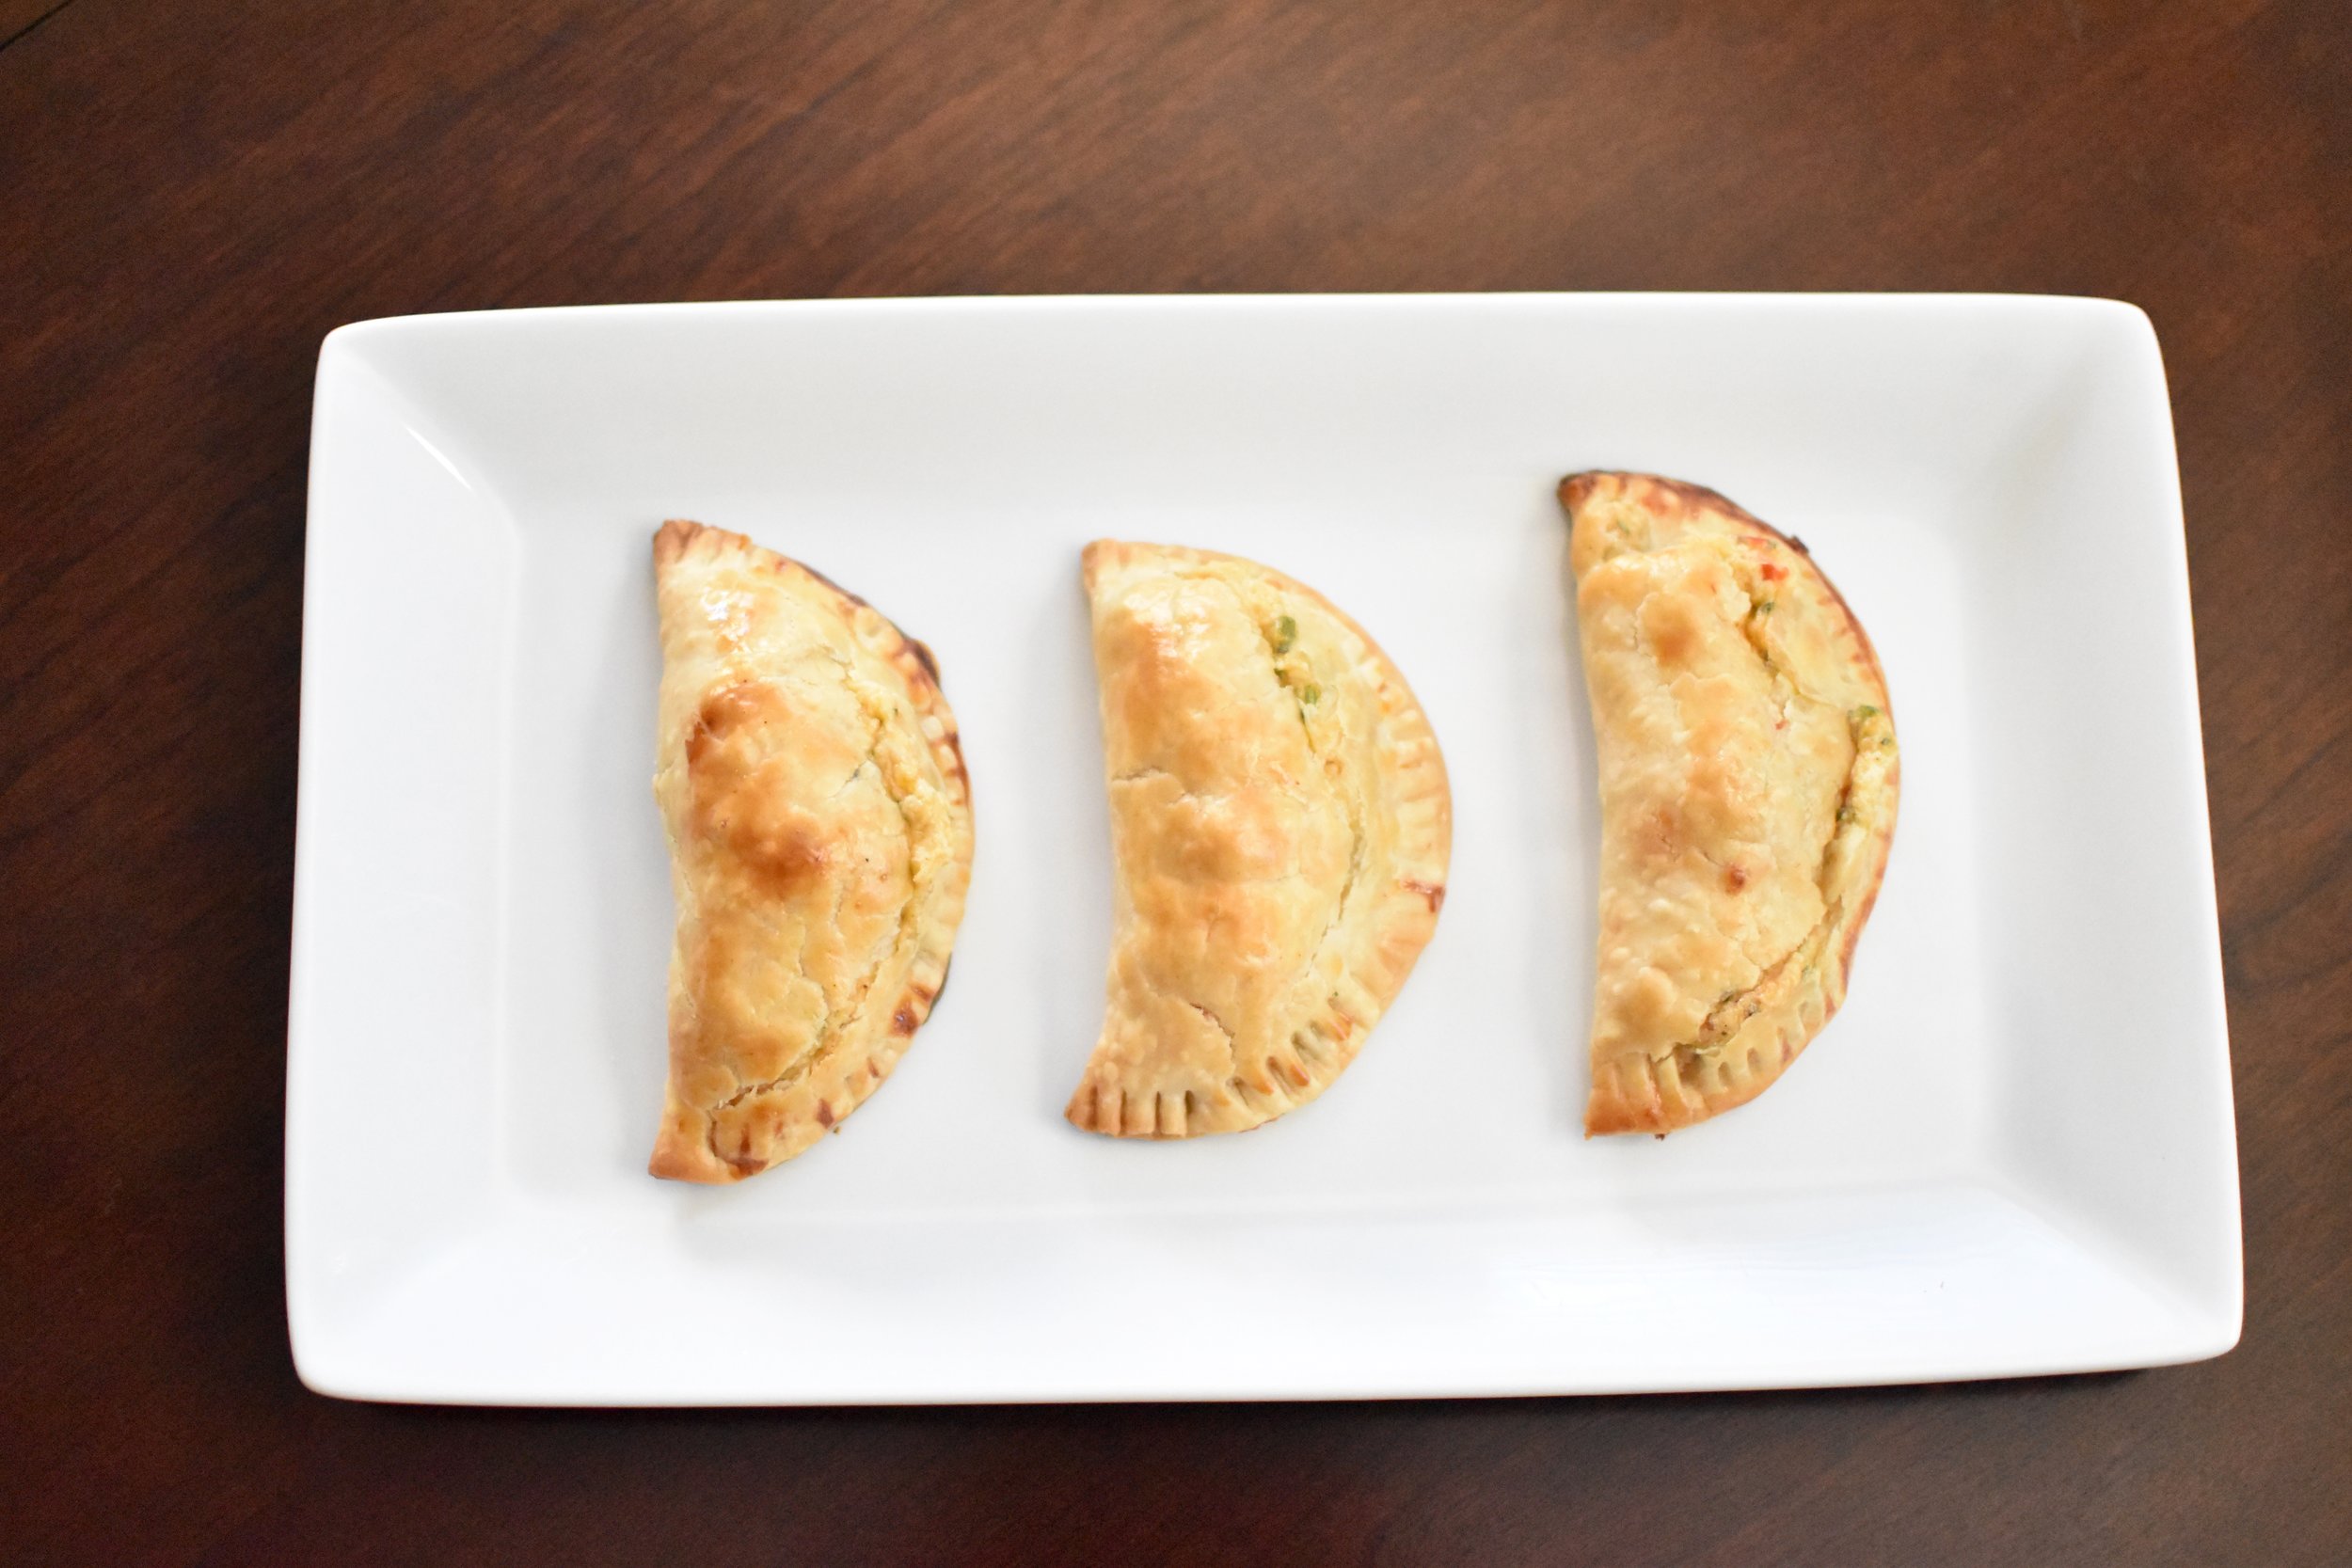
The first recipe that we made from our kit were the Dumplings. I had a great time watching them work together. They are both so different in how they approached the class. Kyler needed everything perfect. He was even telling me that we needed a MEDIUM sized bowl that had polka dots because thats what was in the picture. HAHAHA! So exact in how he takes on the world. Jocelyn on the other hand is not as precise. She is okay with adding a little of her own flare. She added a little to much honey to the sauce and was totally fine. Kai wanted to start over. They added hot sauce instead. Like I said, very different approaches, but so fun to see them learn and grow.

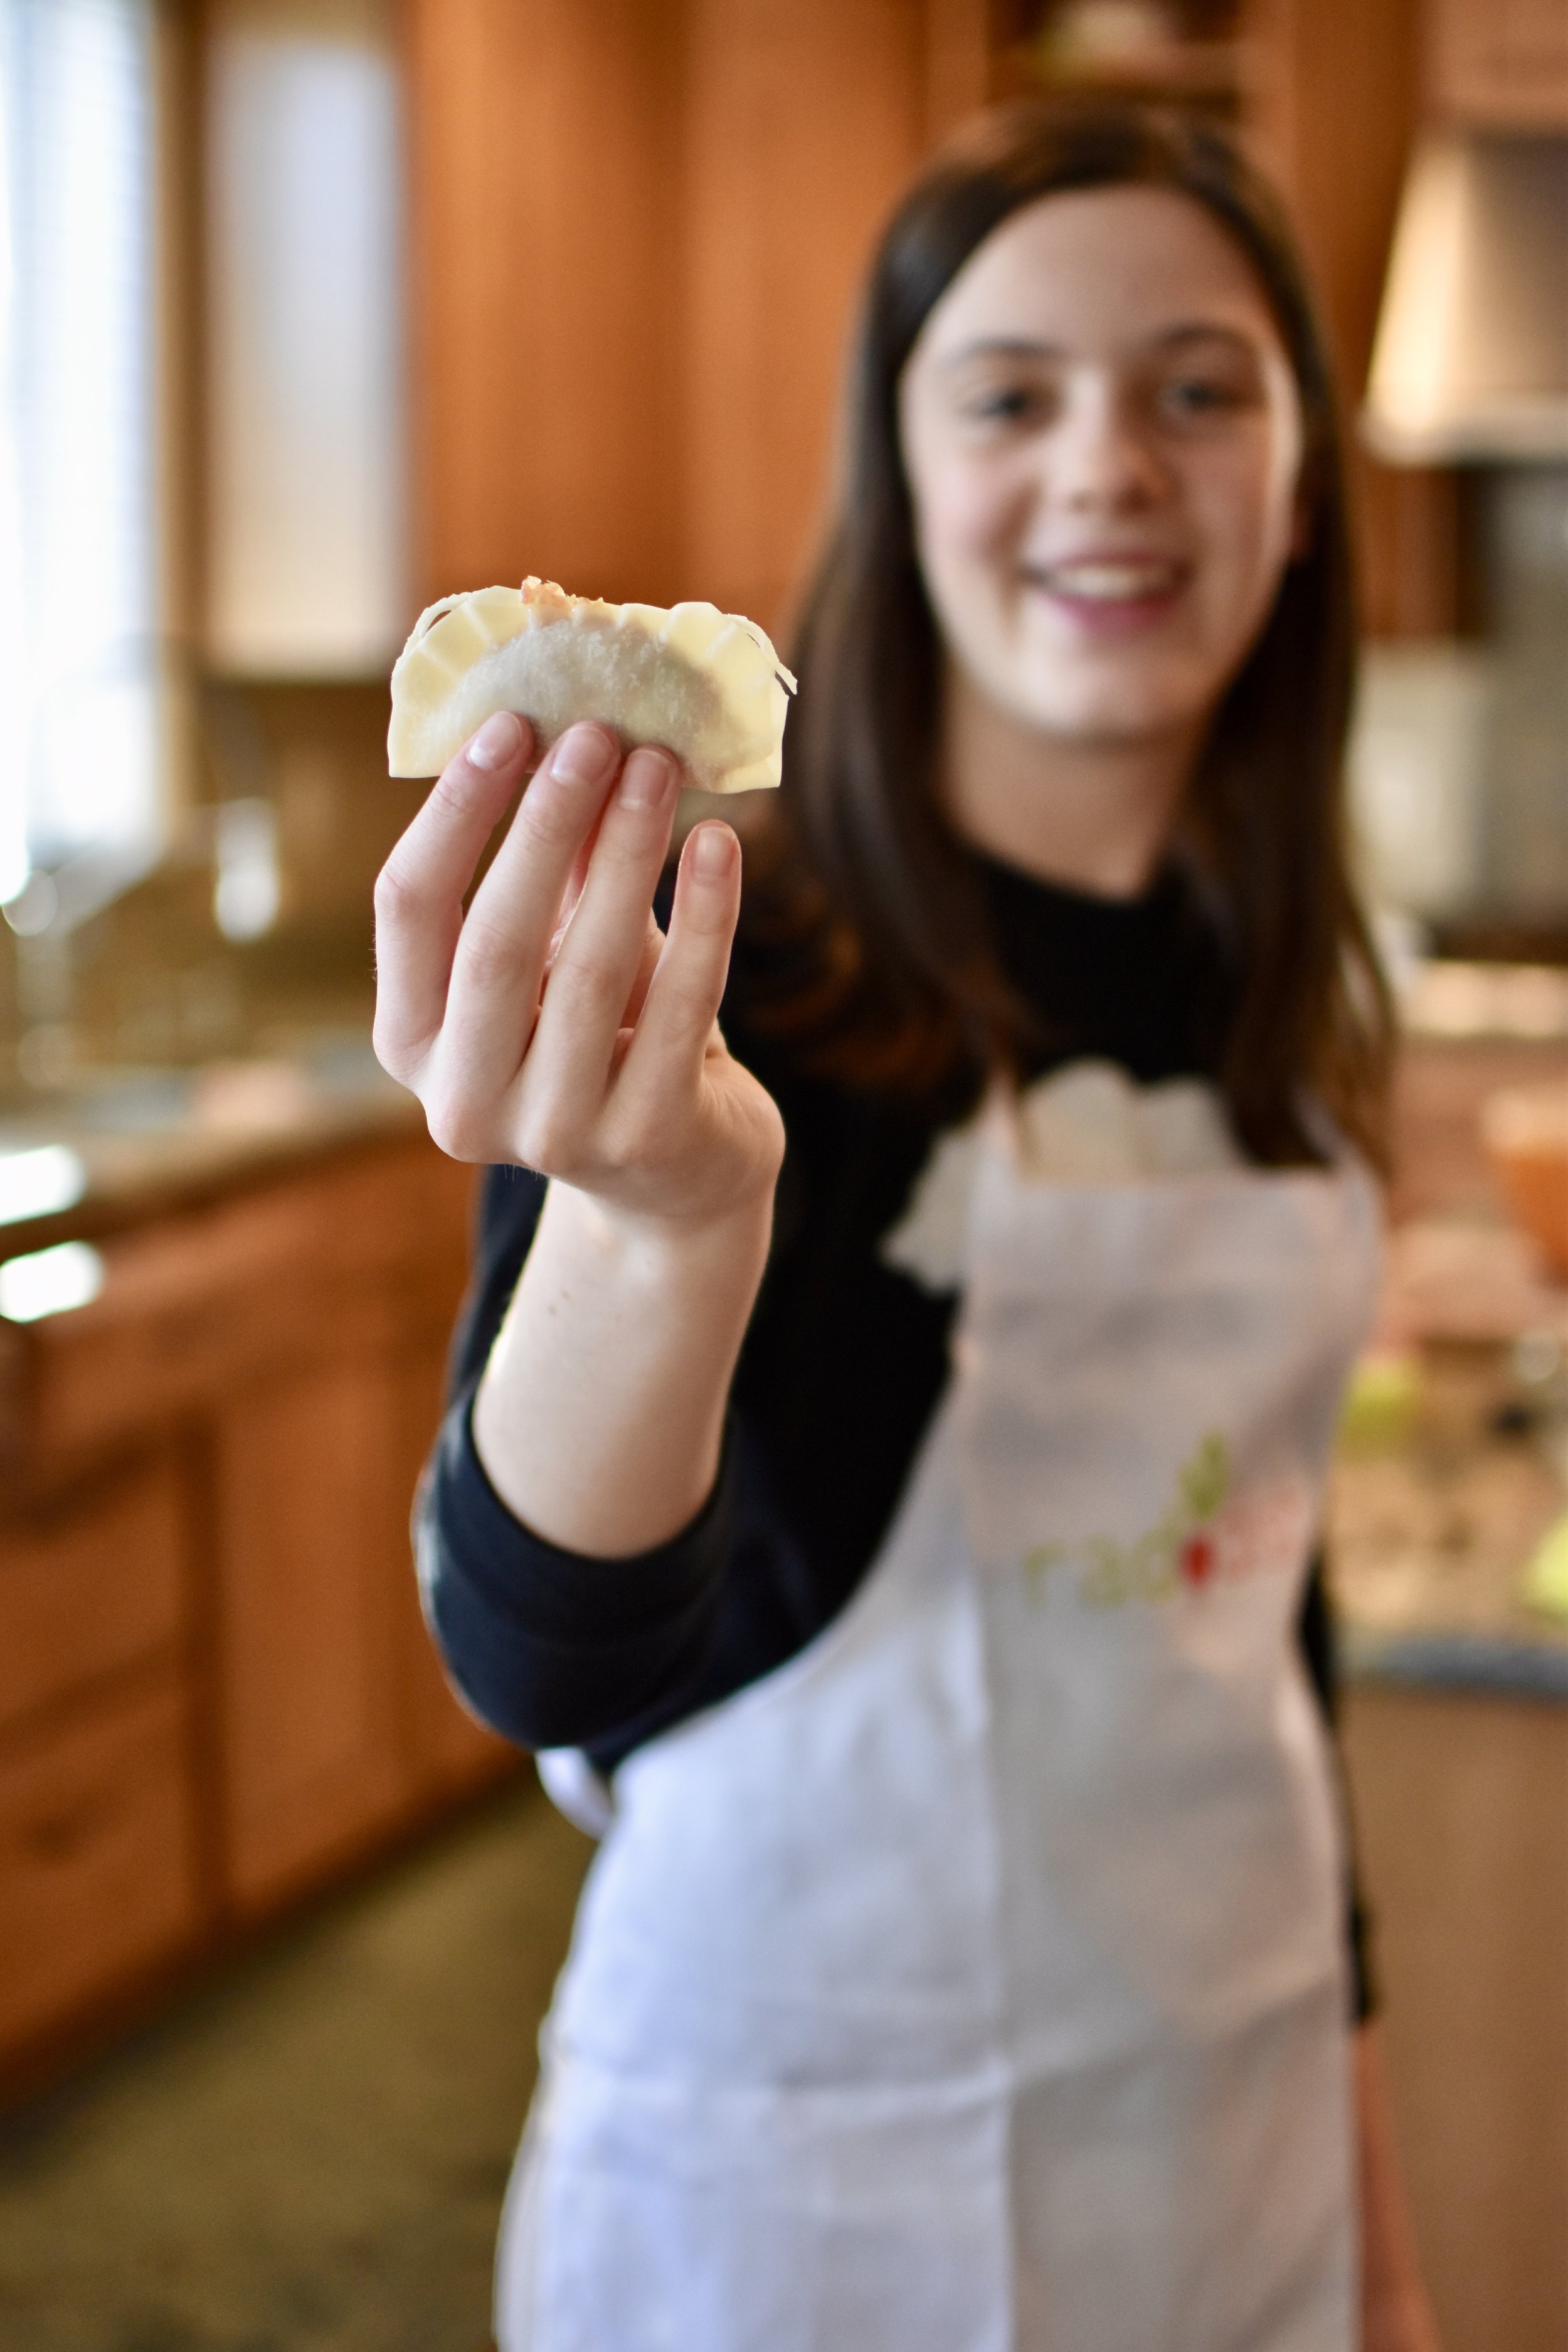
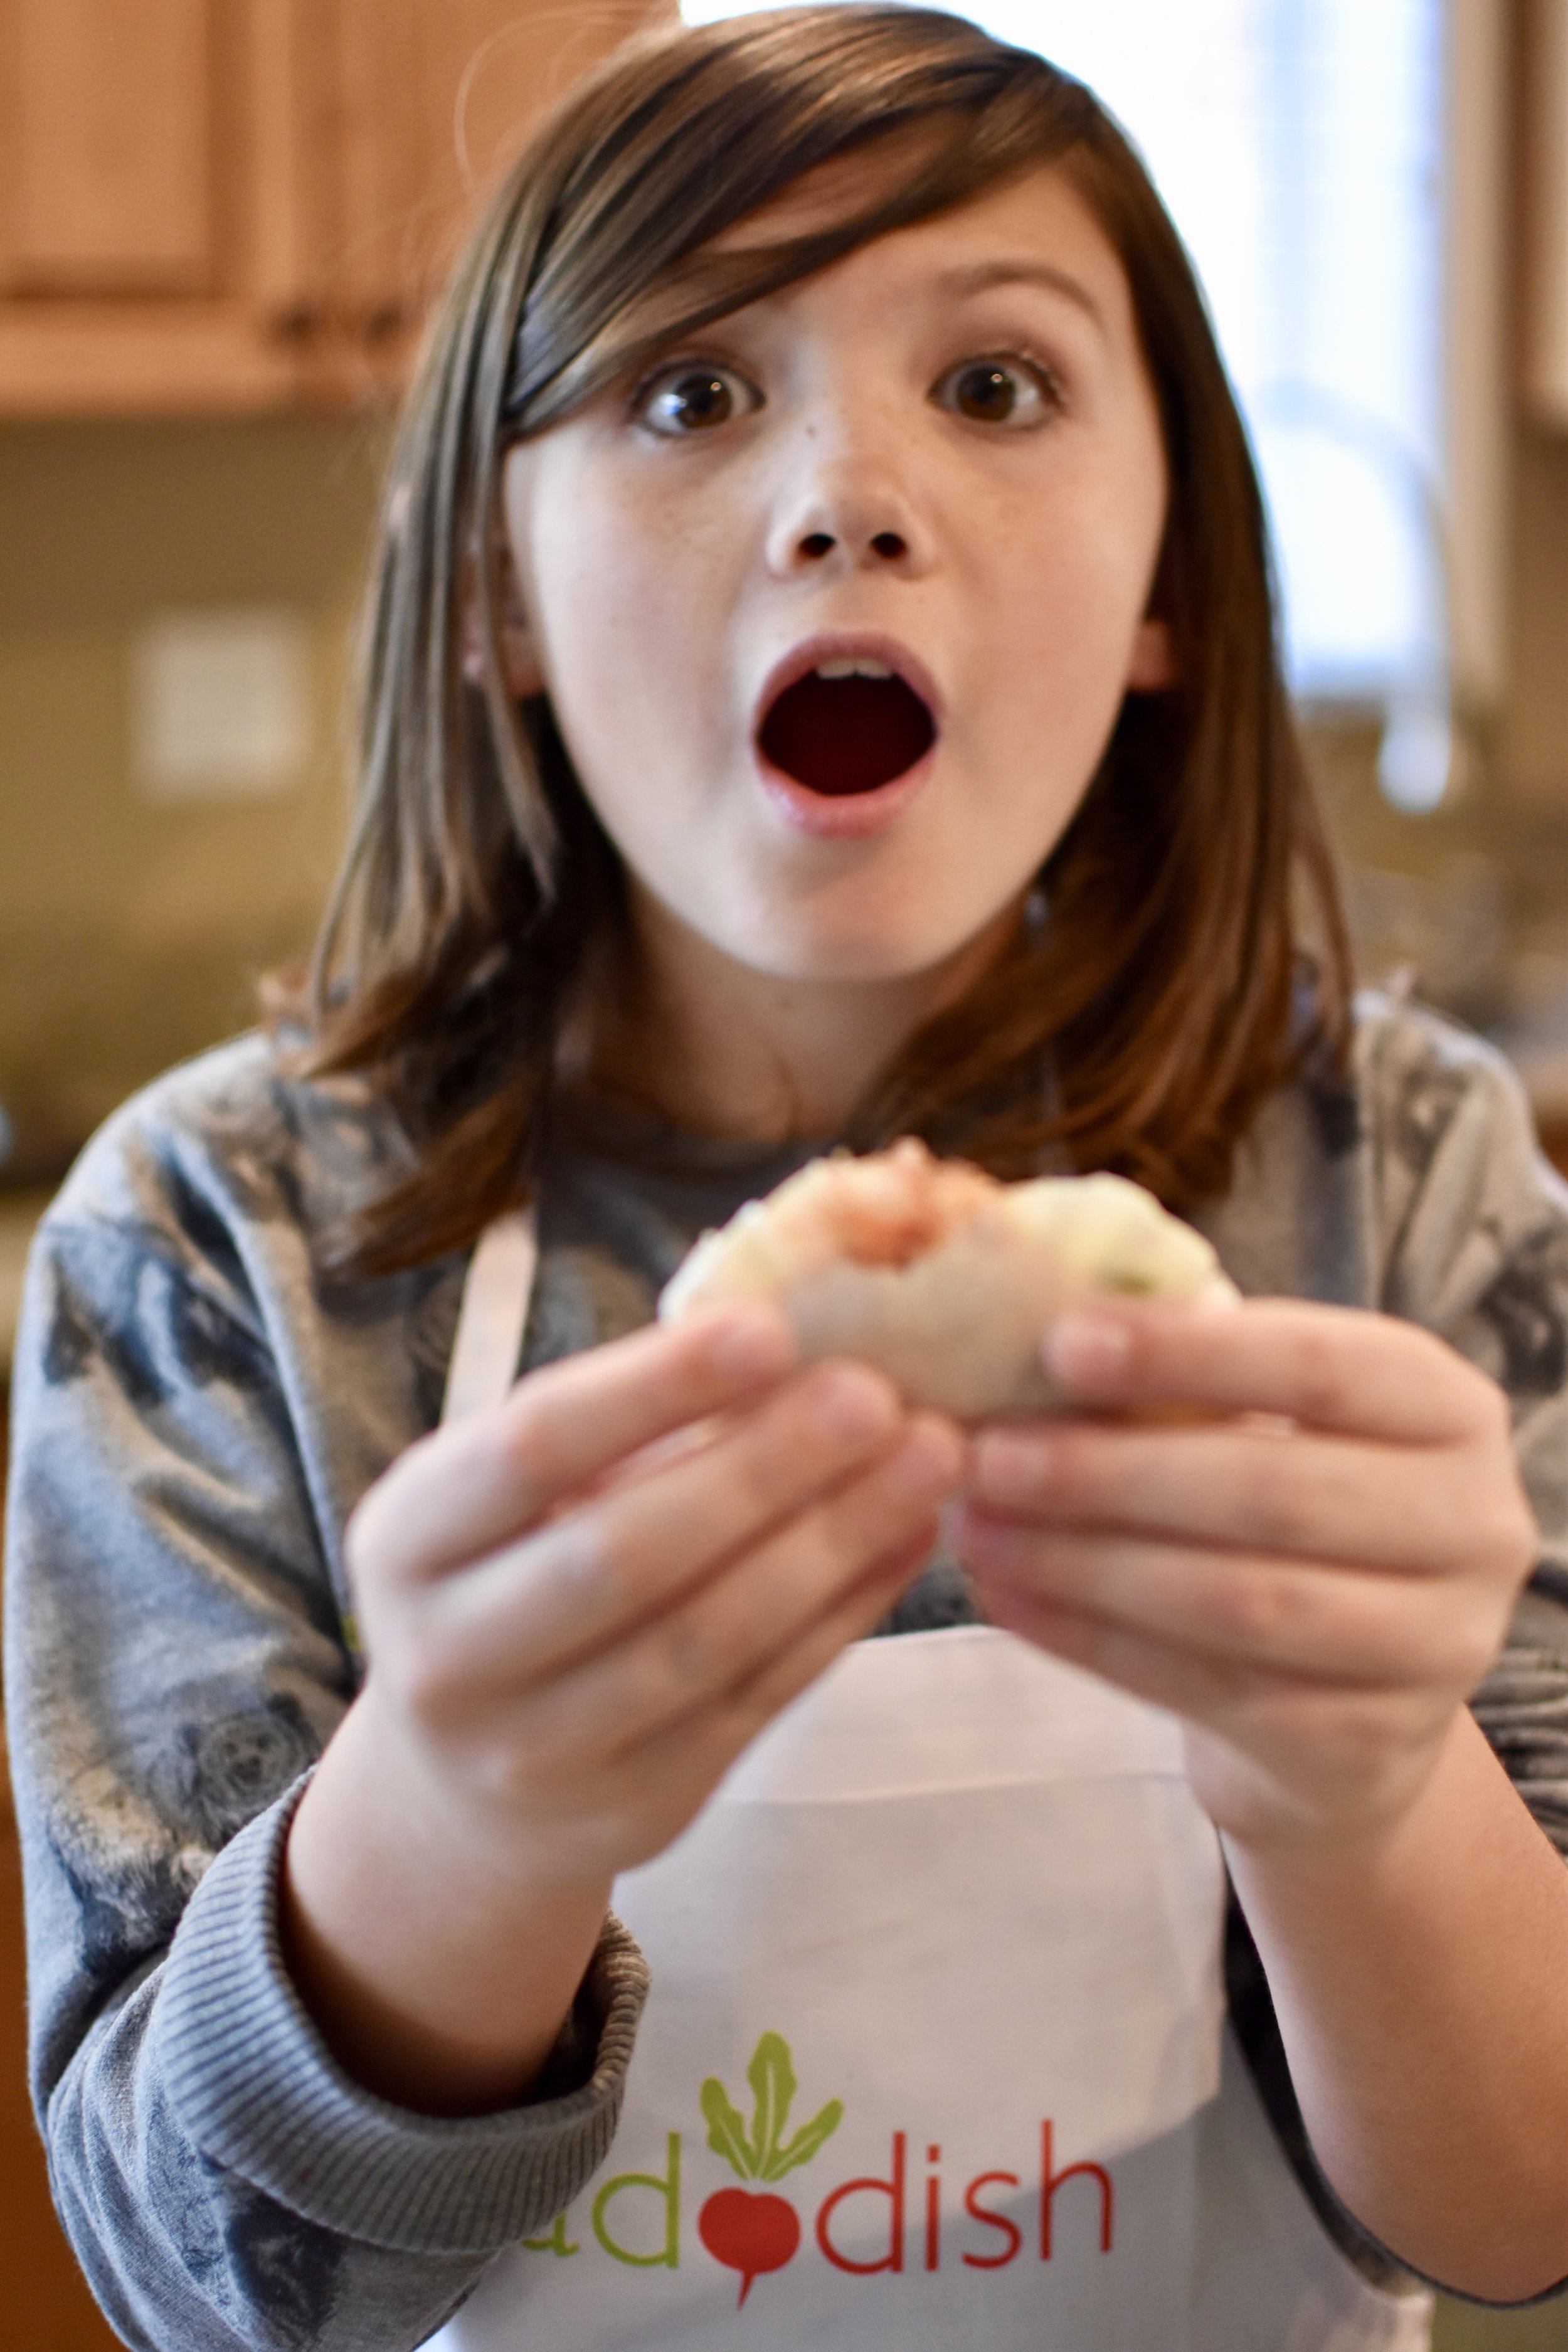
While cooking they learned a valuable lesson on pan heat. The first batch was a little dark. Haha! They were a little frustrated, because it is SO much work to make and stuff those dumplings to have them burn. They turned down the heat and everything cooked up just fine after that. Don't worry, they still ate the burnt ones. My kids don't like to waste food!

If you are interested in joining this club, all of the information is HERE.

fullsizeoutput_5f.jpeg
fullsizeoutput_8c.jpeg
fullsizeoutput_5c.jpeg
fullsizeoutput_53.jpeg
fullsizeoutput_67.jpeg
fullsizeoutput_8f.jpeg
fullsizeoutput_42.jpeg
fullsizeoutput_92.jpeg
fullsizeoutput_66.jpeg
fullsizeoutput_65.jpeg
fullsizeoutput_64.jpeg
fullsizeoutput_94.jpeg
fullsizeoutput_8a.jpeg
fullsizeoutput_86.jpeg
fullsizeoutput_62.jpeg
fullsizeoutput_34.jpeg
fullsizeoutput_97.jpeg
fullsizeoutput_89.jpeg
February 11, 2017 /Mandi McQuivey
1 Comment

valentines day mini cakes

February 03, 2017 by Mandi McQuivey

LAS VEGAS/HENDERSON FRIENDS!!

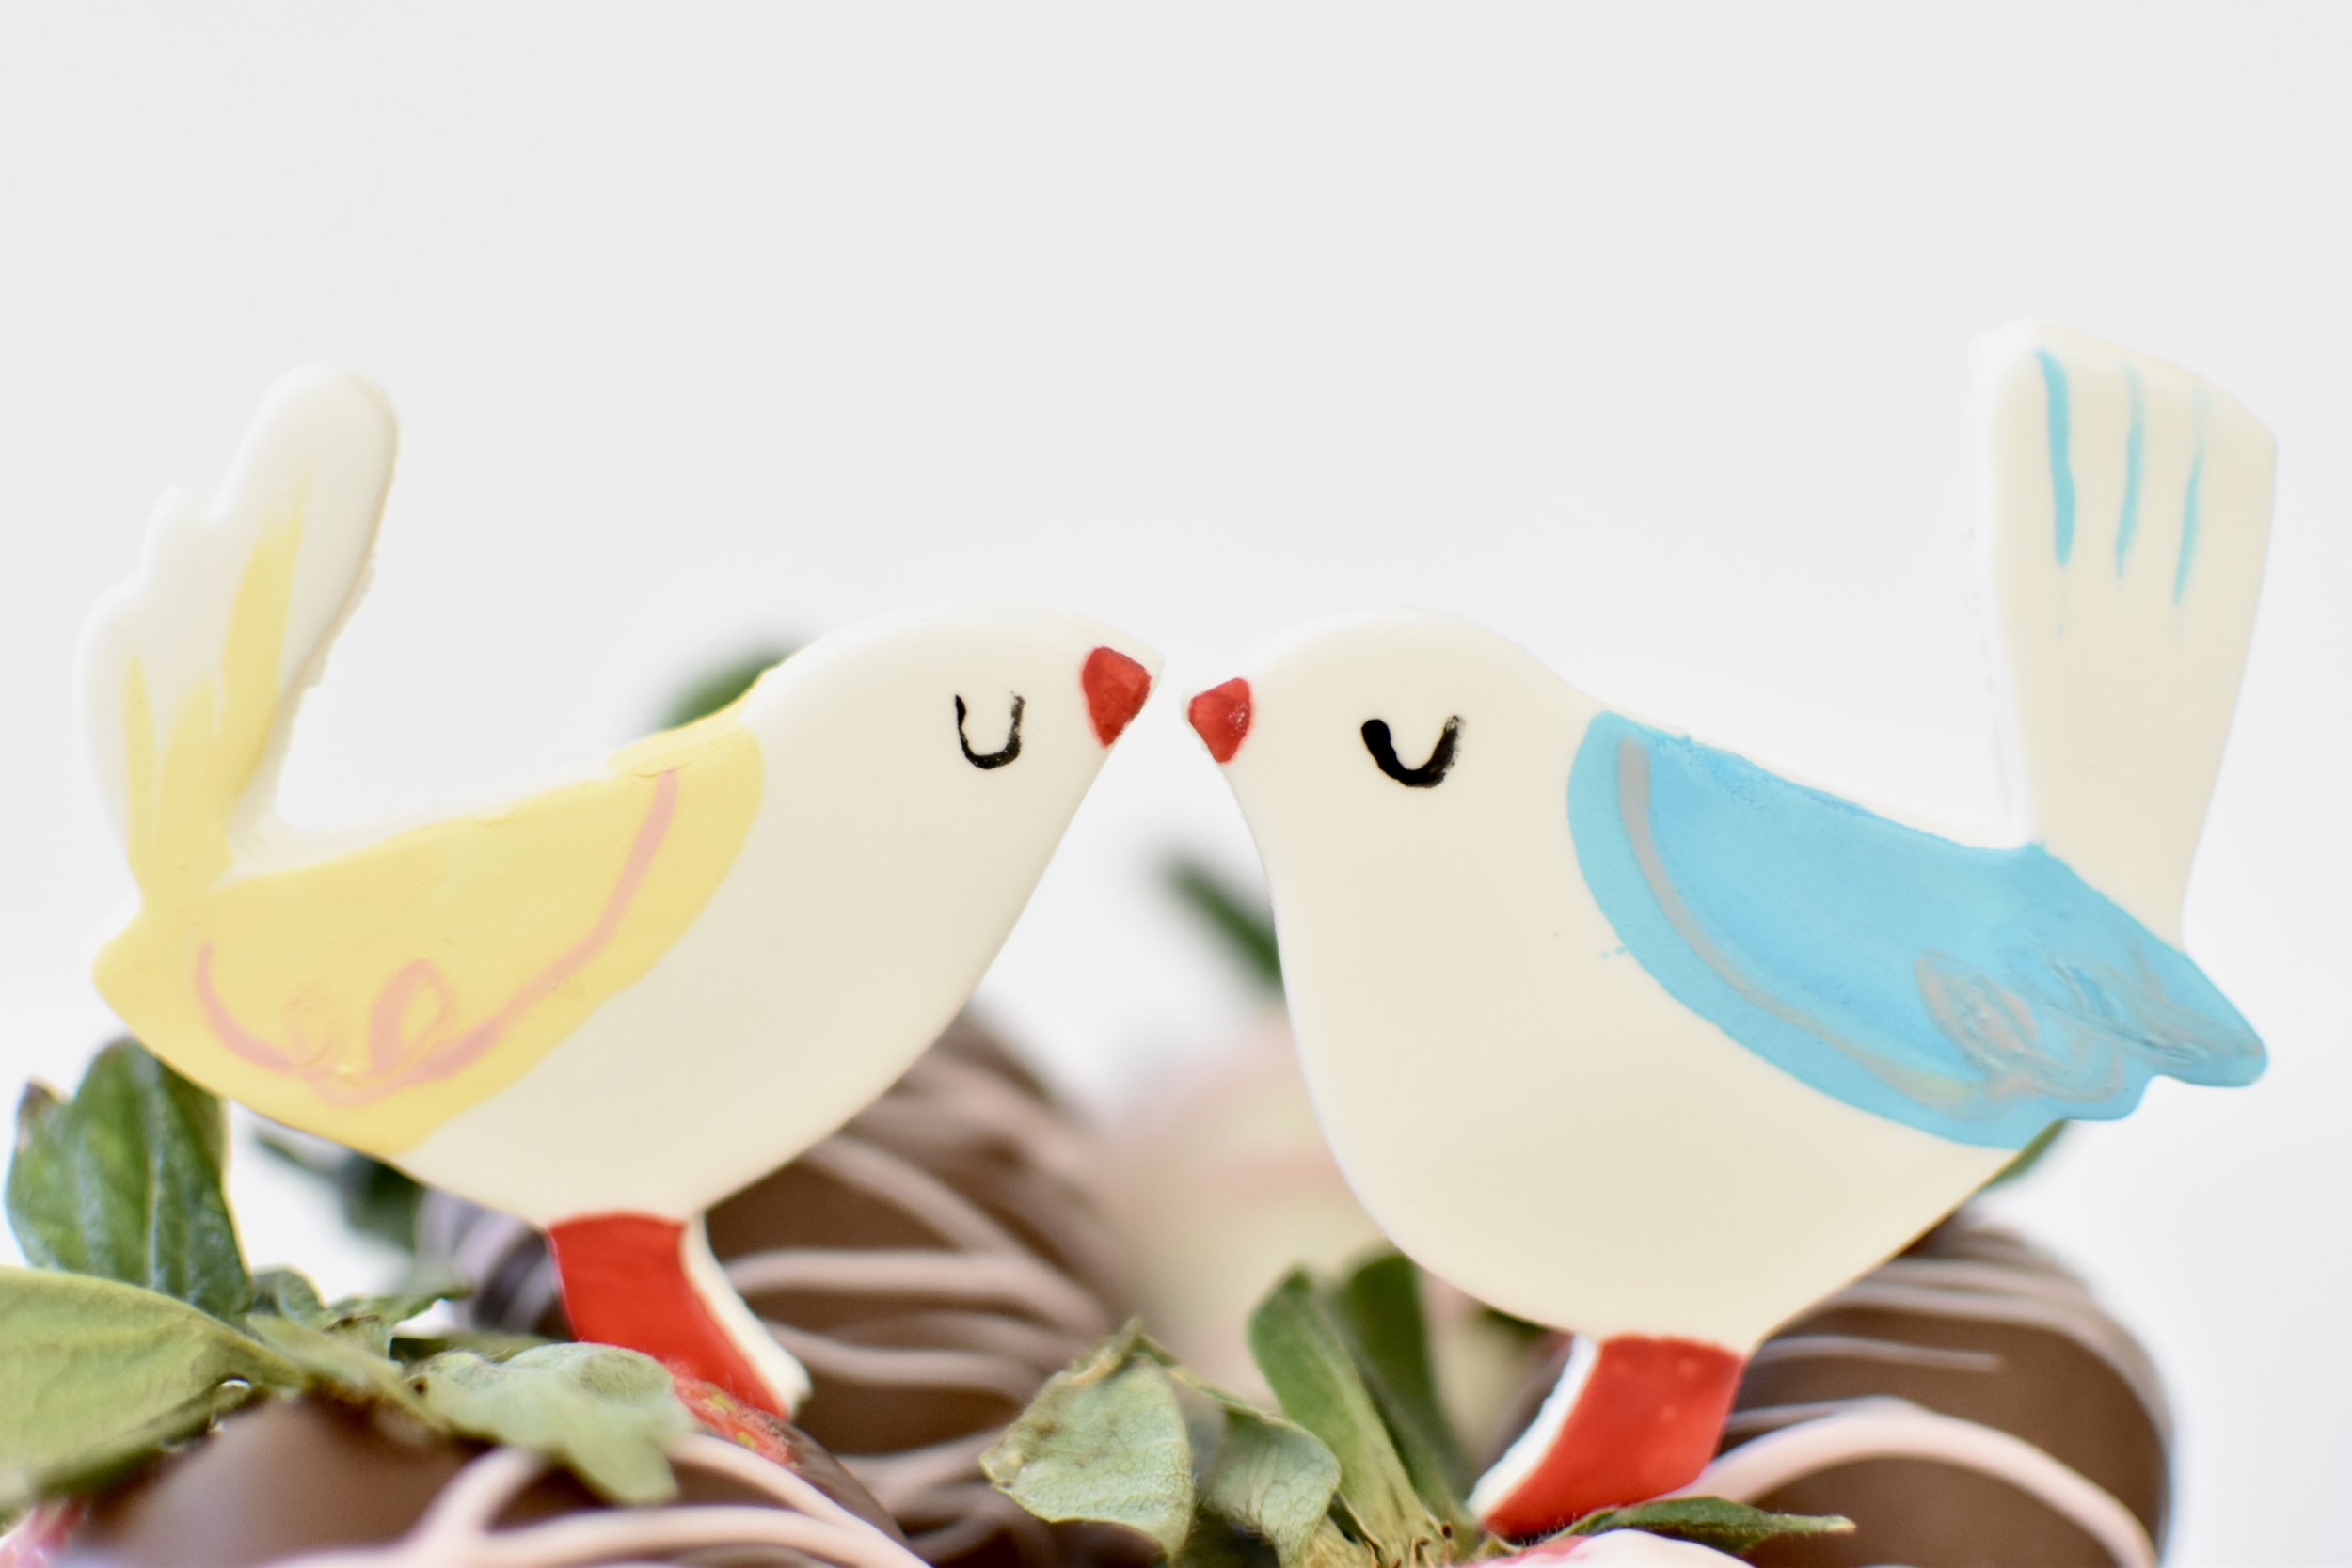
YOUR VALENTINE WOULD LOVE ONE OF THESE MINI CAKES! THEY ARE UNIQUE, DELICIOUS AND PERFECT FOR TWO. 

$30

FLAVORS: Chocolate, Red Velvet, Strawberry Chocolate

DESIGN: Love Birds or LOVE

PICK YOUR FLAVOR, DESIGN AND EMAIL ME: lifeisbymandi@gmail.com

  • ORDER BY FEBRUARY 10TH

"Romance is the icing, but love is the CAKE!"

"I love you more than CAKE!"

"I like you and CAKE!"

"I love you like a fat kid loves CAKE!"

"You can't buy happiness,  but you can buy CAKE and that's kind of the same thing!"

"All you need is love, but a little CAKE now and then doesn't hurt."


fullsizeoutput_9f.jpeg
fullsizeoutput_a2.jpeg
fullsizeoutput_a0.jpeg
fullsizeoutput_cf.jpeg
fullsizeoutput_9c.jpeg
fullsizeoutput_99.jpeg
fullsizeoutput_9d.jpeg
fullsizeoutput_9a.jpeg
fullsizeoutput_9b.jpeg
fullsizeoutput_9e.jpeg
February 03, 2017 /Mandi McQuivey
Comment
fullsizeoutput_6.jpeg

lemon-rose bath bomb

January 16, 2017 by Mandi McQuivey

One of my greatest loves in life is taking baths. I take one almost every night, they are my favorite. So naturally when I found out about LUSH bath bombs I was hooked. They are still the best, but I would need to get three jobs in order to pay for my nightly usage. So, I thought I would make some! The kids and I had so much fun deciding on what combination of oils we would use. Our favorite was lemon-rose. So refreshing and calming! Here is the recipe...dinosaur and lion optional.

LEMON-ROSE BATH BOMB
INGREDIENTS:
1 Cup Baking Soda
1/2 Cup Citric Acid
1/2 Cup Corn Starch
3 T. Epsom Salt
1 tsp. Water
4 tsp. Almond Oil
Zest of One Lemon
10 Drops Lemon Essential Oil
10 Drops Rose Essential Oil
3 Drops Pink Food Coloring
Plastic Ornament Mold
DIRECTIONS:
In a large bowl combine baking soda, citric acid, cornstarch and epsom salt. Whisk together. In a small bowl combine the water, almond oil, lemon zest and essential oils. Whisk together. Pour the wet mixture into the dry mixture. Test the mixture with your hands to see if it comes together. If not use a little more oil. Once it is the right consistency press the mixture into the molds. Let it dry in the molds for two hours. After the two hours set them on a paper towel to dry overnight.
fullsizeoutput_3.jpeg
fullsizeoutput_4.jpeg
fullsizeoutput_6.jpeg
fullsizeoutput_5.jpeg
fullsizeoutput_8.jpeg
fullsizeoutput_9.jpeg
fullsizeoutput_7.jpeg
fullsizeoutput_a.jpeg

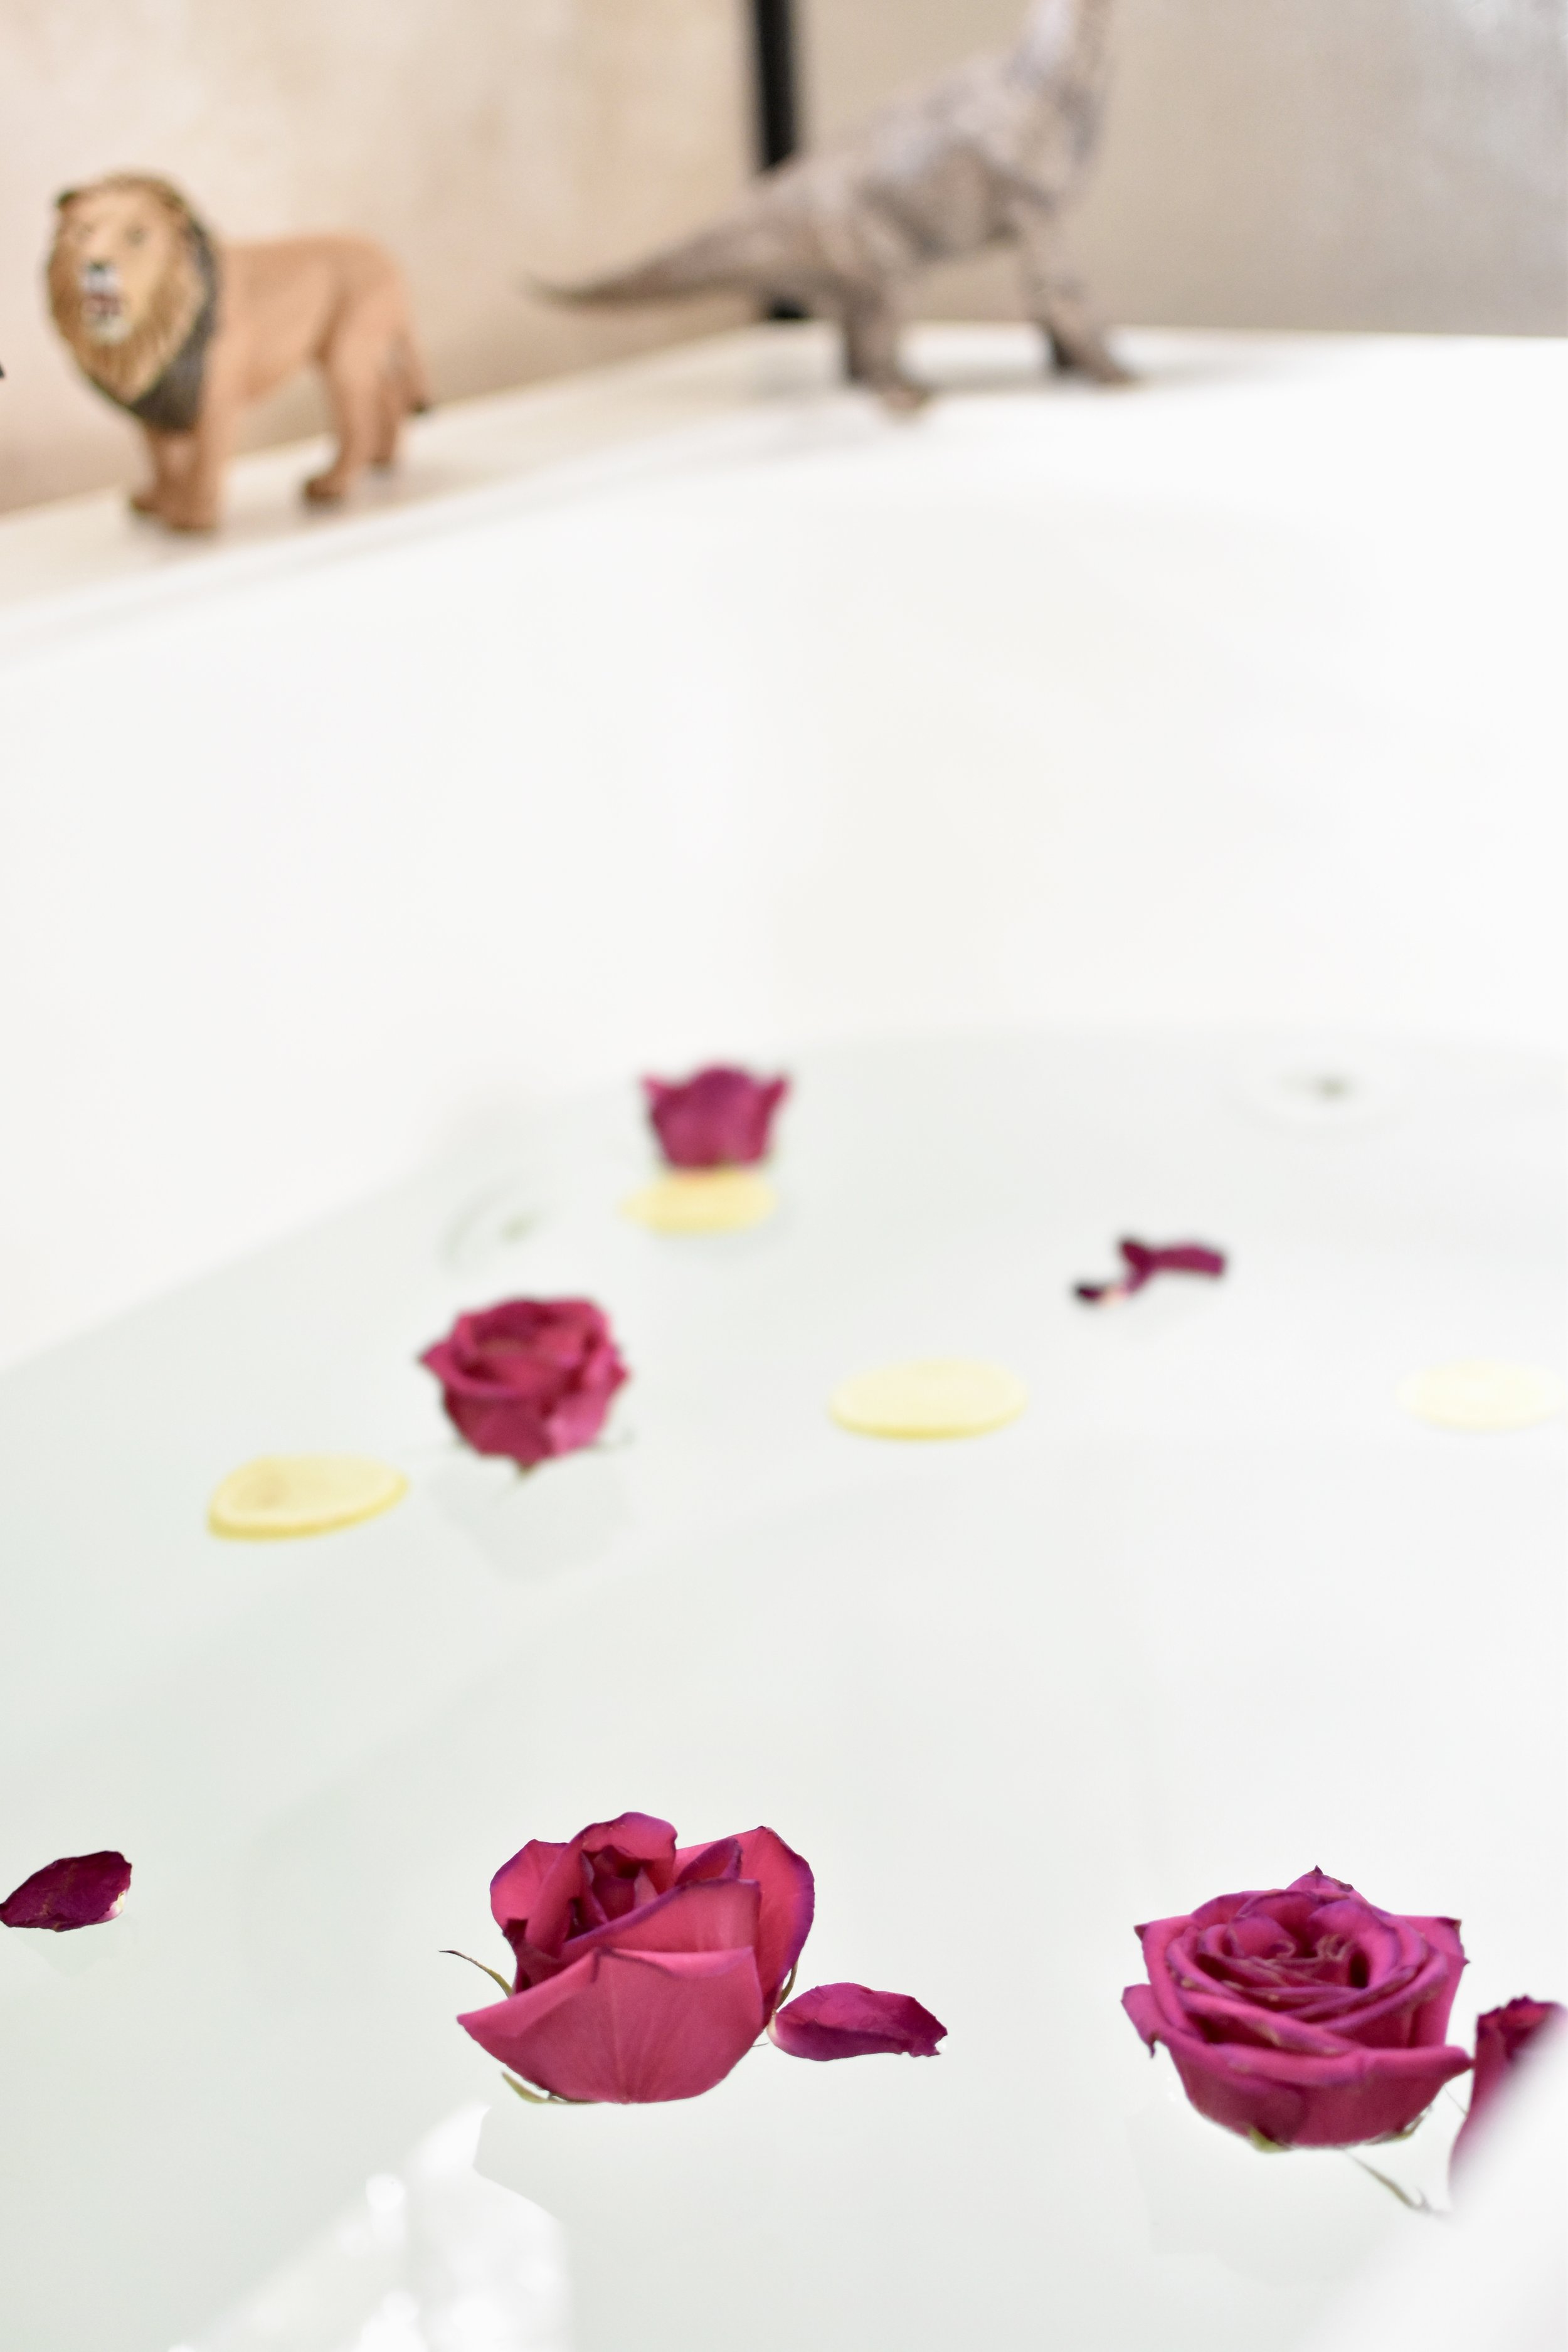
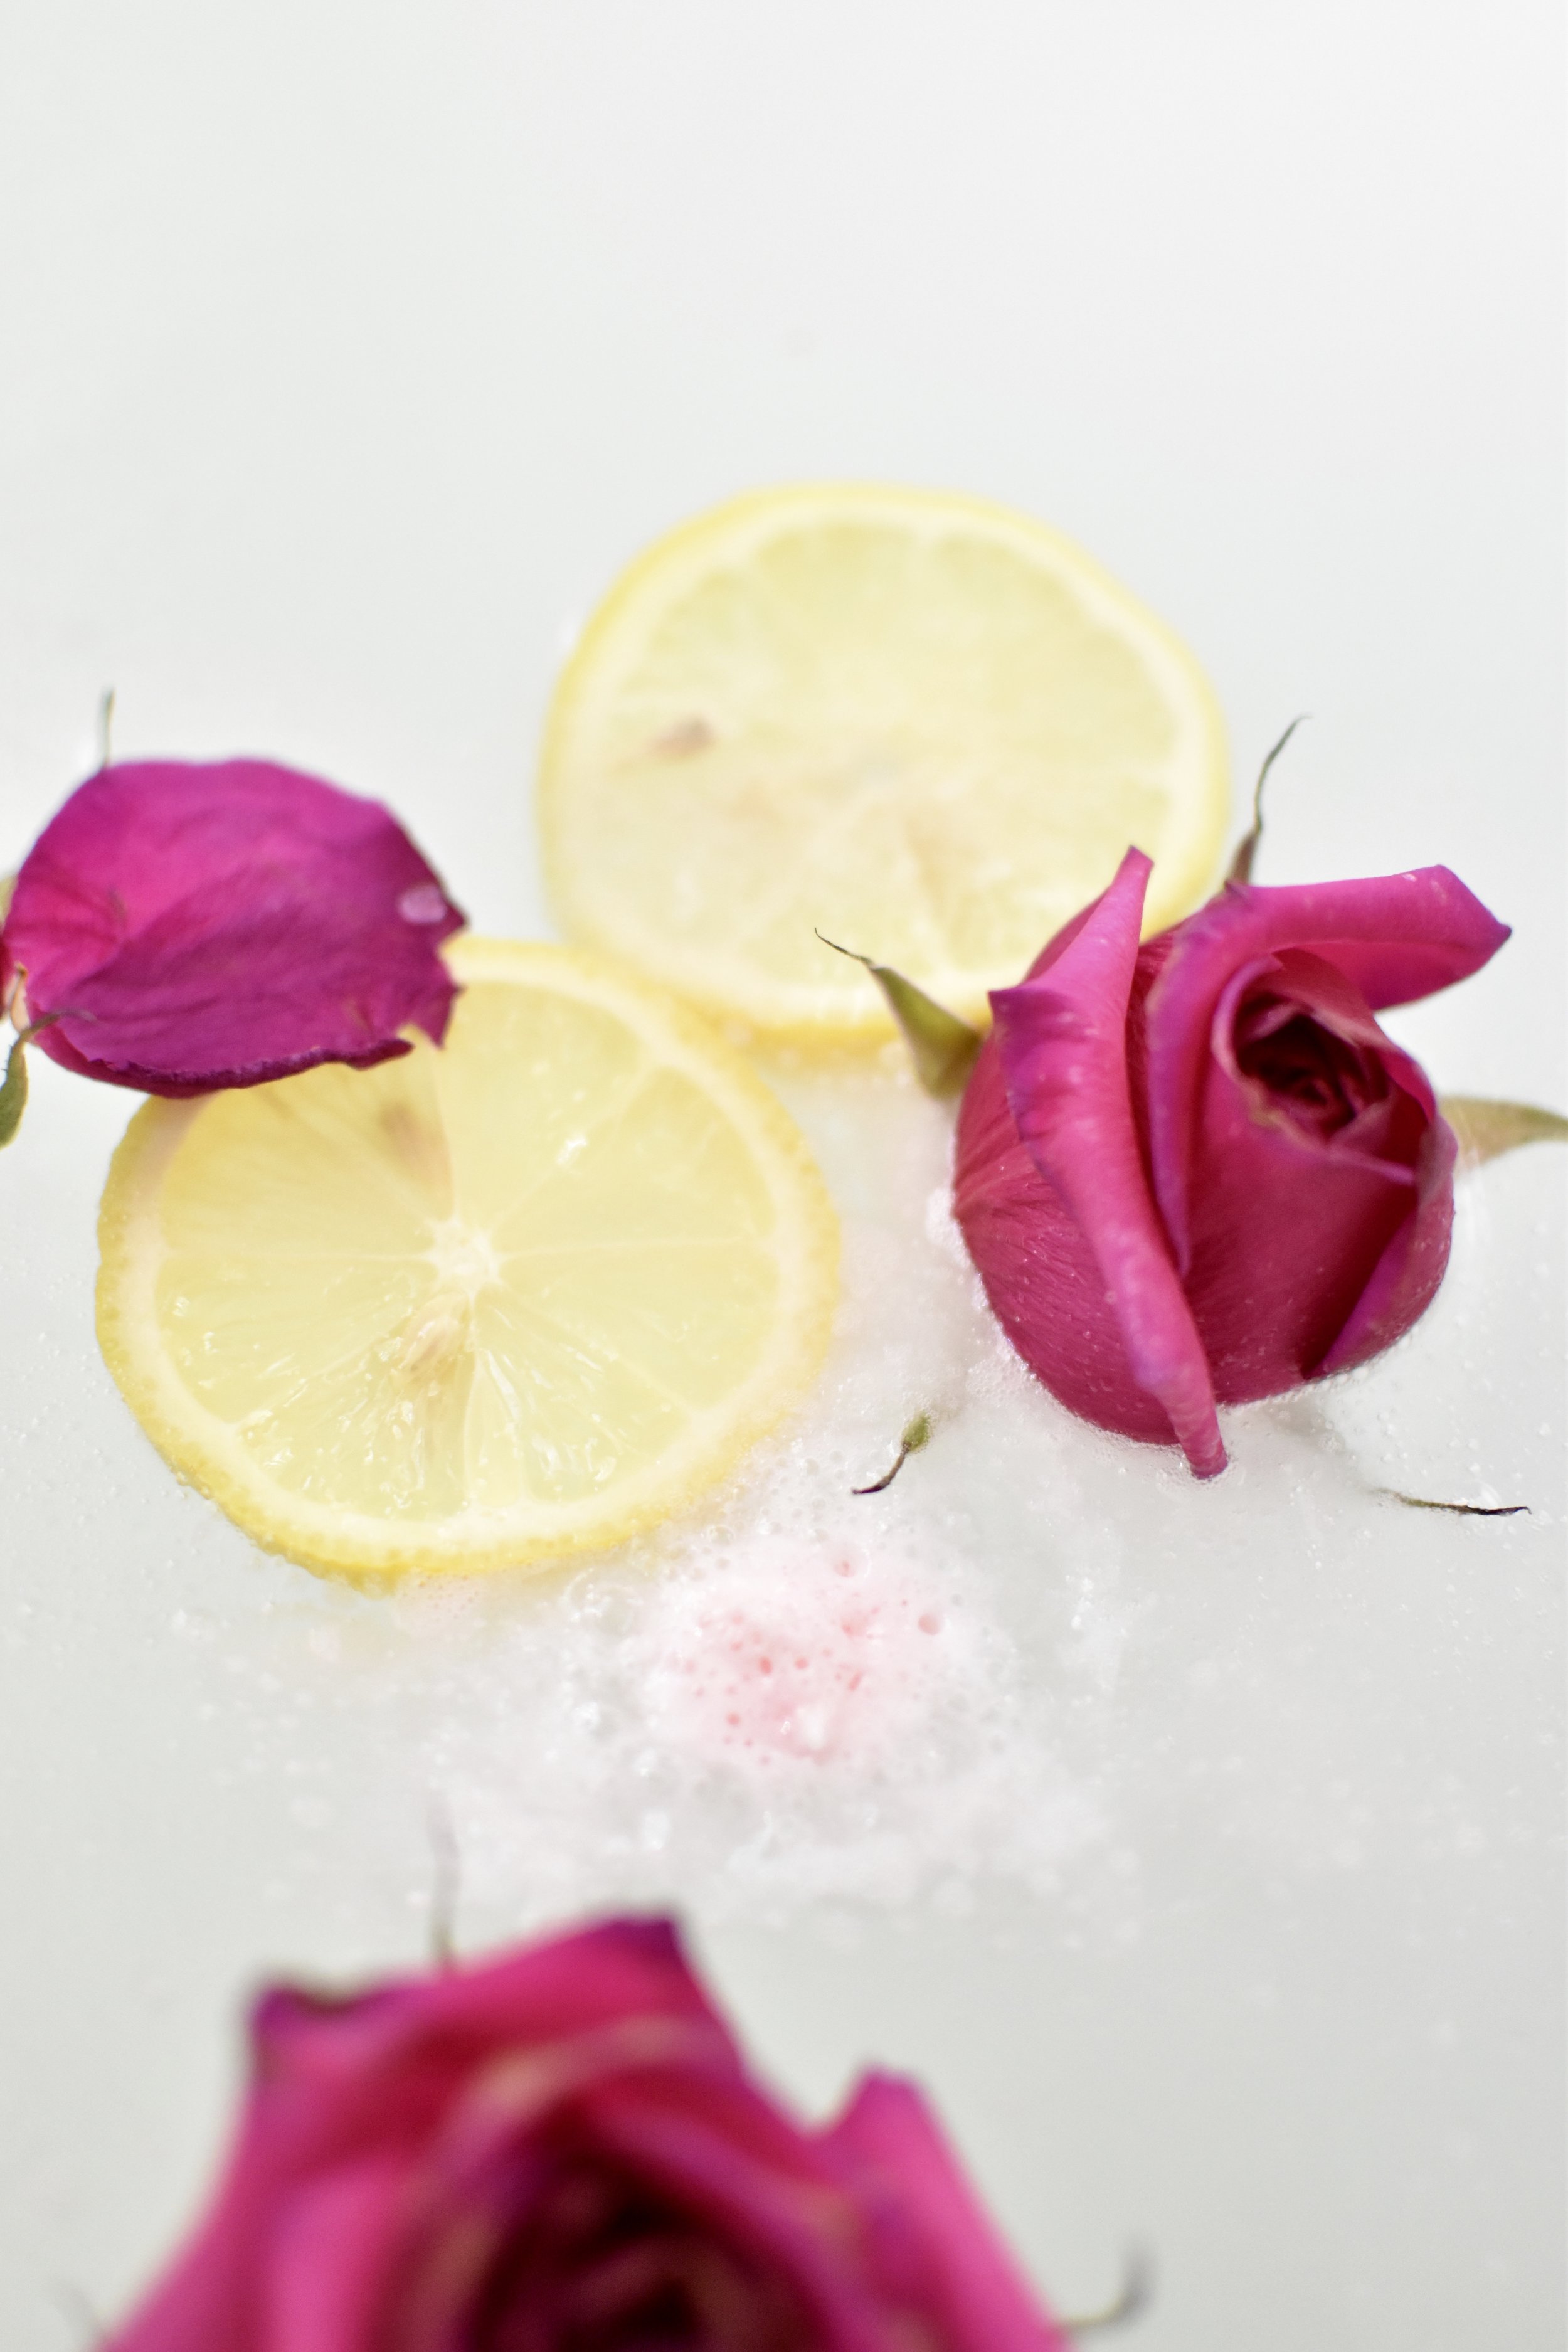
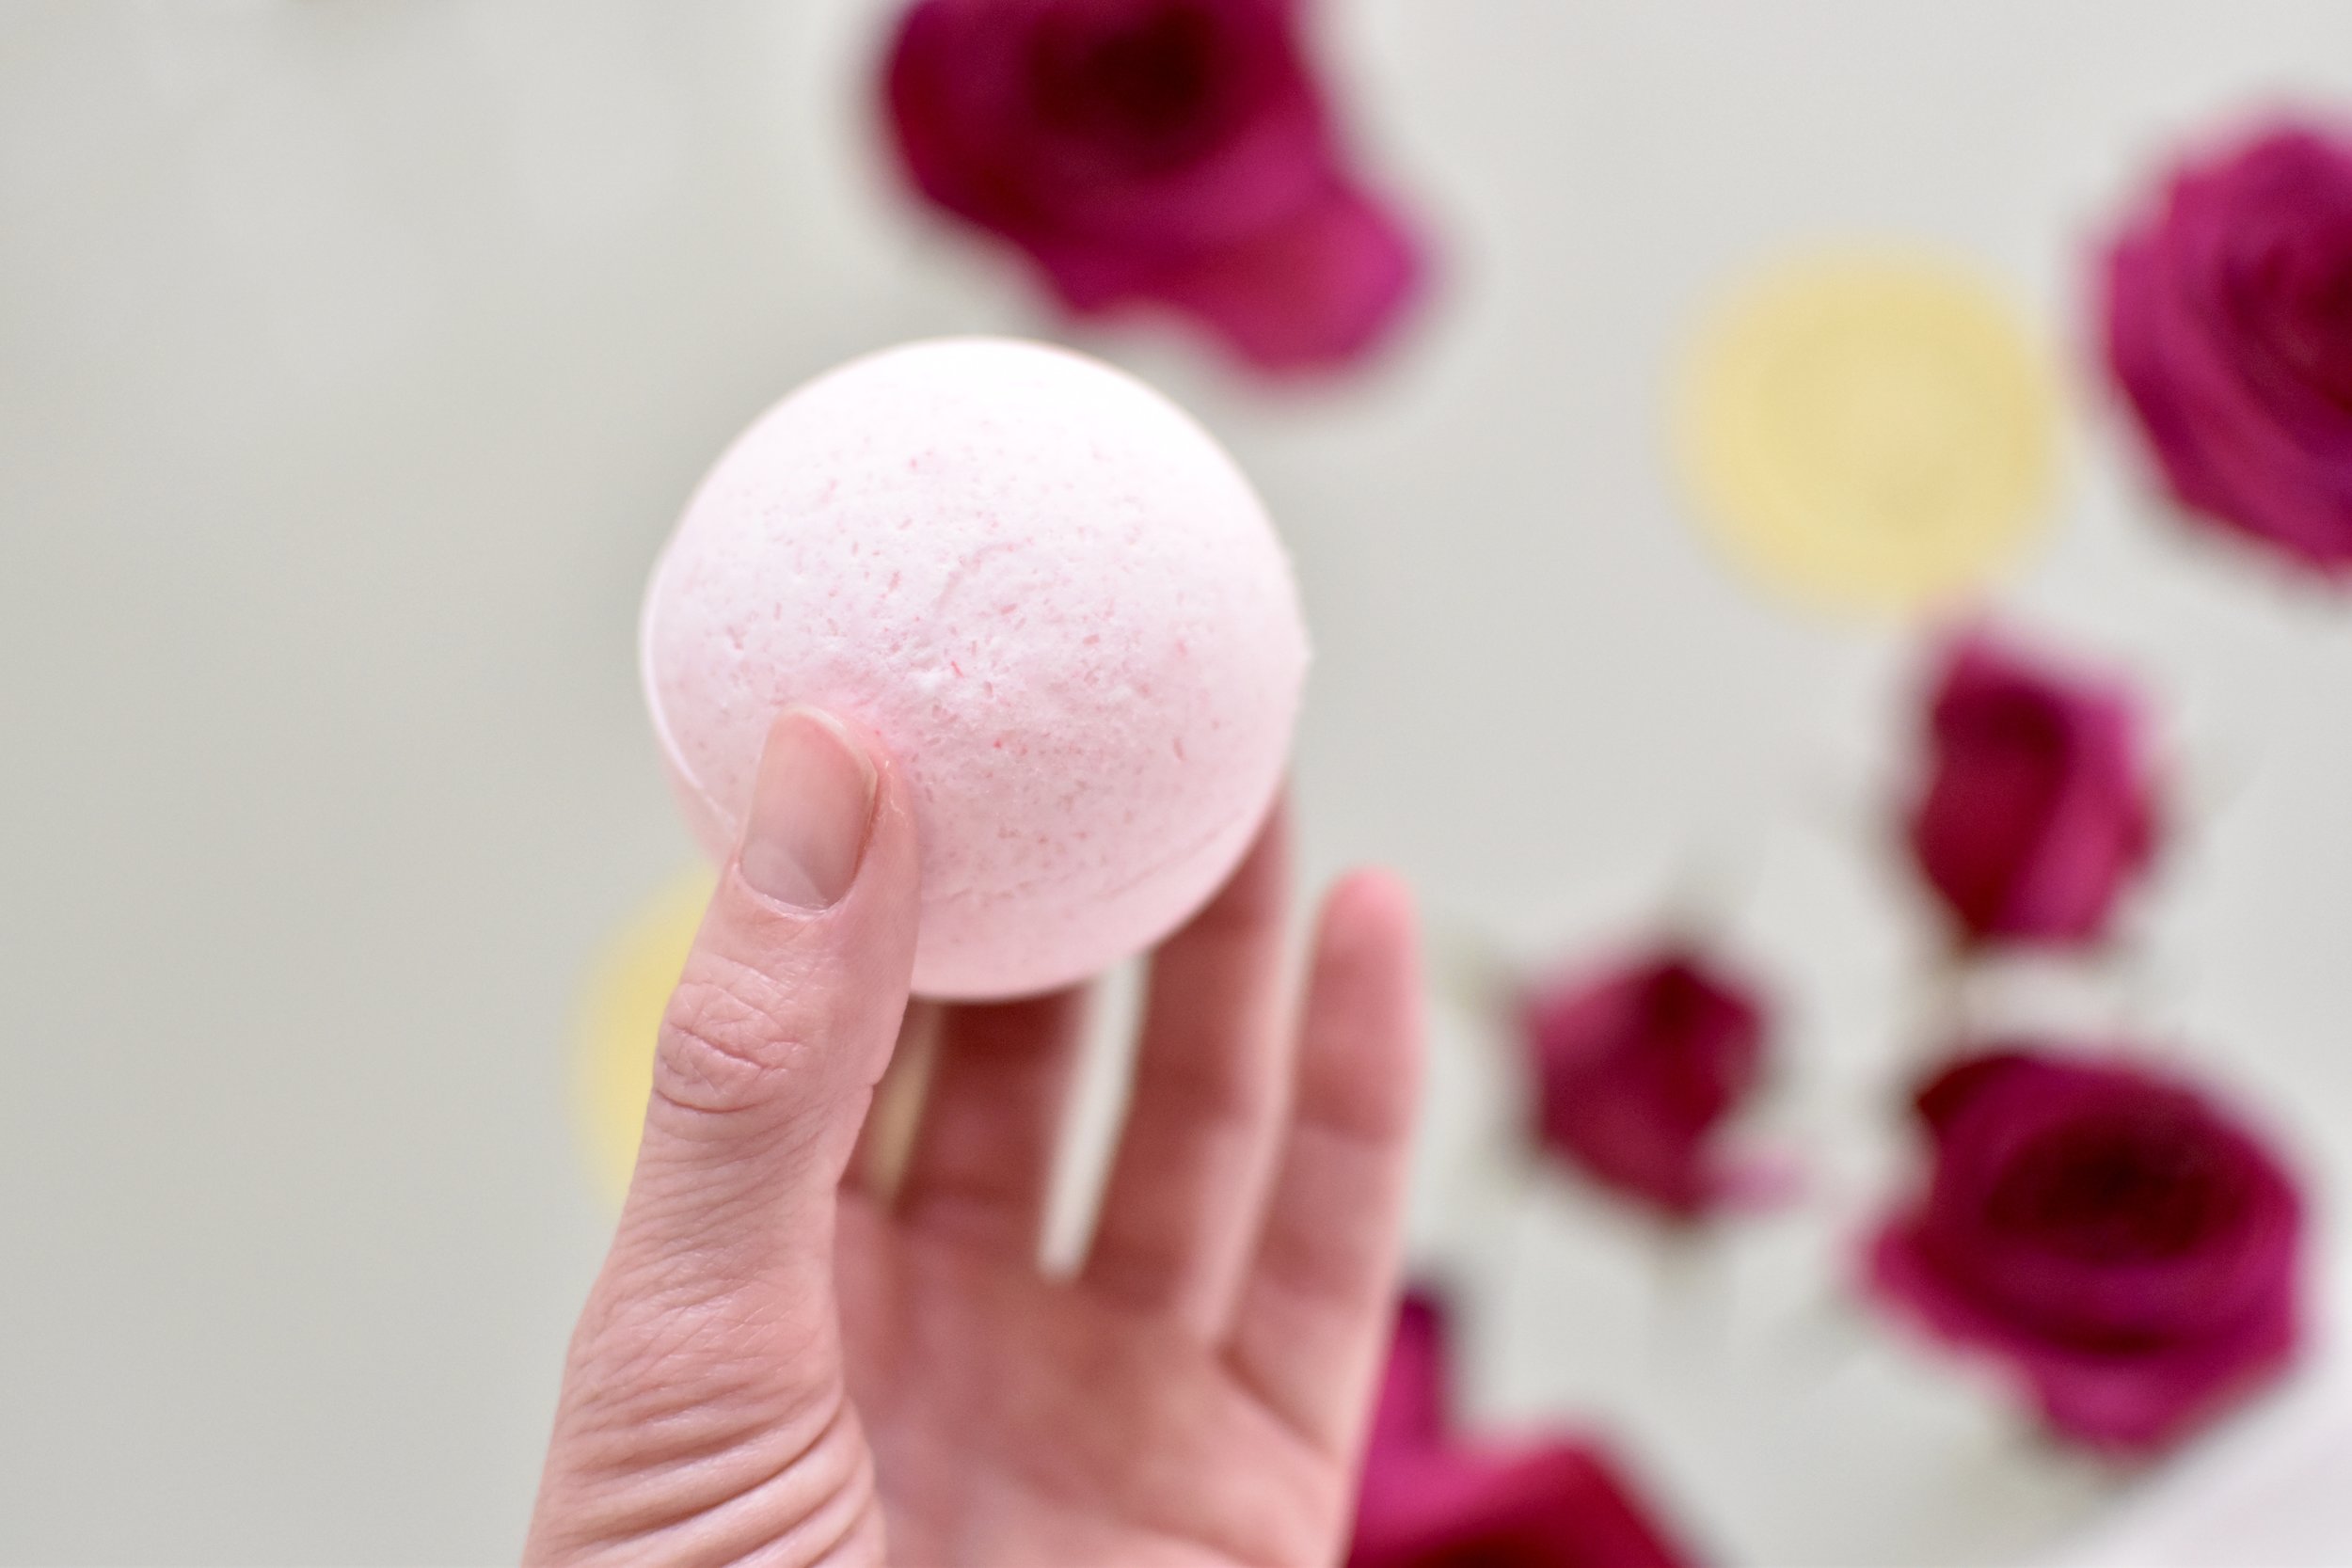
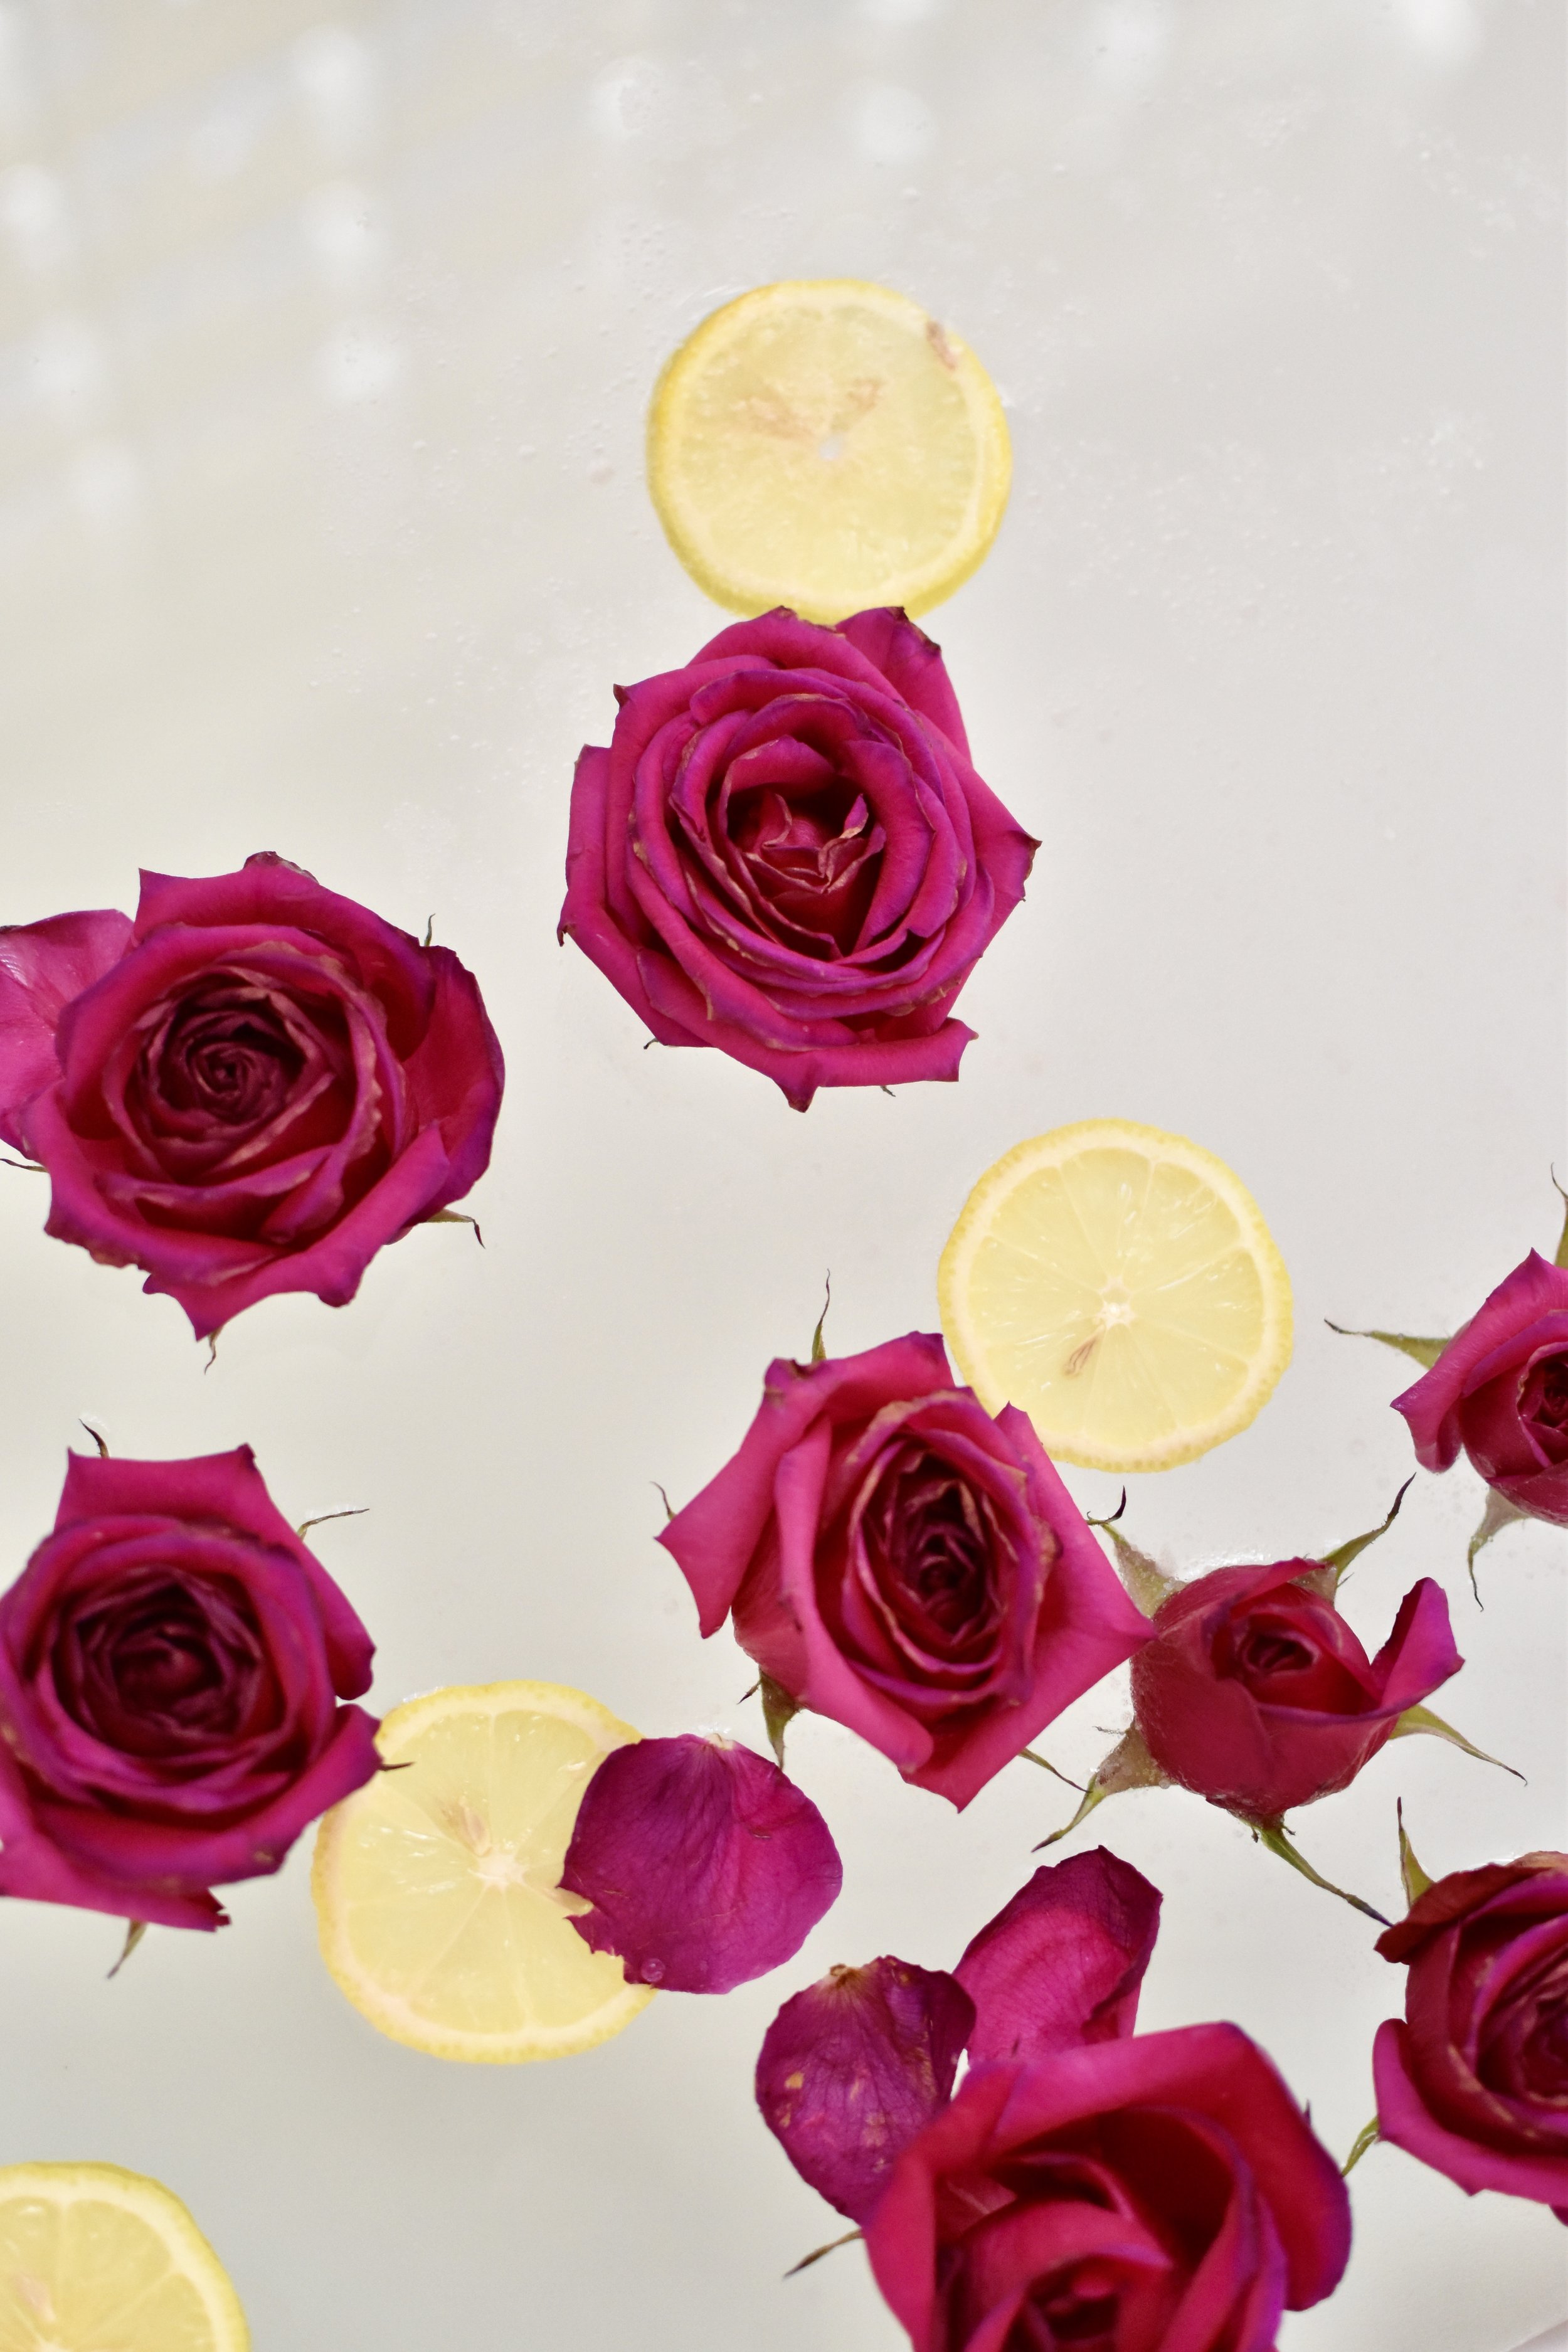
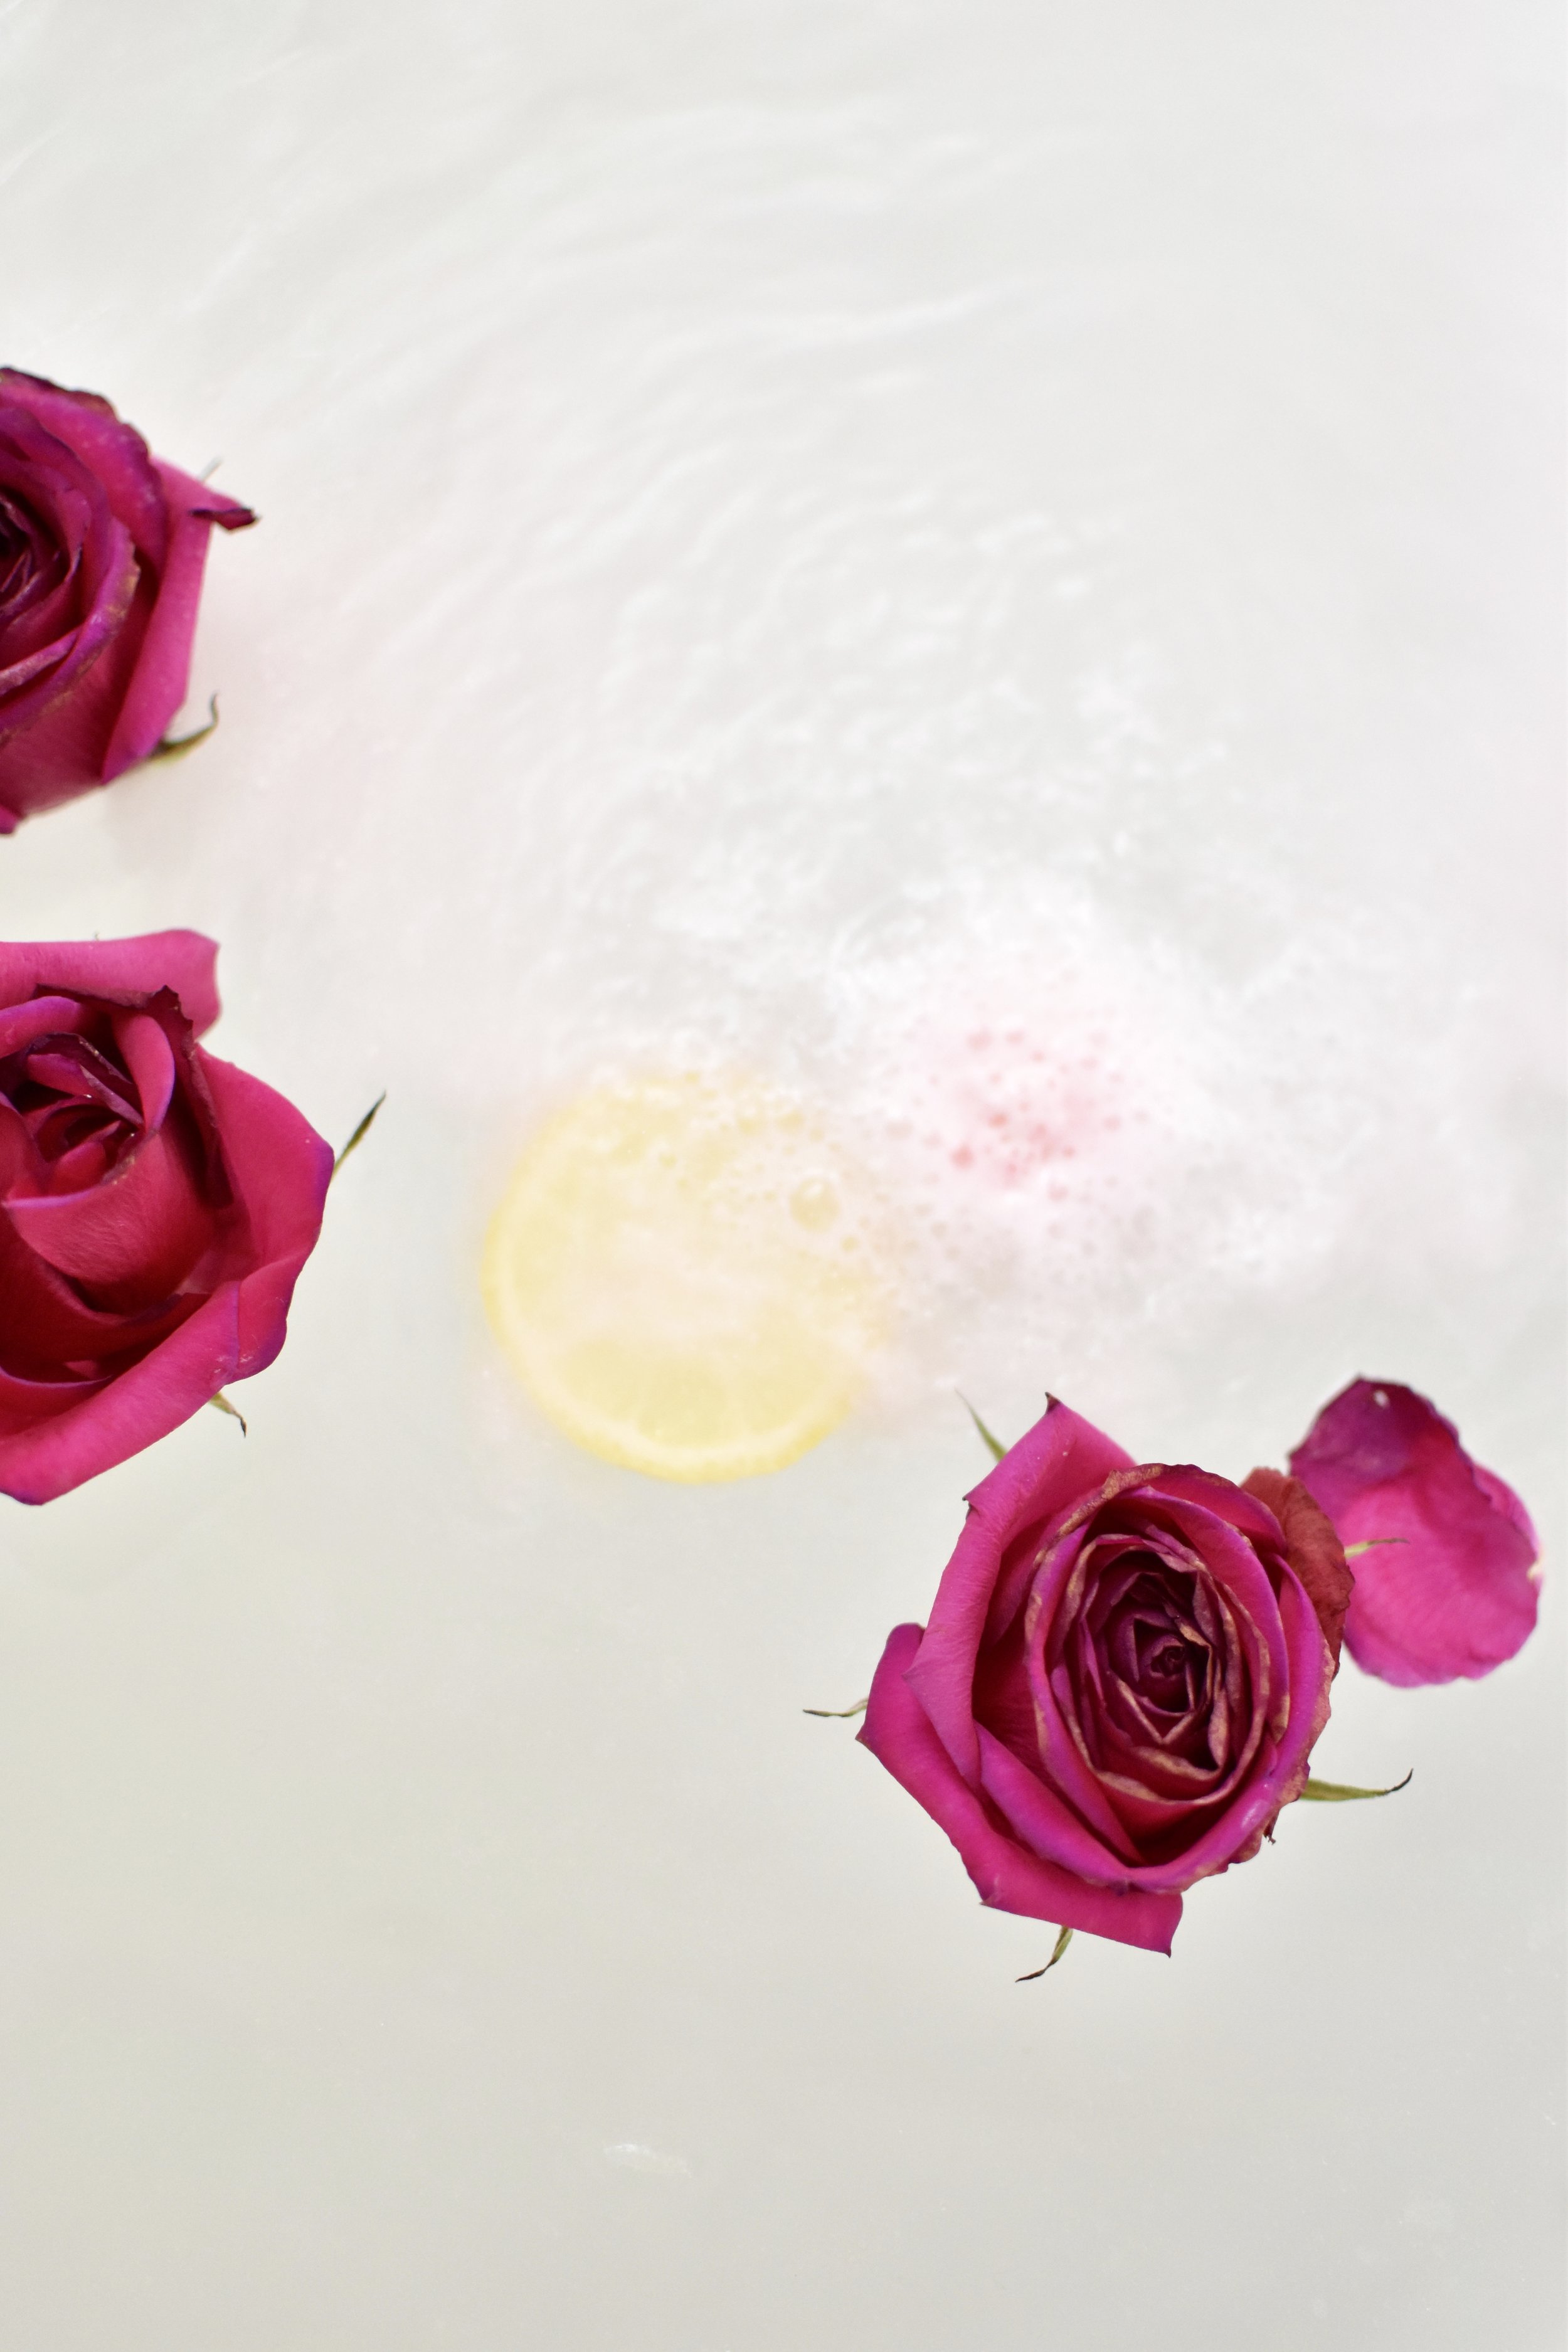
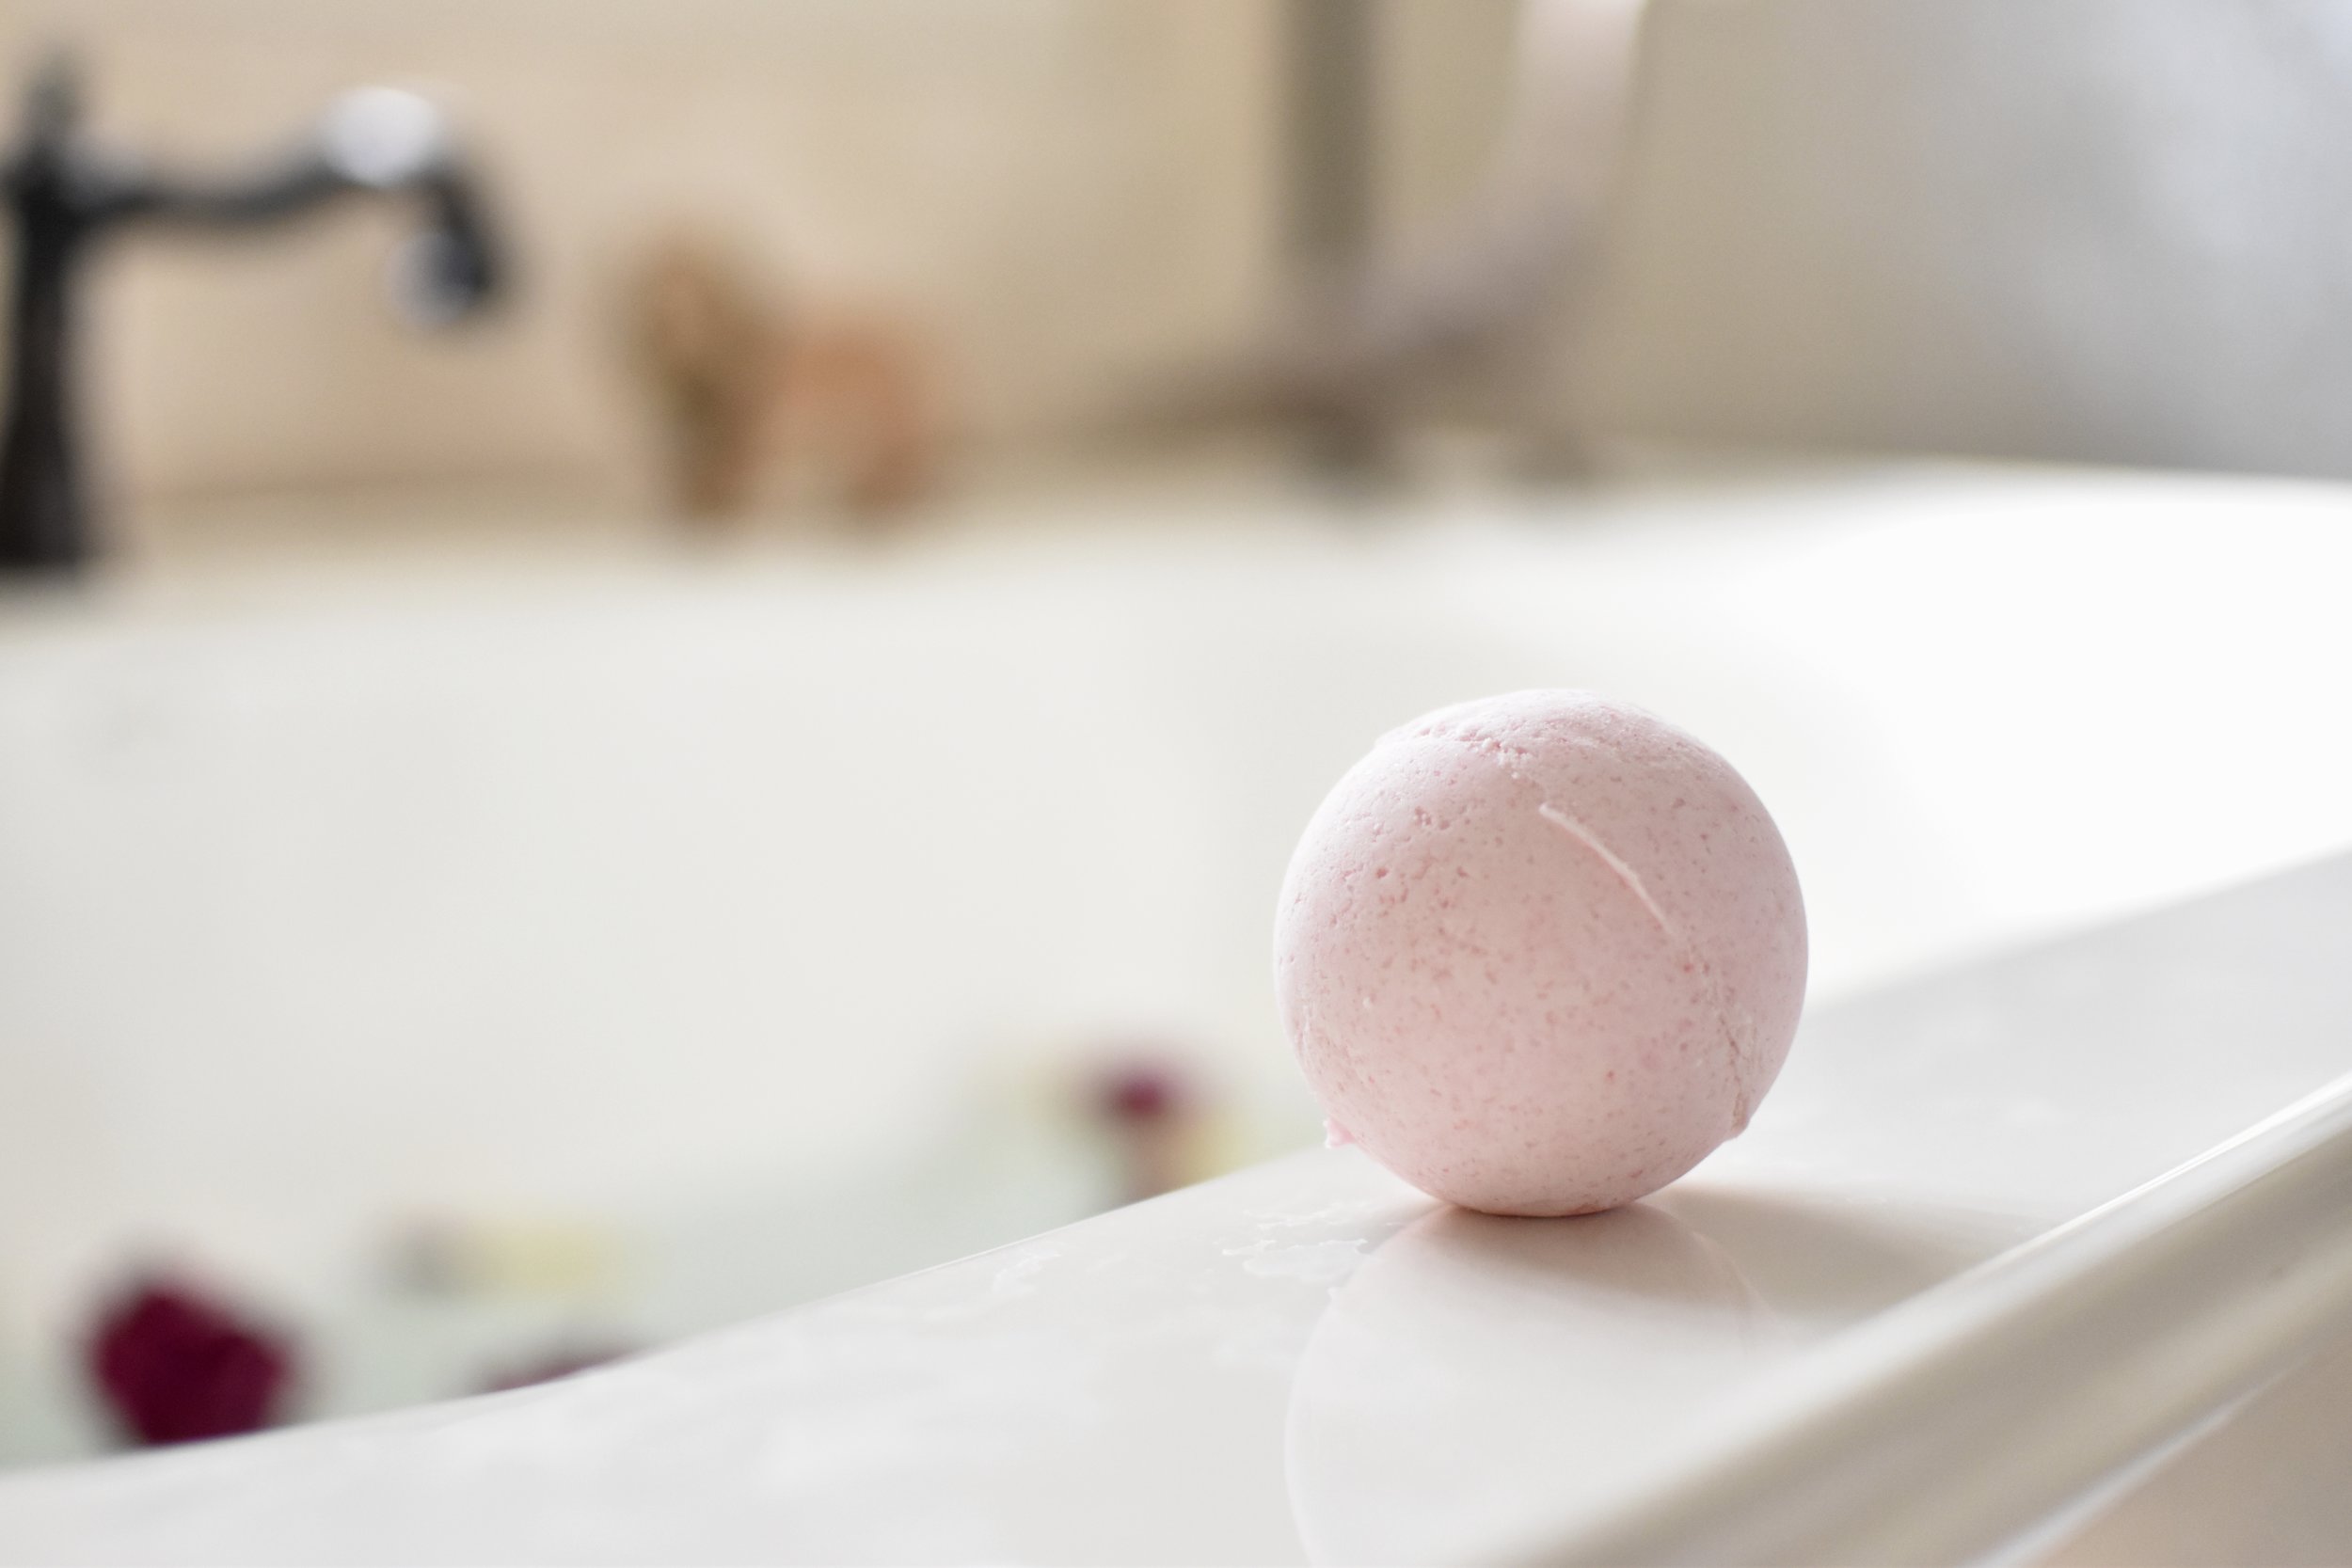
*All ingredients are from AMAZON.

January 16, 2017 /Mandi McQuivey
Comment

grinchy treats

December 13, 2016 by Mandi McQuivey
GRINCH HEART COOKIES
INGREDIENTS:
1 Box Vanilla Cake Mix
1/2 Cup Vegetable Oil
2 Eggs
1/2 tsp Vanilla
Green Food Coloring
Powdered Sugar for Dusting
Large Heart Shaped Sprinkles
DIRECTIONS:
Preheat Oven to 350. Mix together the cake mix, food coloring, eggs, oil and vanilla. Chill the dough for 30 minutes. Drop by tablespoon into powdered sugar and roll into balls. Put on a baking sheet and press one heart onto the cookie. Bake for 8-9 minutes.
DSC_1071.jpg
DSC_1070.jpg
DSC_1076.jpg
GRINCHY DRINK
INGREDIENTS:
Lime Sorbet
Sprite
DIRECTIONS:
Put desired amount of sorbet in a glass, fill it up with sprite! Easy and so delicious.
December 13, 2016 /Mandi McQuivey
Comment

charlie brown thanksgiving

November 22, 2016 by Mandi McQuivey

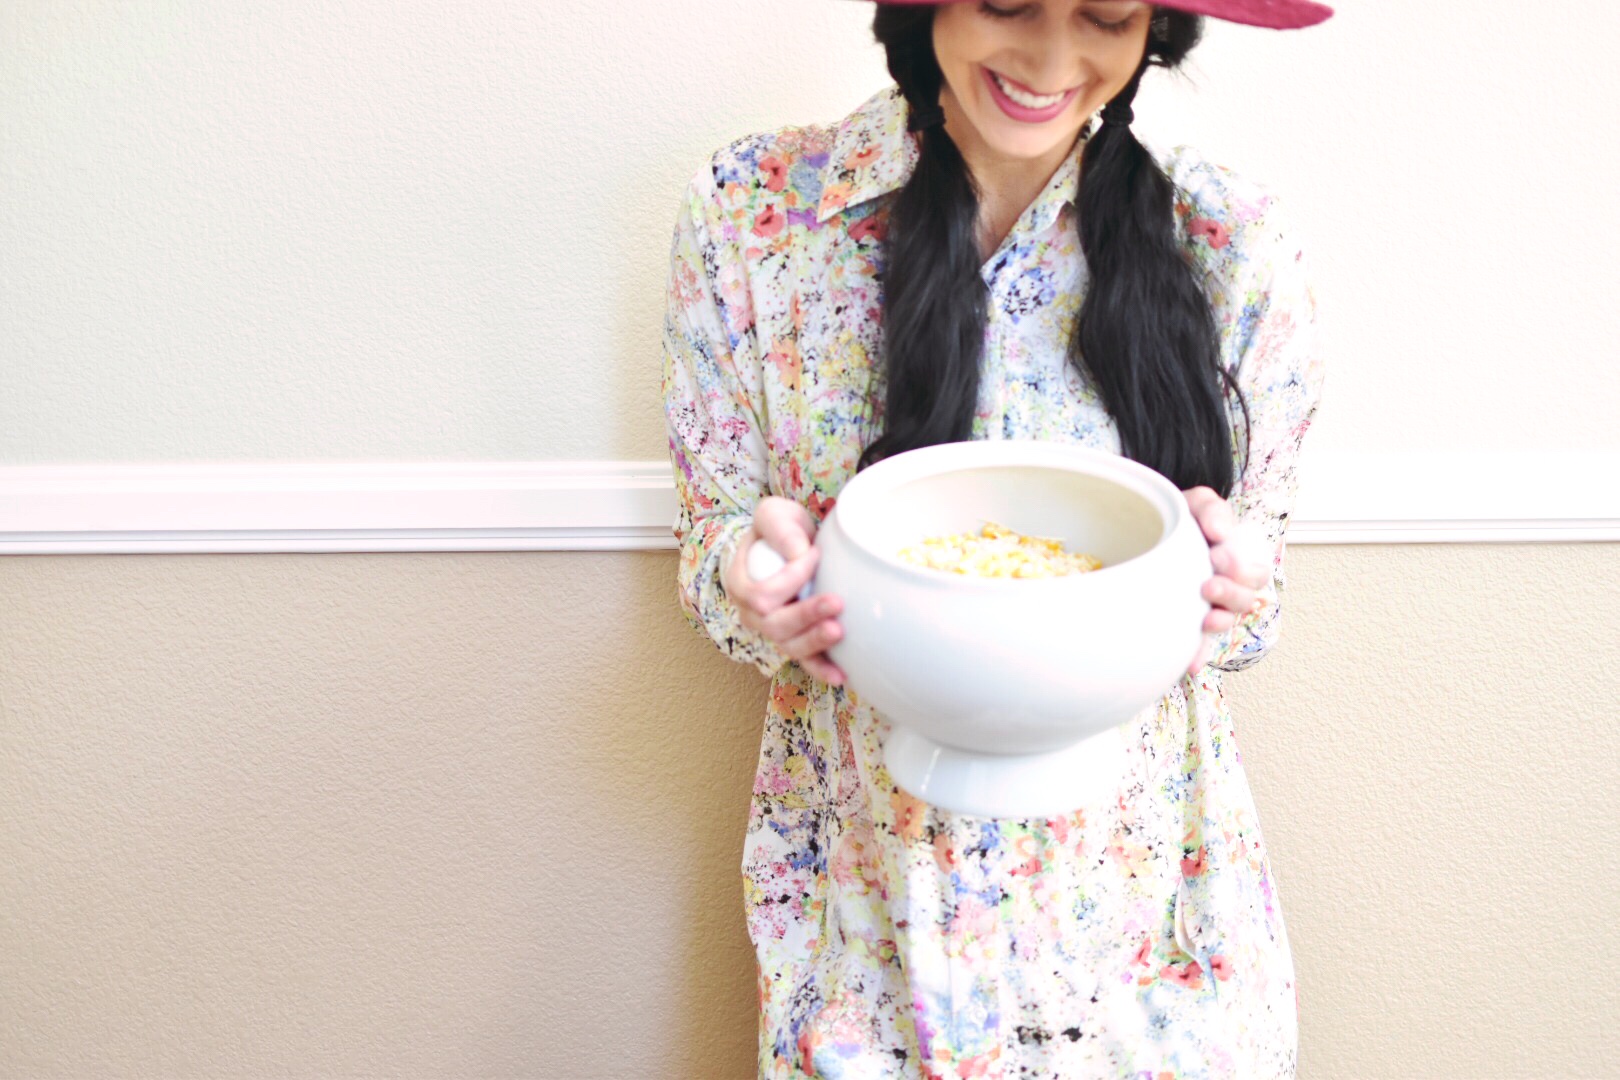
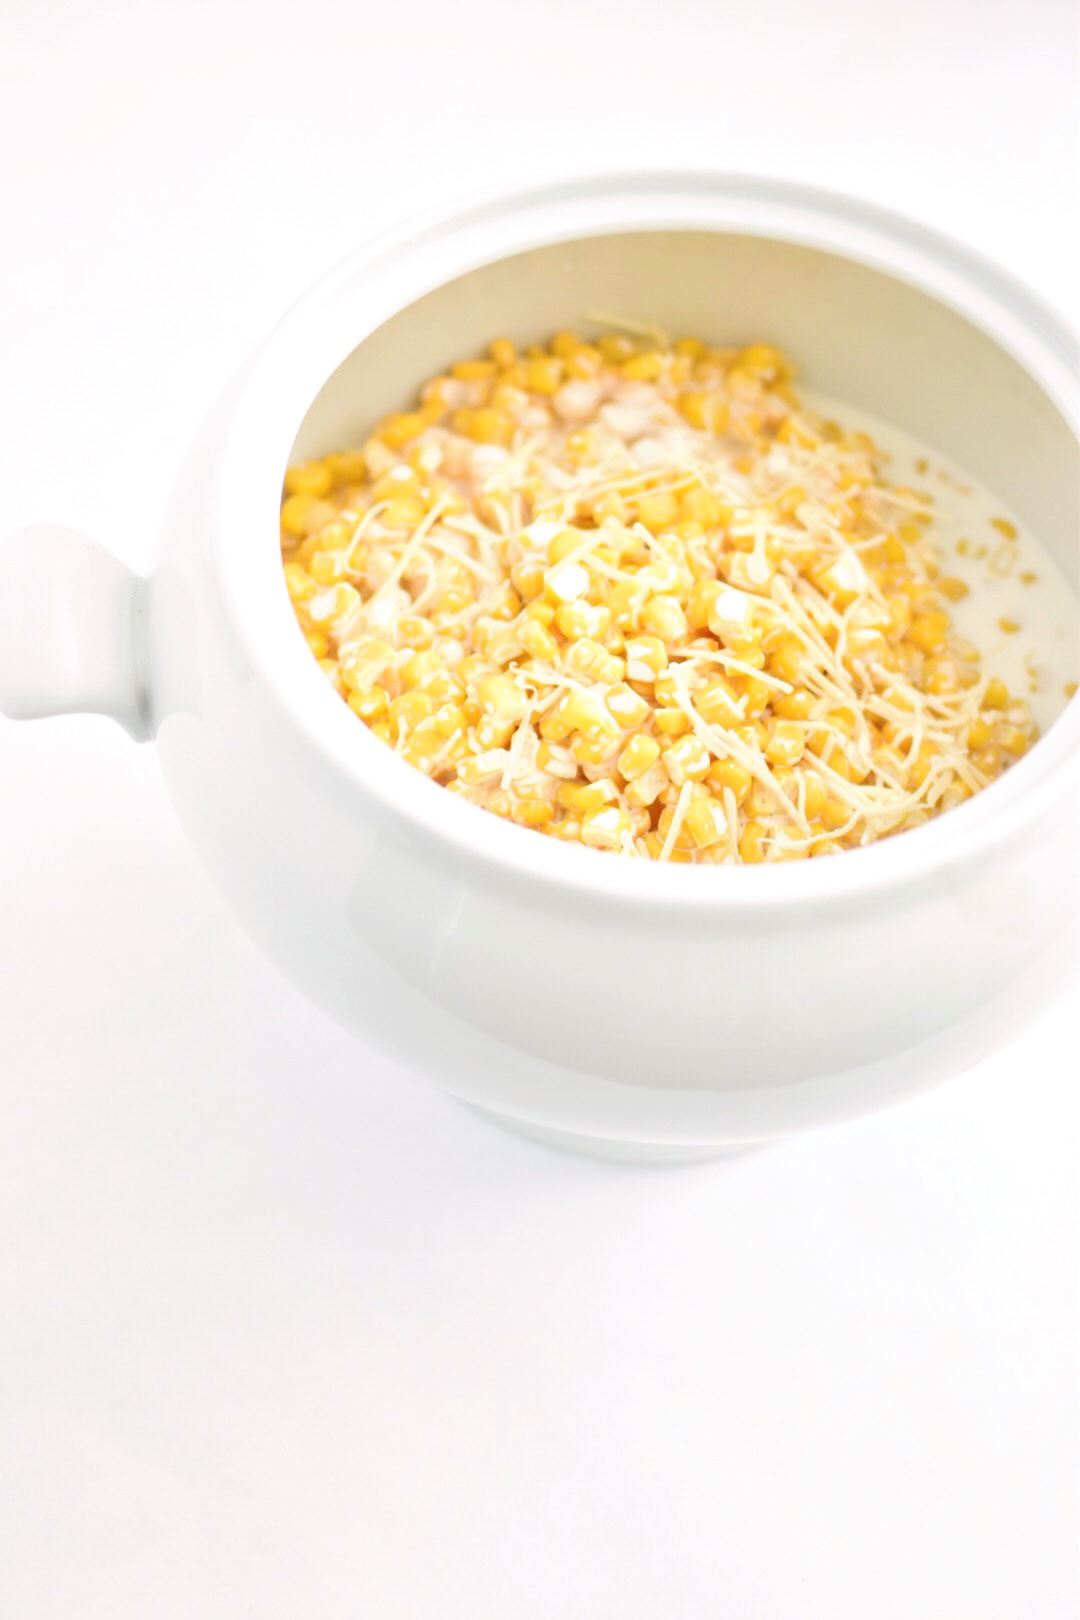
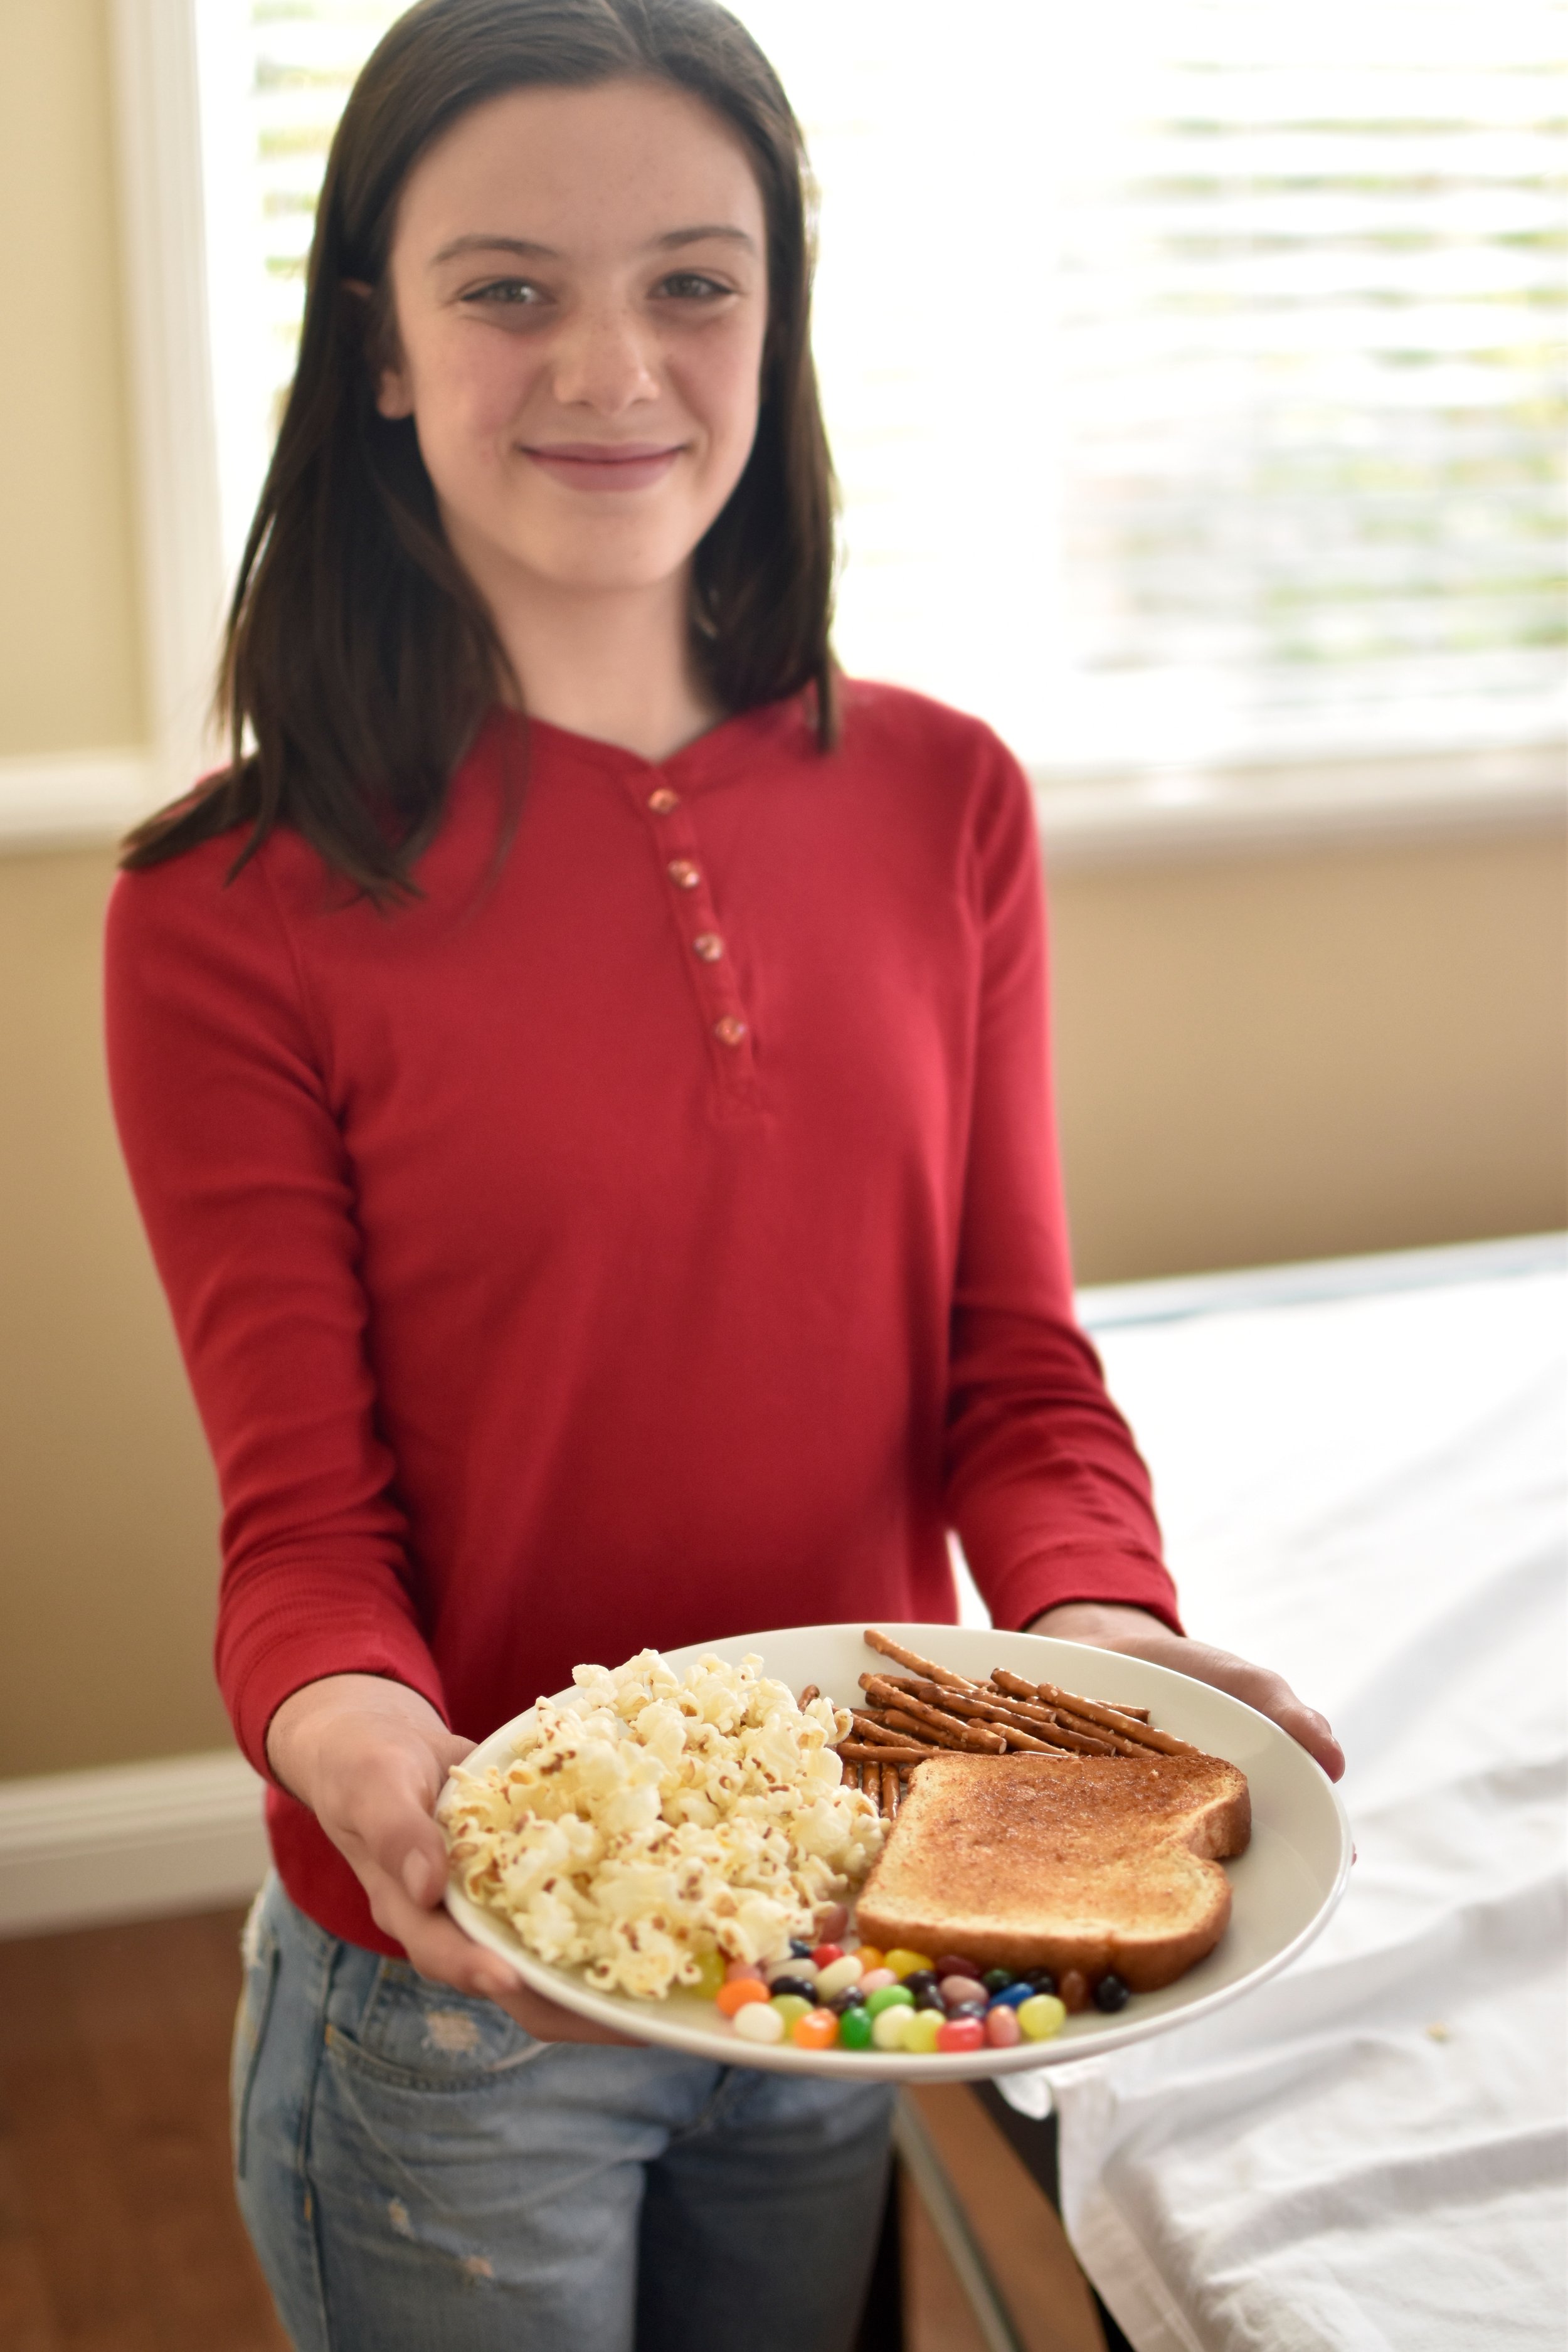
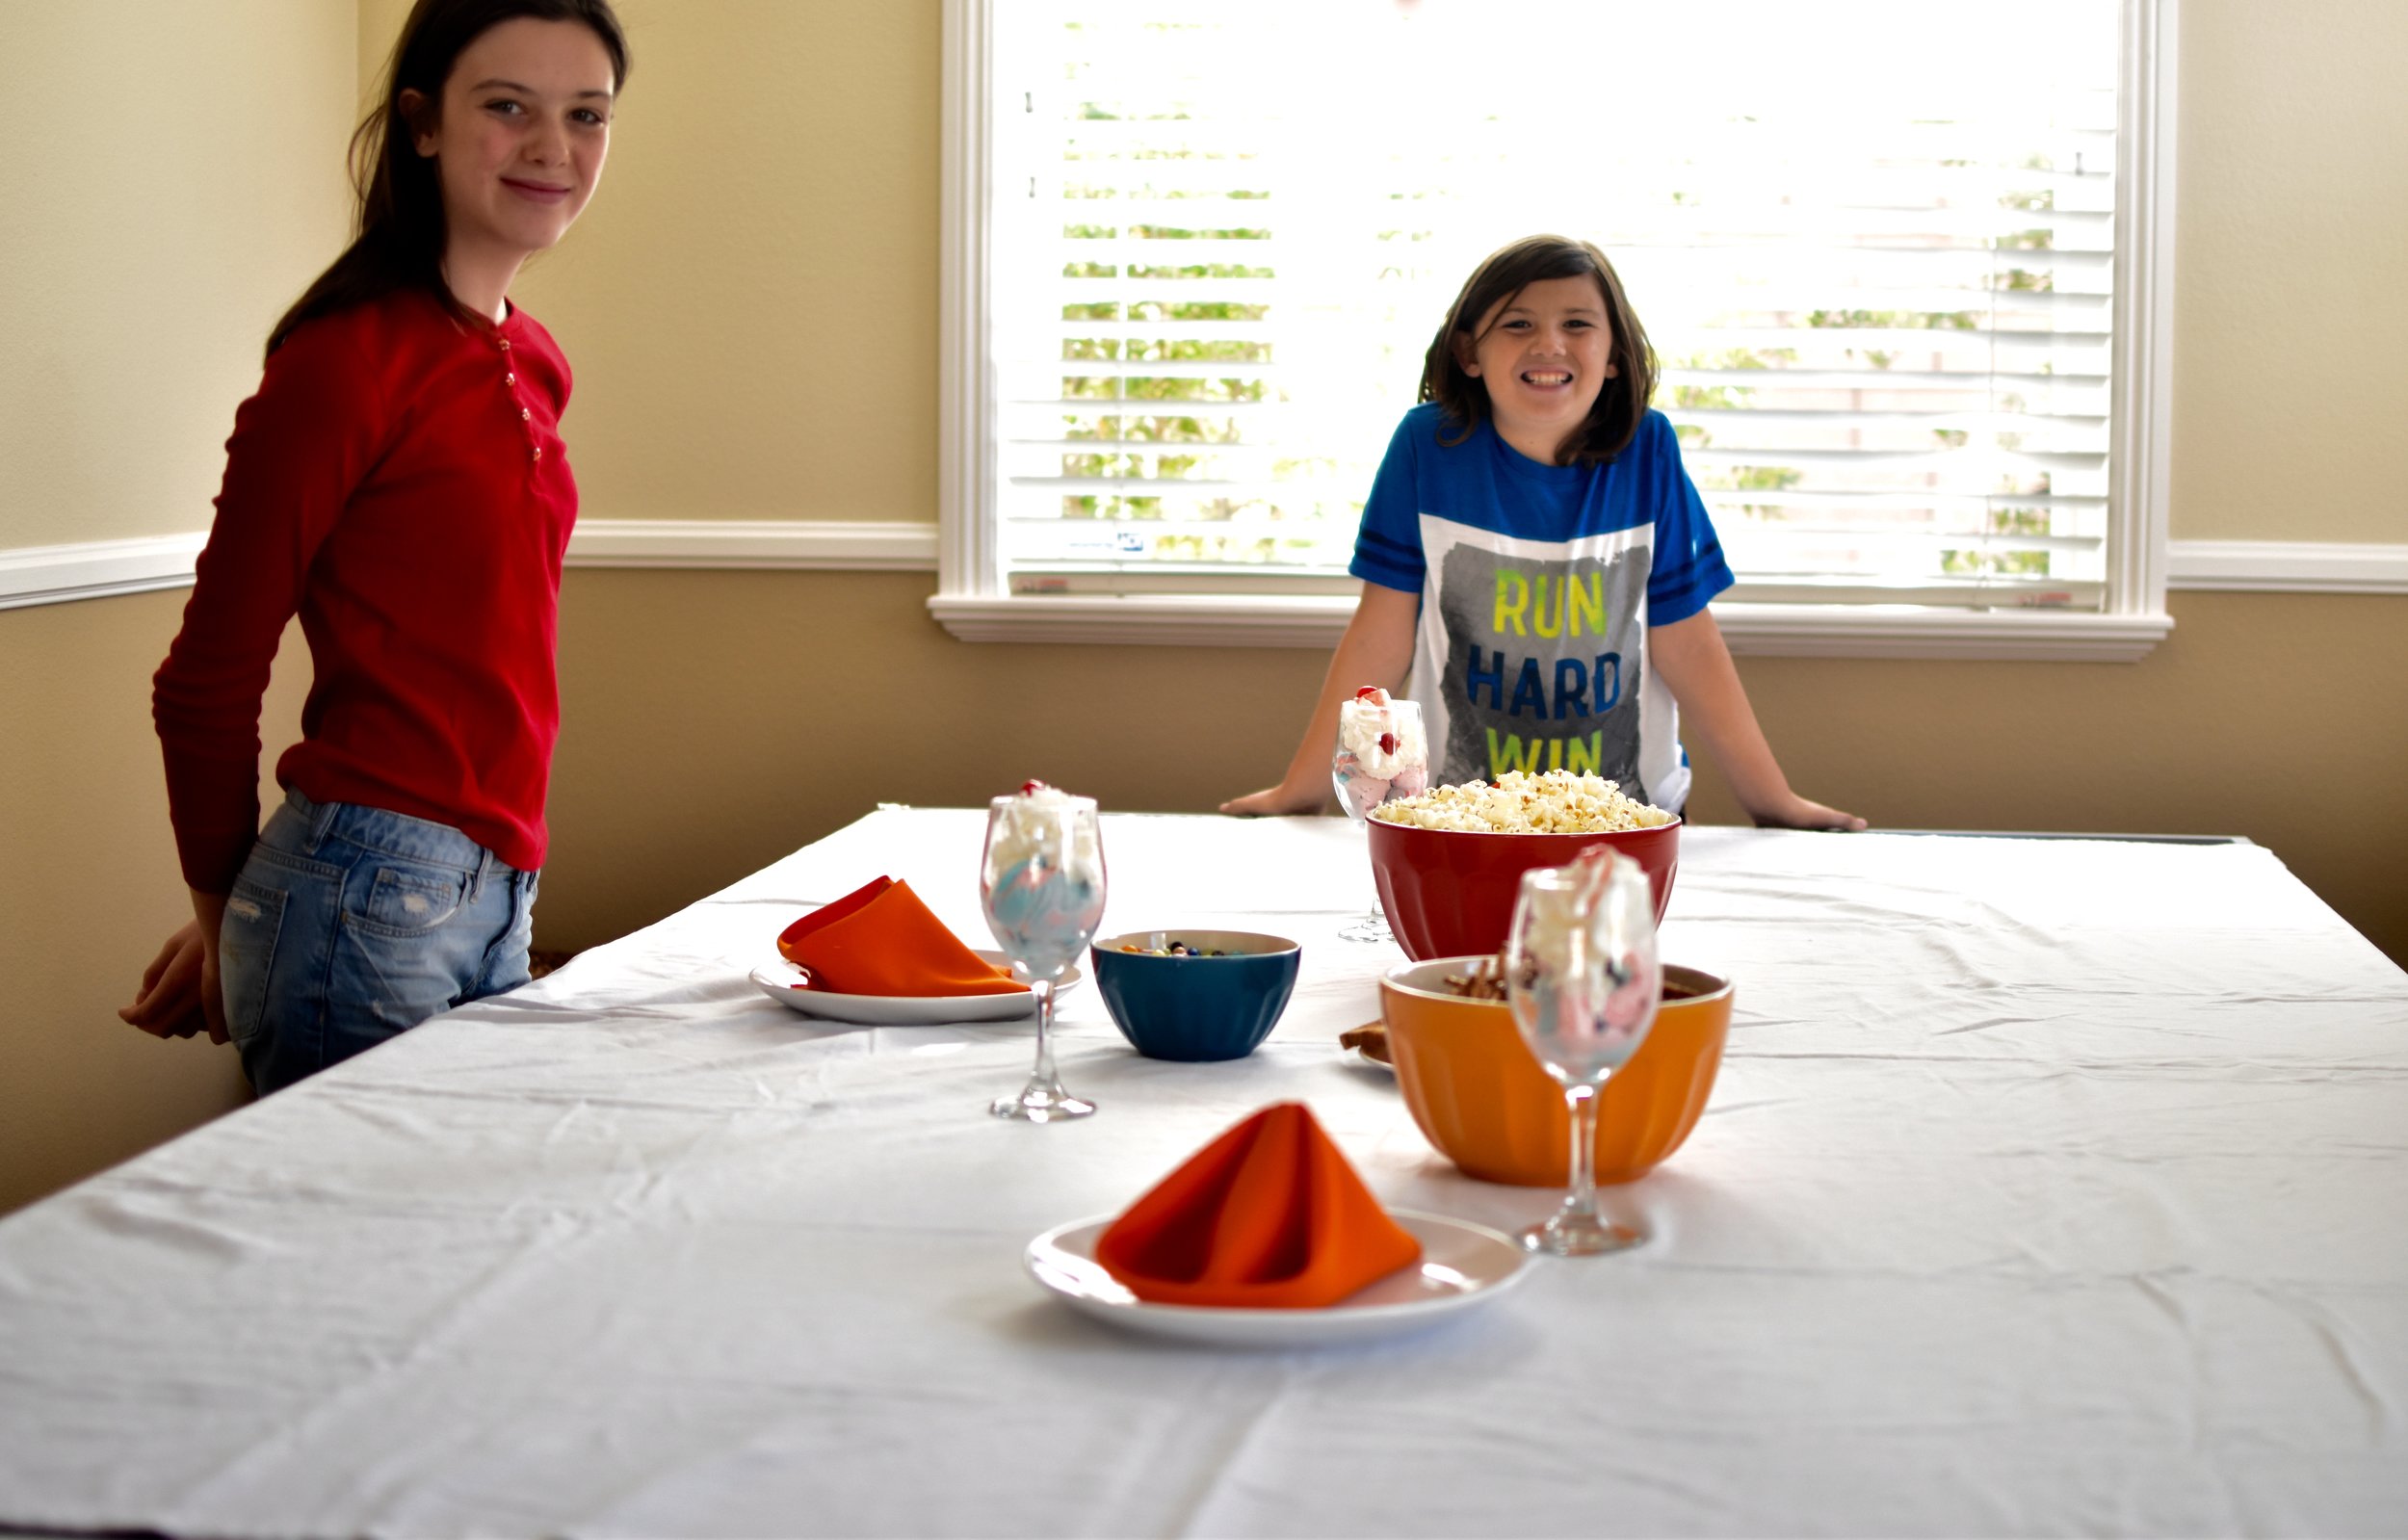
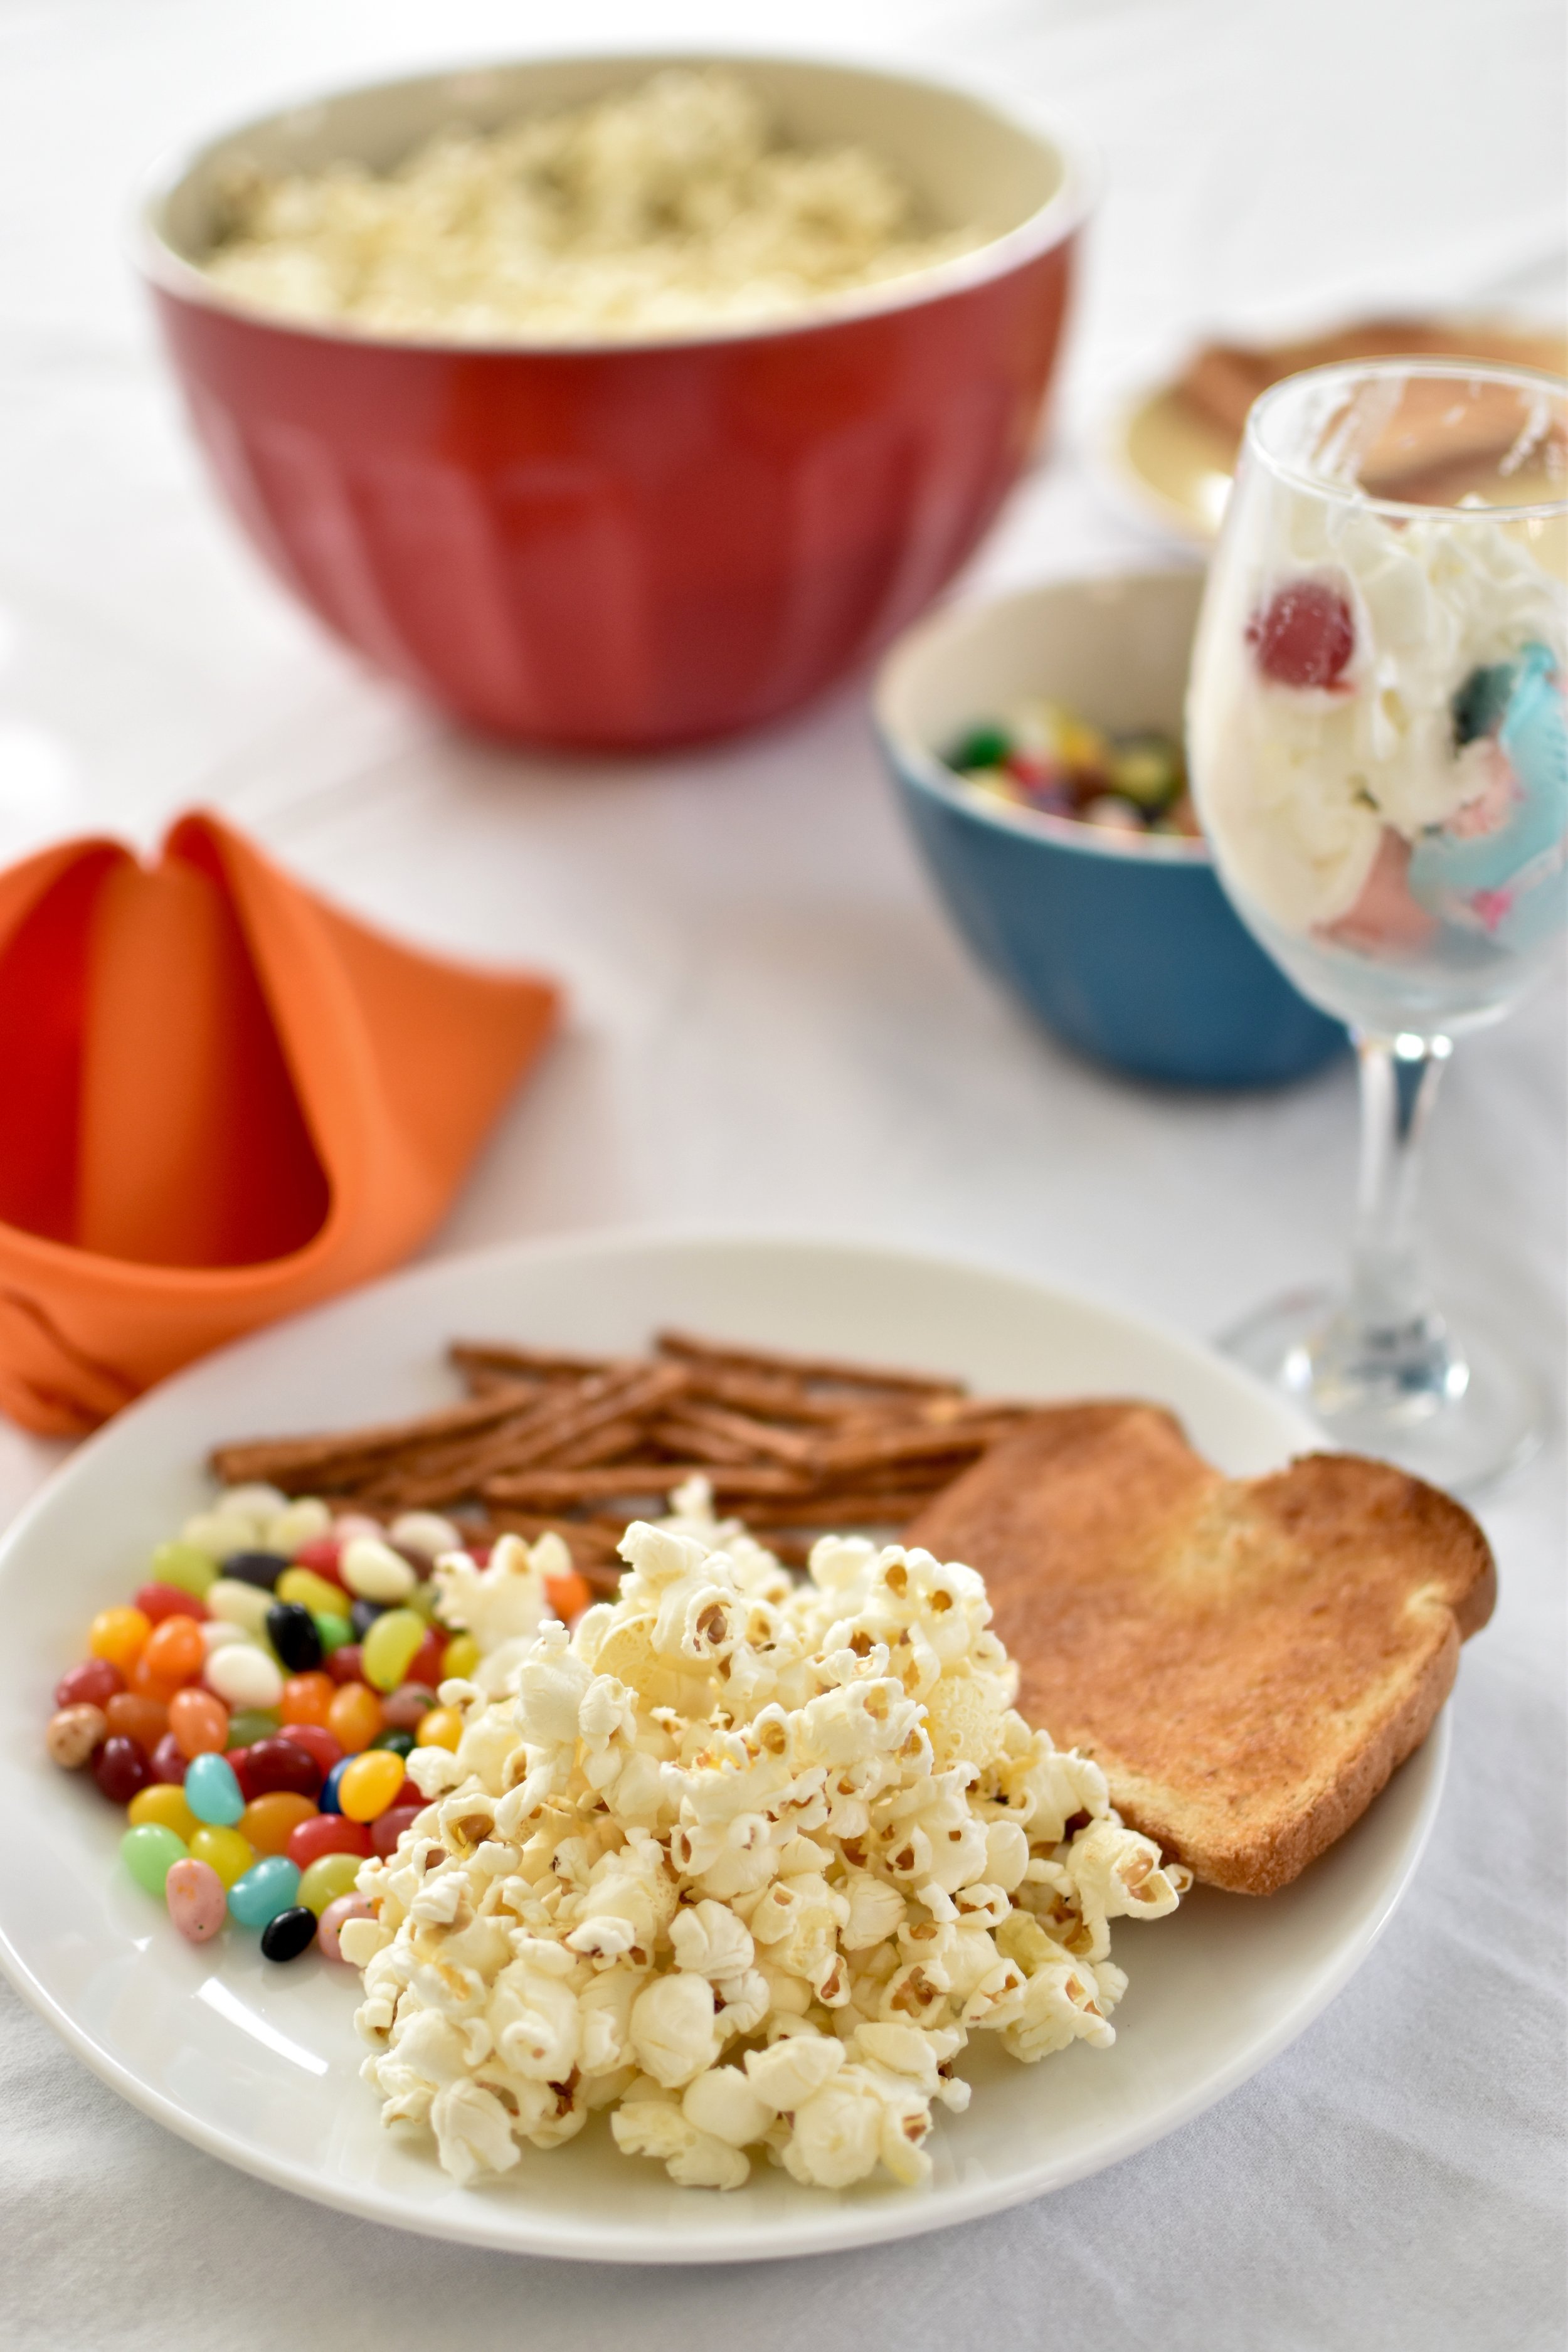
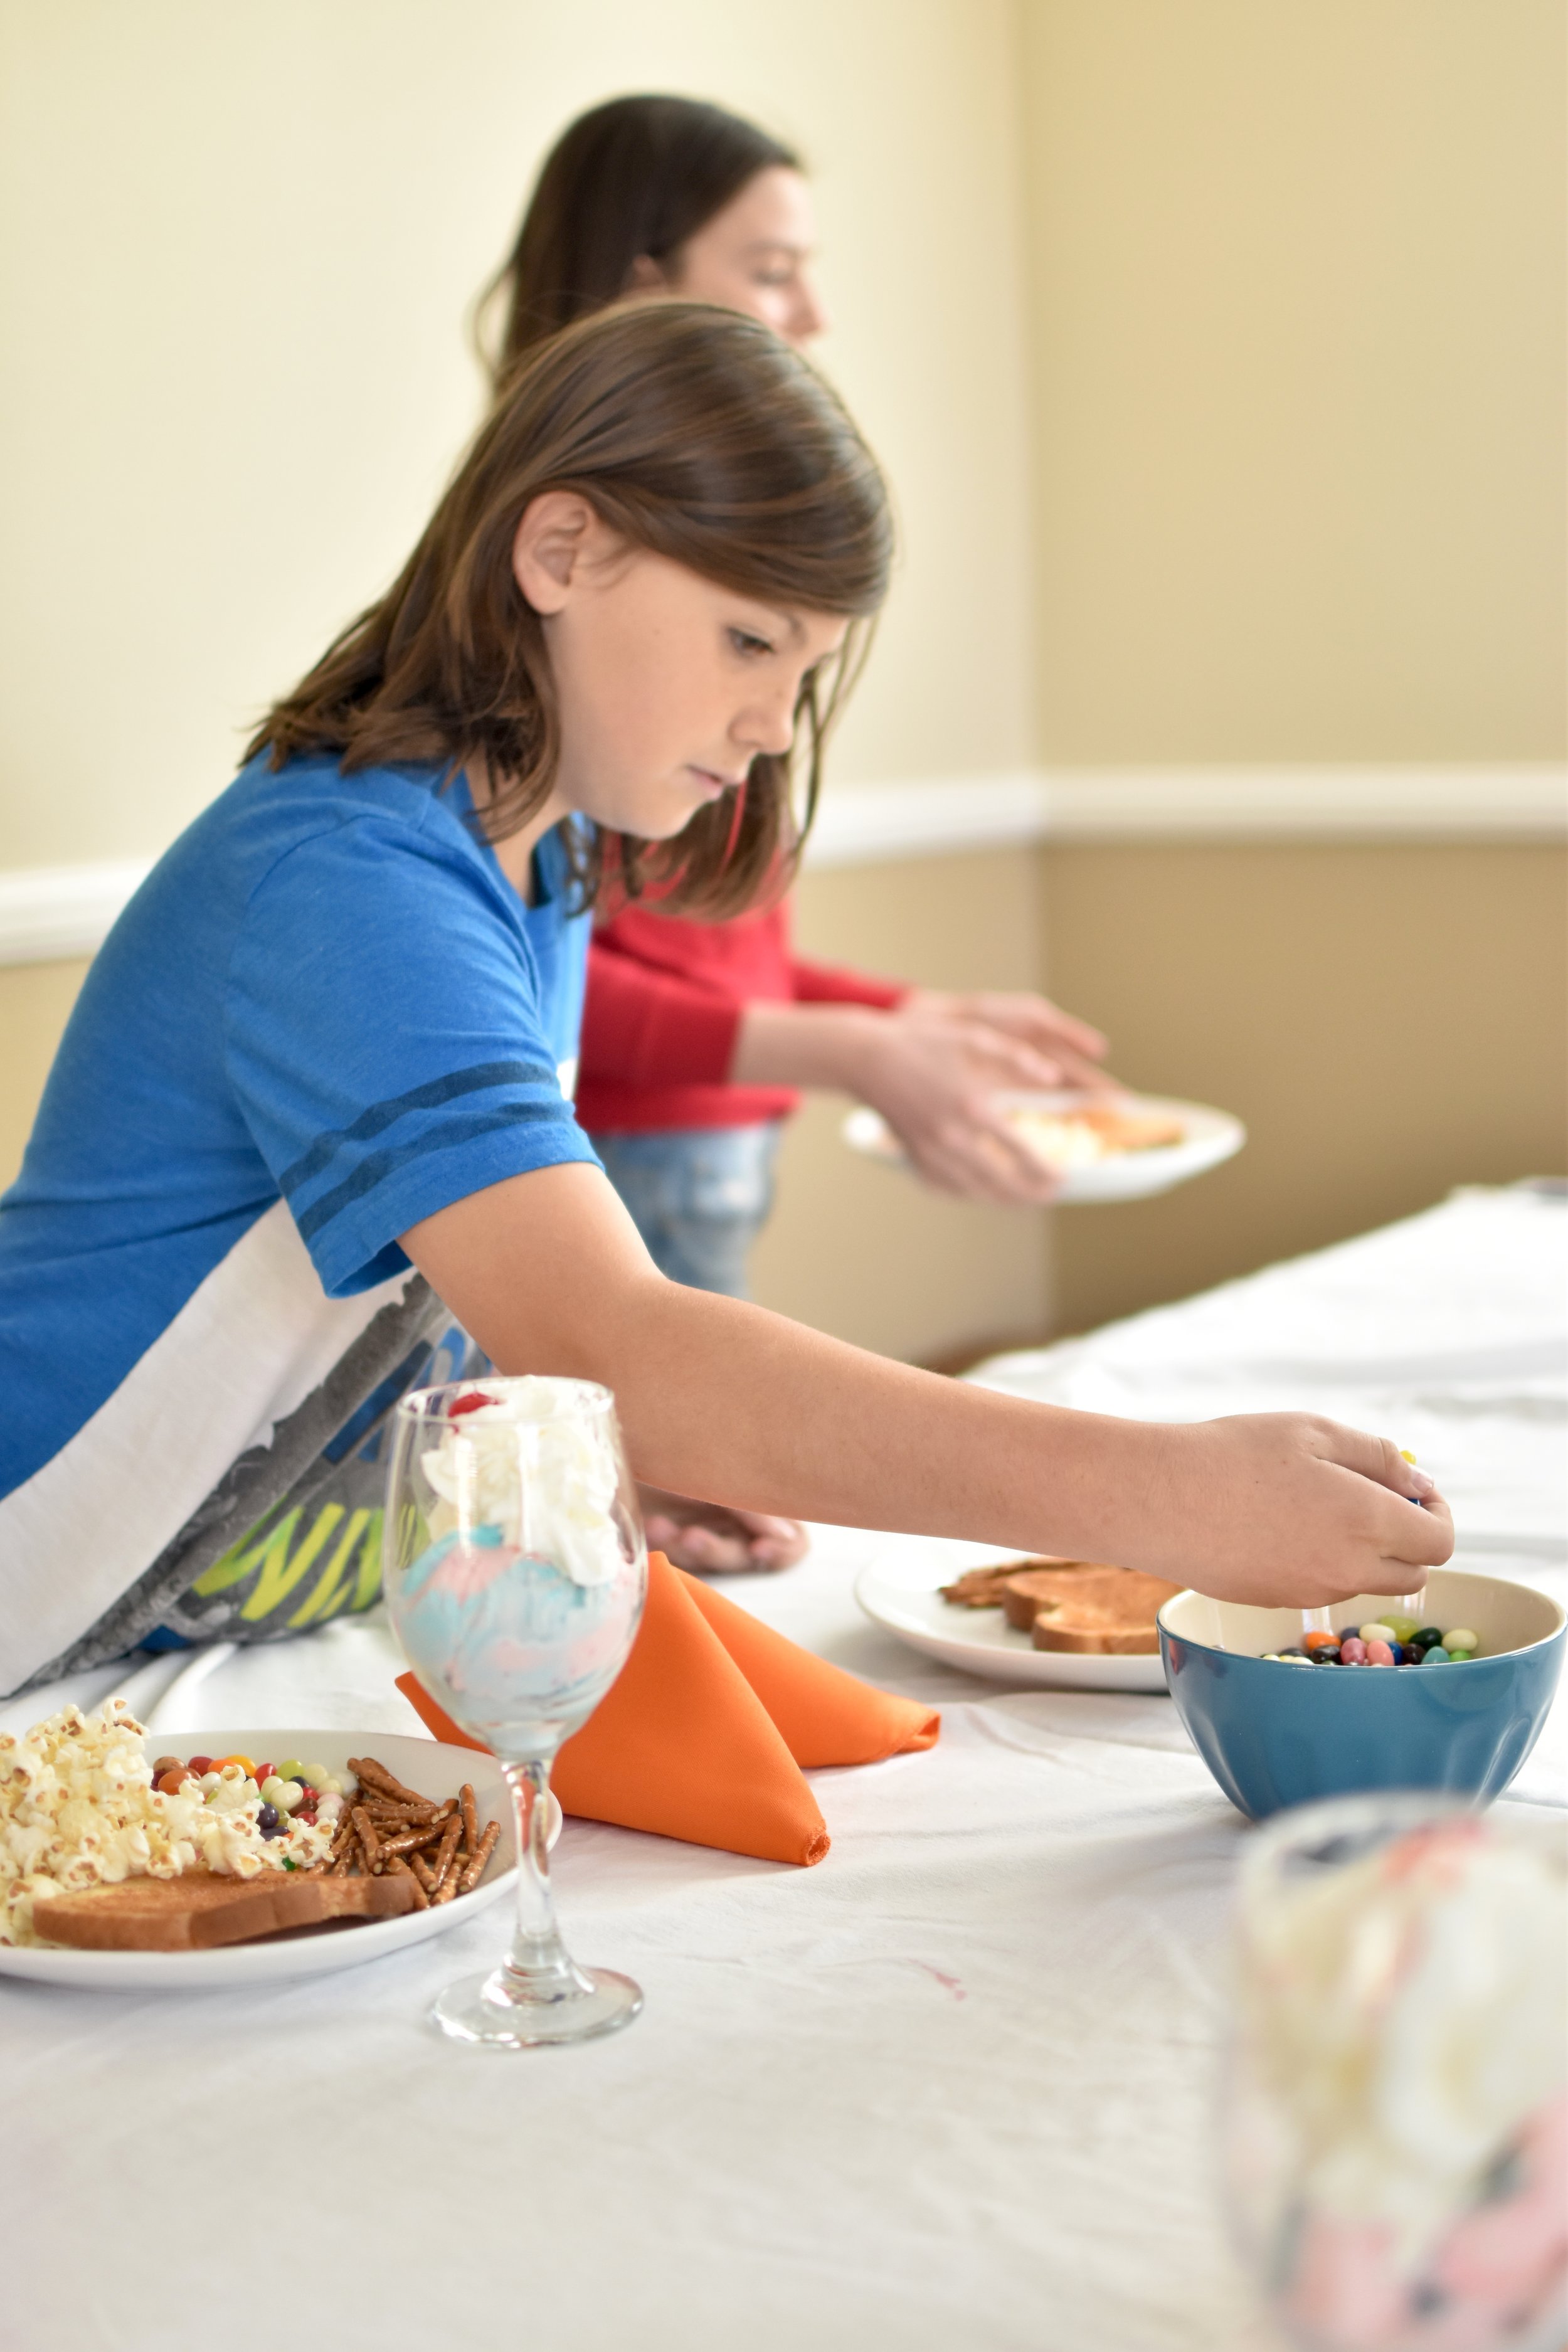
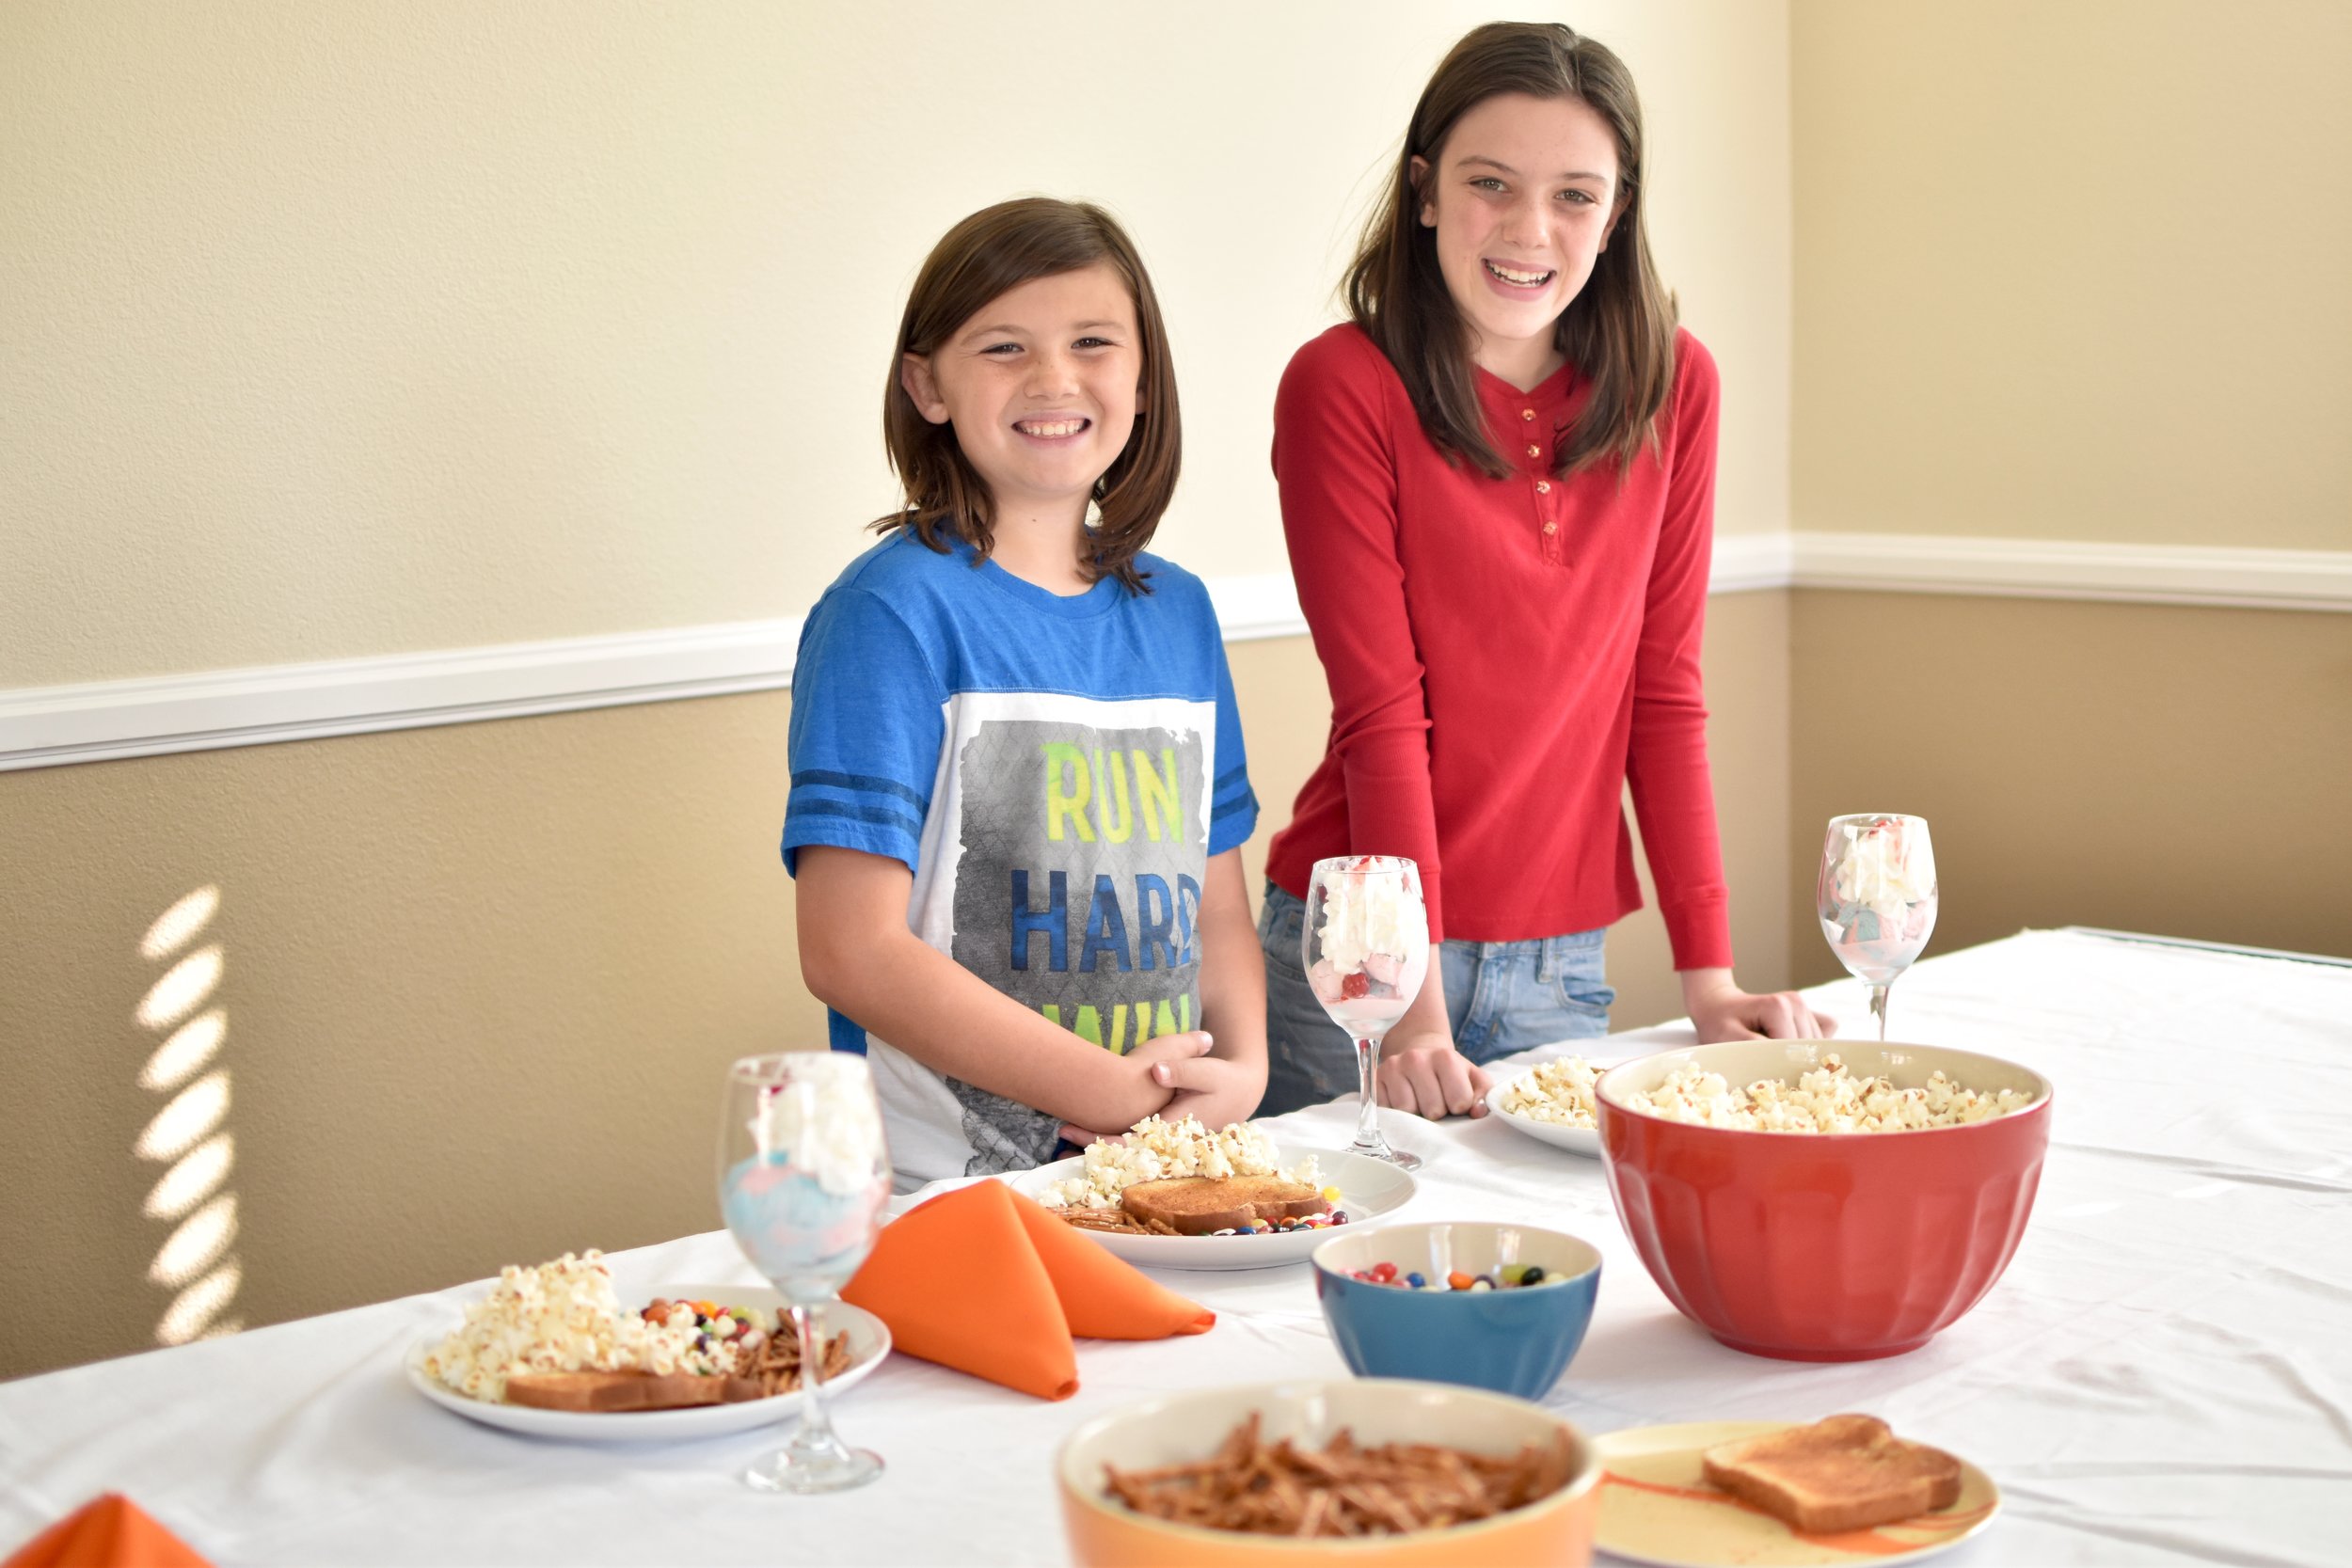
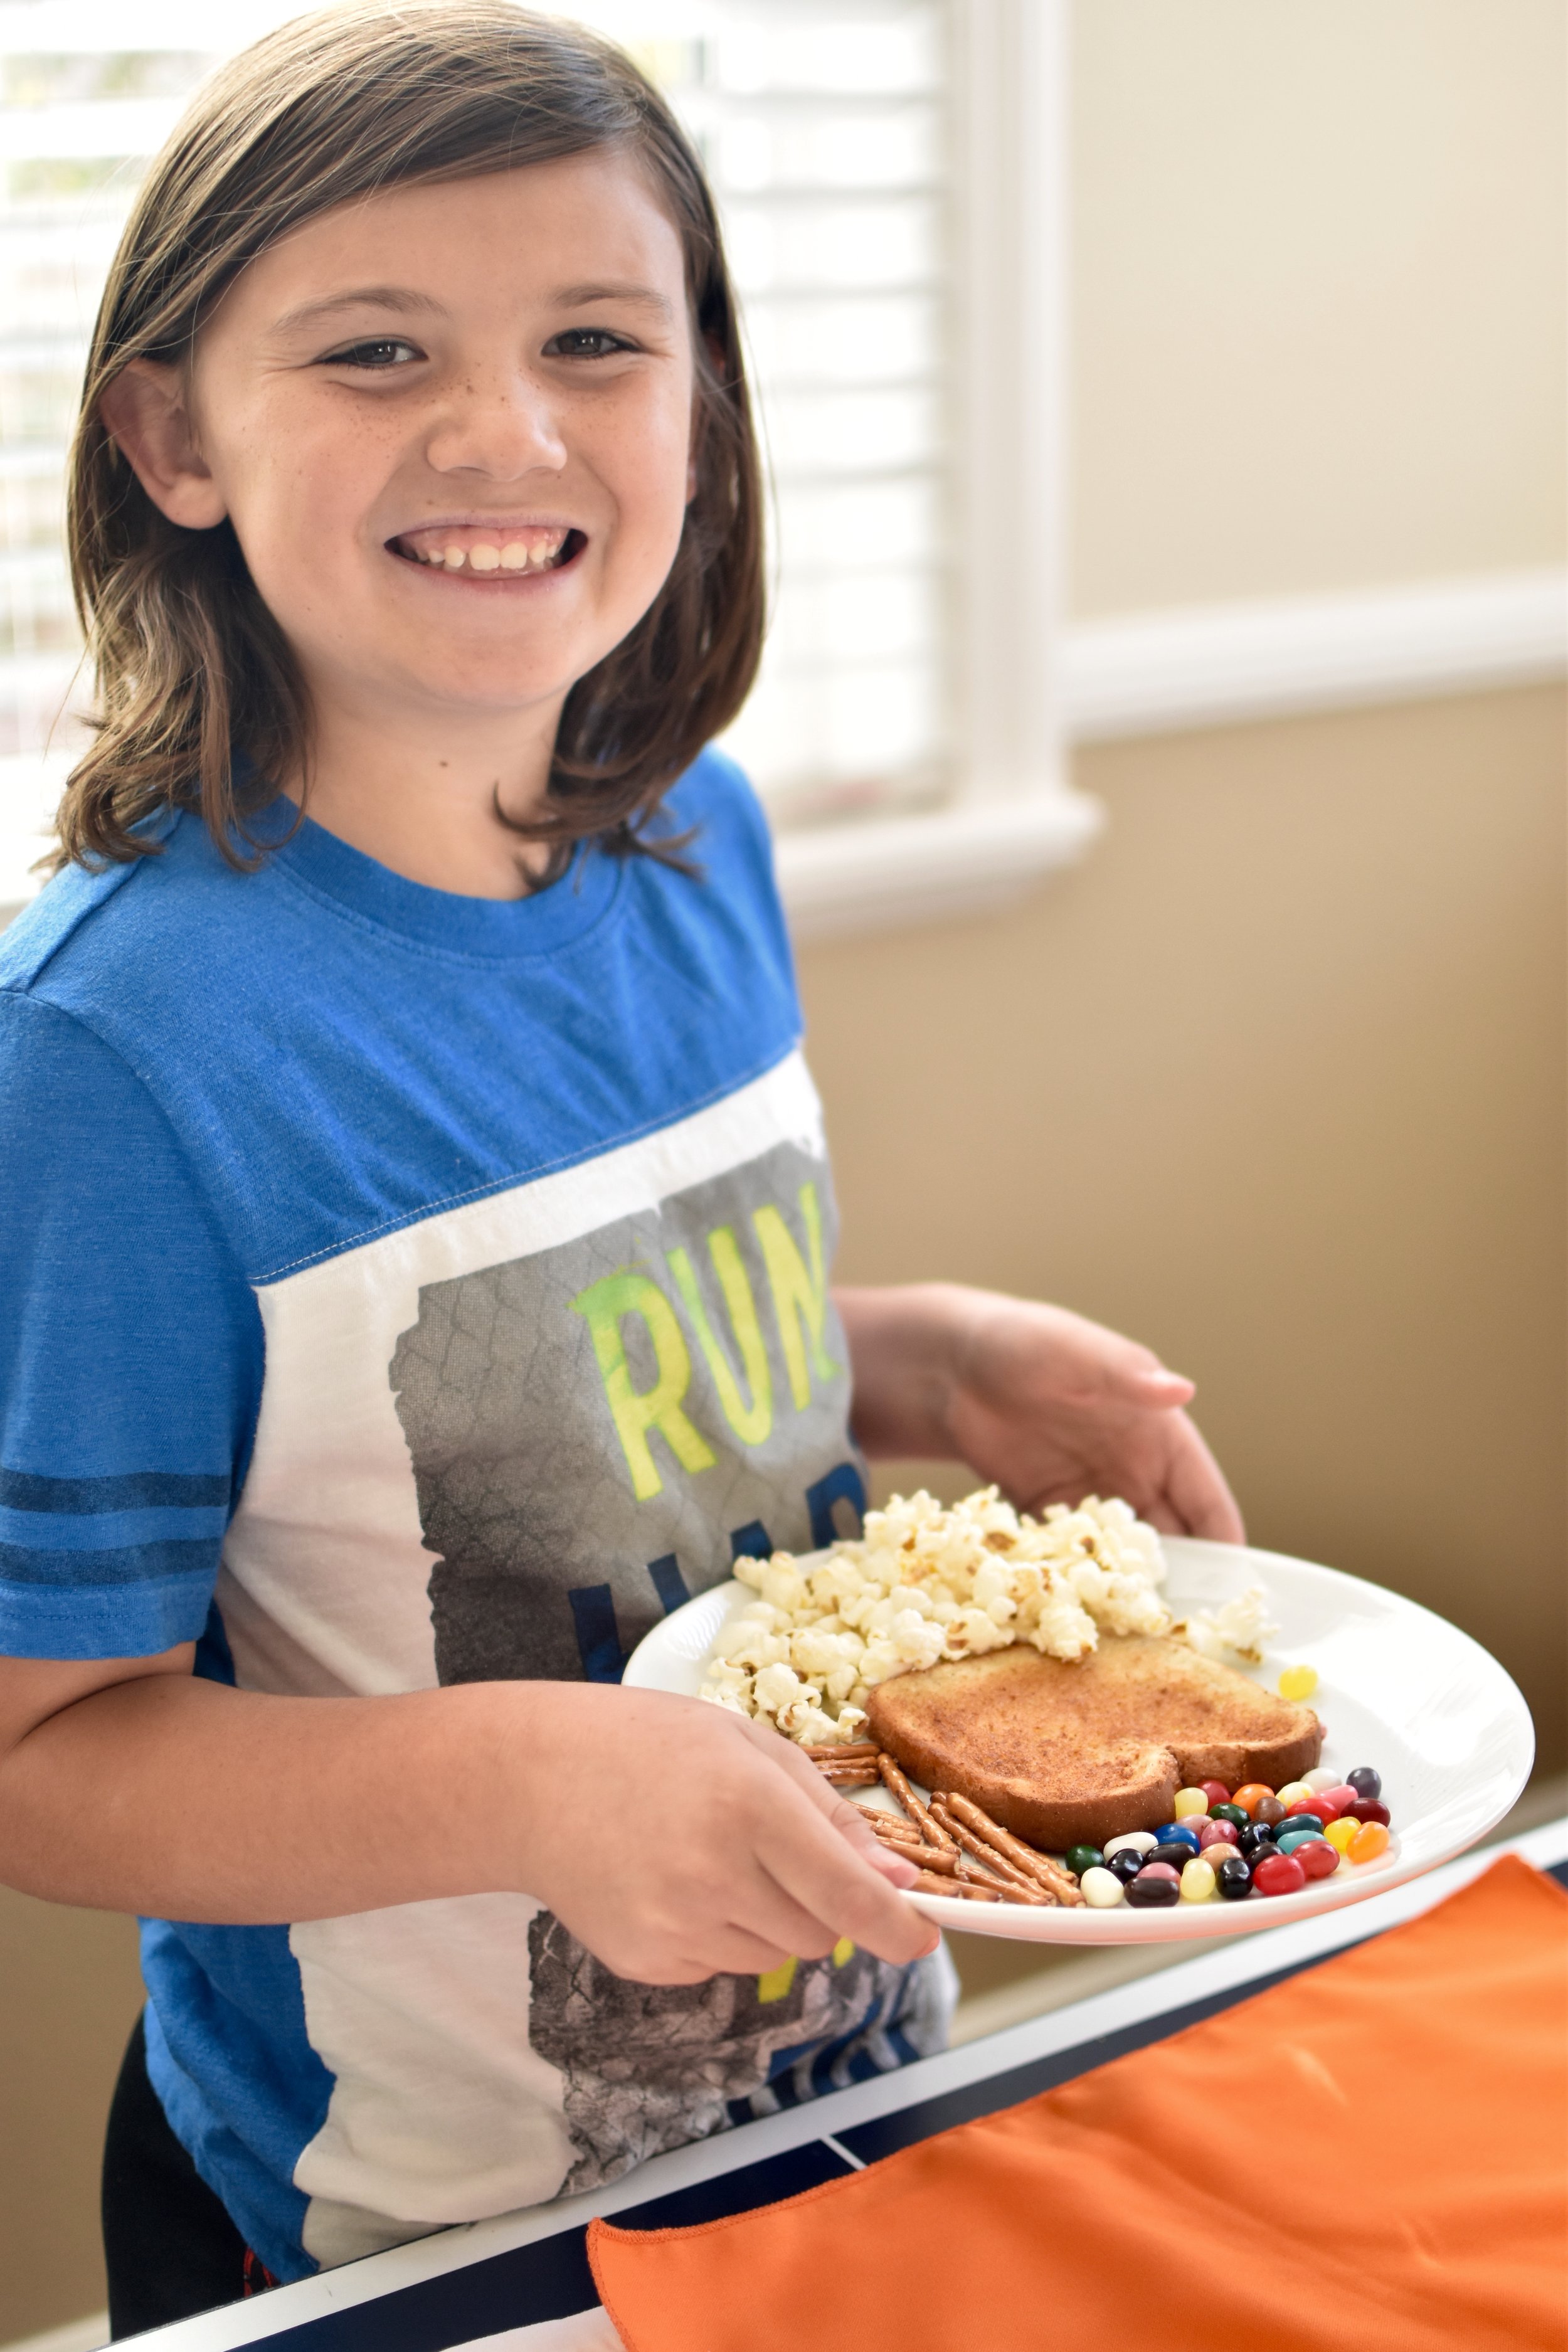
I have never really been a fan of thanksgiving food. I know, I know, I am crazy. Growing up I would always just eat olives, pickles and carrots on Thanksgiving. Not much has changed! Haha! Every year we watch Charlie Brown Thanksgiving and every year I ALWAYS wanted to have what they had for dinner. Popcorn, pretzels, jelly beans, toast? YES! Thats my kind of meal. So the kids and I decided to have a Charlie Brown Thanksgiving lunch today. It was so much fun! They said it was the best lunch they have ever had.

I hope you all have a very happy Thanksgiving full of family fun and a whole lot of memory making!

DSC_0957.jpg
DSC_0954.jpg
DSC_0969.jpg
DSC_0958.jpg
DSC_0962.jpg
DSC_0961.jpg
November 22, 2016 /Mandi McQuivey
Comment

monster suckers

October 28, 2016 by Mandi McQuivey
DSC_0474.jpg
DSC_0483.jpg
DSC_0477.jpg
DSC_0479.jpg
DSC_0480.jpg
INGREDIENTS:
2 Cups Sugar
1 Cup Water
2/3 Cup Corn Syrup
1/2 tsp extract flavor of choice (I used strawberry)
2 tsp white food coloring
gummy eyeballs
5 long sucker sticks
DIRECTIONS:
Lay tin foil on the counter spray lightly with cooking spray. Lay five sucker sticks on the tin foil.
Combine sugar, water and corn syrup together in a large pot. Boil until a candy thermometer reaches 300 degrees or hard crack. Turn off the stove and stir in the flavoring and the food coloring.
Moving quickly pour the sugar onto the tin foil. They don't have to be perfect circles because they are monsters! QUICKLY put the gummy candies any place you want on the suckers. Cool completely.
October 28, 2016 /Mandi McQuivey
Comment

chicken empanadas

October 07, 2016 by Mandi McQuivey
DSC_0127.jpg
DSC_0132.jpg
INGREDIENTS:
1 rotisserie chicken, shredded
8 oz. package of shredded colby and monterey jack cheese
4 oz. cream cheese, softened
1/2 cup chopped red bell pepper
1 jalapeno, seeded and chopped
1/4 cup chopped cilantro
1/2 tablespoon cumin
1 tsp. ancho chili powder
1/4 tsp. garlic powder
1/4 tsp. onion powder
1 1/2 tsp. salt
1/2 tsp. pepper
2 packages of refrigerated pie crusts
water
egg
DIRECTIONS:
Preheat the oven to 400 degrees. Put your silpat mat on your cookie sheet or spray the sheet with coconut oil.
In a large bowl combine the chicken, cheeses, peppers, spices and cilantro.
Unroll the pie crusts onto a lightly floured surface. Rolling slightly. Cut out rounds using a 4 inch round cookie cutter. Re-roll dough as needed. Repeat procedure with remaining pie crusts, making about 16 circles total.
Arrange 1 round on a clean, flat surface. Lightly brush the edges of crust with water. Place 1 heaping tablespoon of chicken mixture in the center of the round. Fold the dough over the filling, pressing the edges with a fork to seal. Repeat with the remaining rounds and chicken mixture.
Arrange empanadas on the baking sheet. Bake for 15-17 minutes.
October 07, 2016 /Mandi McQuivey
Comment

the best m&m and chocolate chip cookie

August 31, 2016 by Mandi McQuivey

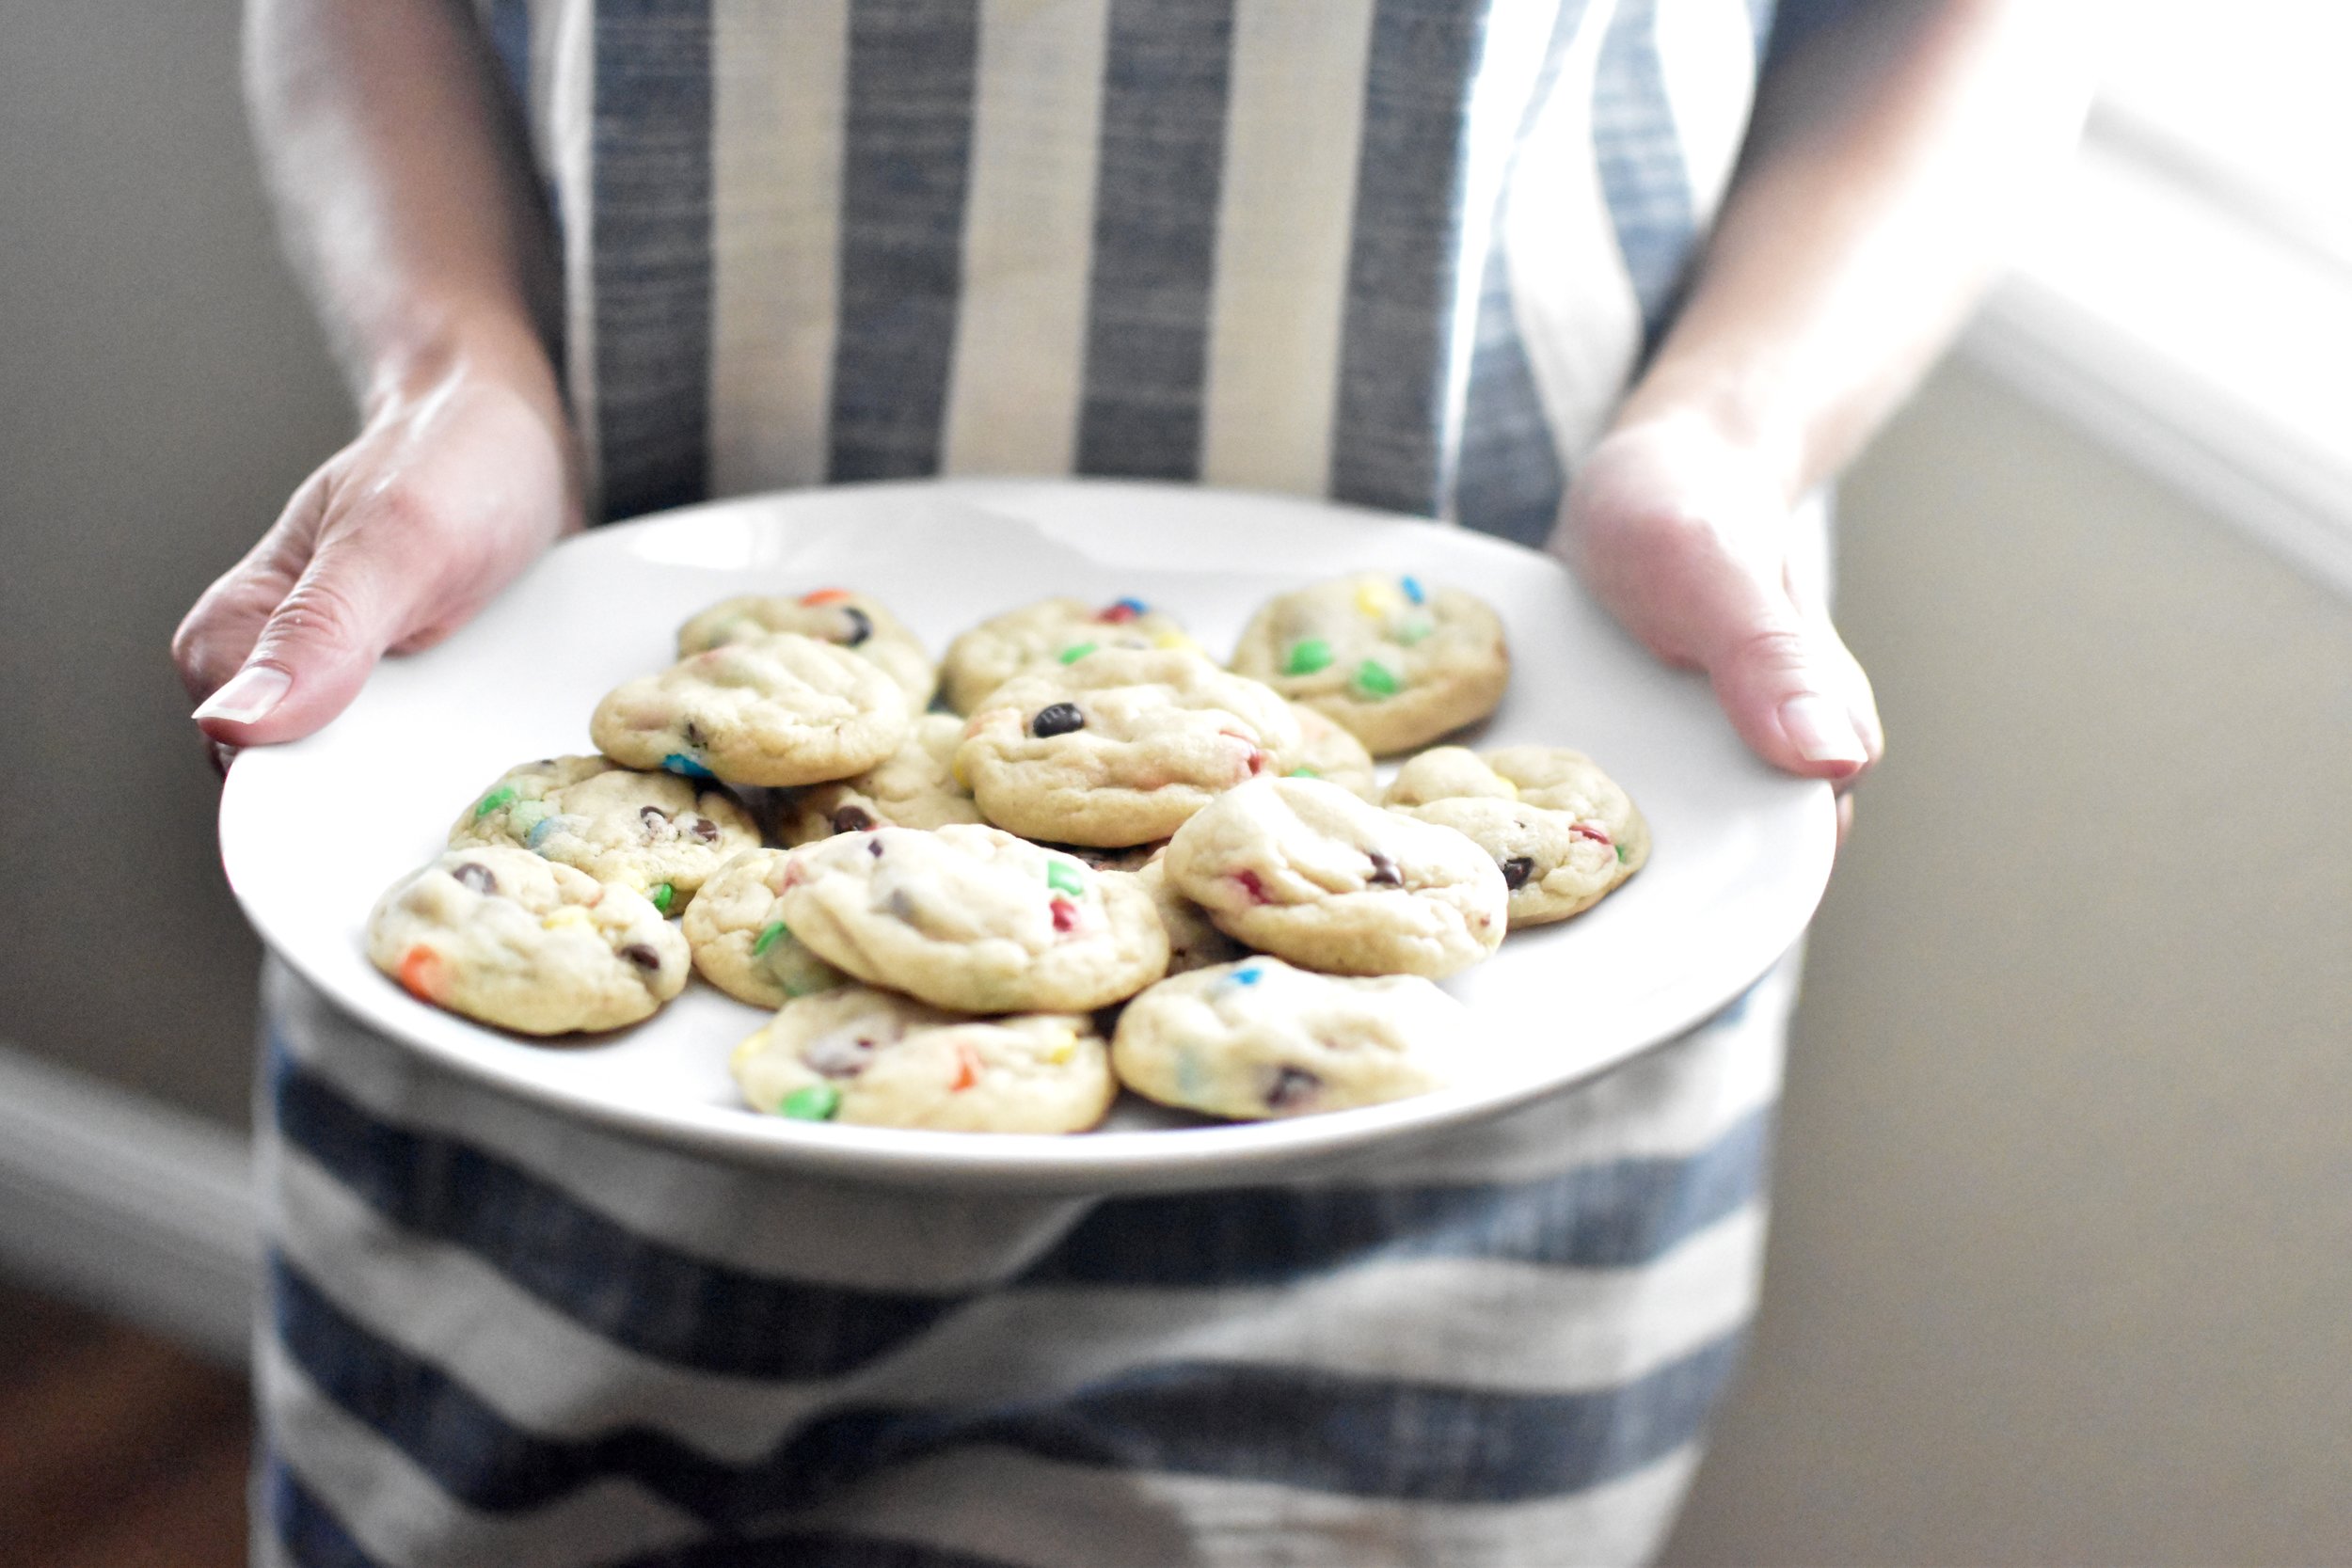
I have made thousands of M&M cookies over the years and I have finally perfected my recipe! It is hard to not eat the whole batch in one day. Enjoy!!

M&M CHOCOLATE CHIP COOKIE
INGREDIENTS:
2 sticks salted butter
1 cup sugar
1/2 cup dark brown sugar
2 tsp pure vanilla
2 eggs
3 cups all purpose flour
1 tsp baking soda
1/2 salt, plus a dash of pink salt
mini semi-sweet ghirardelli chocolate chips to taste
mini milk chocolate baking m&m's to taste
DIRECTIONS:
Preheat the oven to 350 degrees. I take the butter right from the fridge and stick it in the microwave for about 15-17 seconds. You want it VERY soft, but not completely melted.
Using a hand mixer, beat the butter with the sugars until creamy. Add the vanilla and the eggs; beat on low speed until just incorporated. 10-15 seconds. Don't over mix. You don't want the cookies to be stiff.
Next add the flour, baking soda and salt. Mix until it just comes together. Stir in the chocolate chip and the m&m's.
Roll the dough into balls of your choice. I made tablespoon sized cookies for the kids lunch boxes. They are bite-sized when baked. I didn't want a huge cookie for their lunches. Bake the small cookies for 6-7 minutes. I made other half of the dough regular size. Golf ball size. Bake them for 10 minutes. Do Not Over Bake! Cool on the pan for 5-10 minutes then enjoy!
TIP: If you are not sure about how long to bake your cookies do a test cookie. Make one cookie and bake. This will save you on over or under baking your cookies.
August 31, 2016 /Mandi McQuivey
Comment

spaghetti and meatballs

June 16, 2016 by Mandi McQuivey

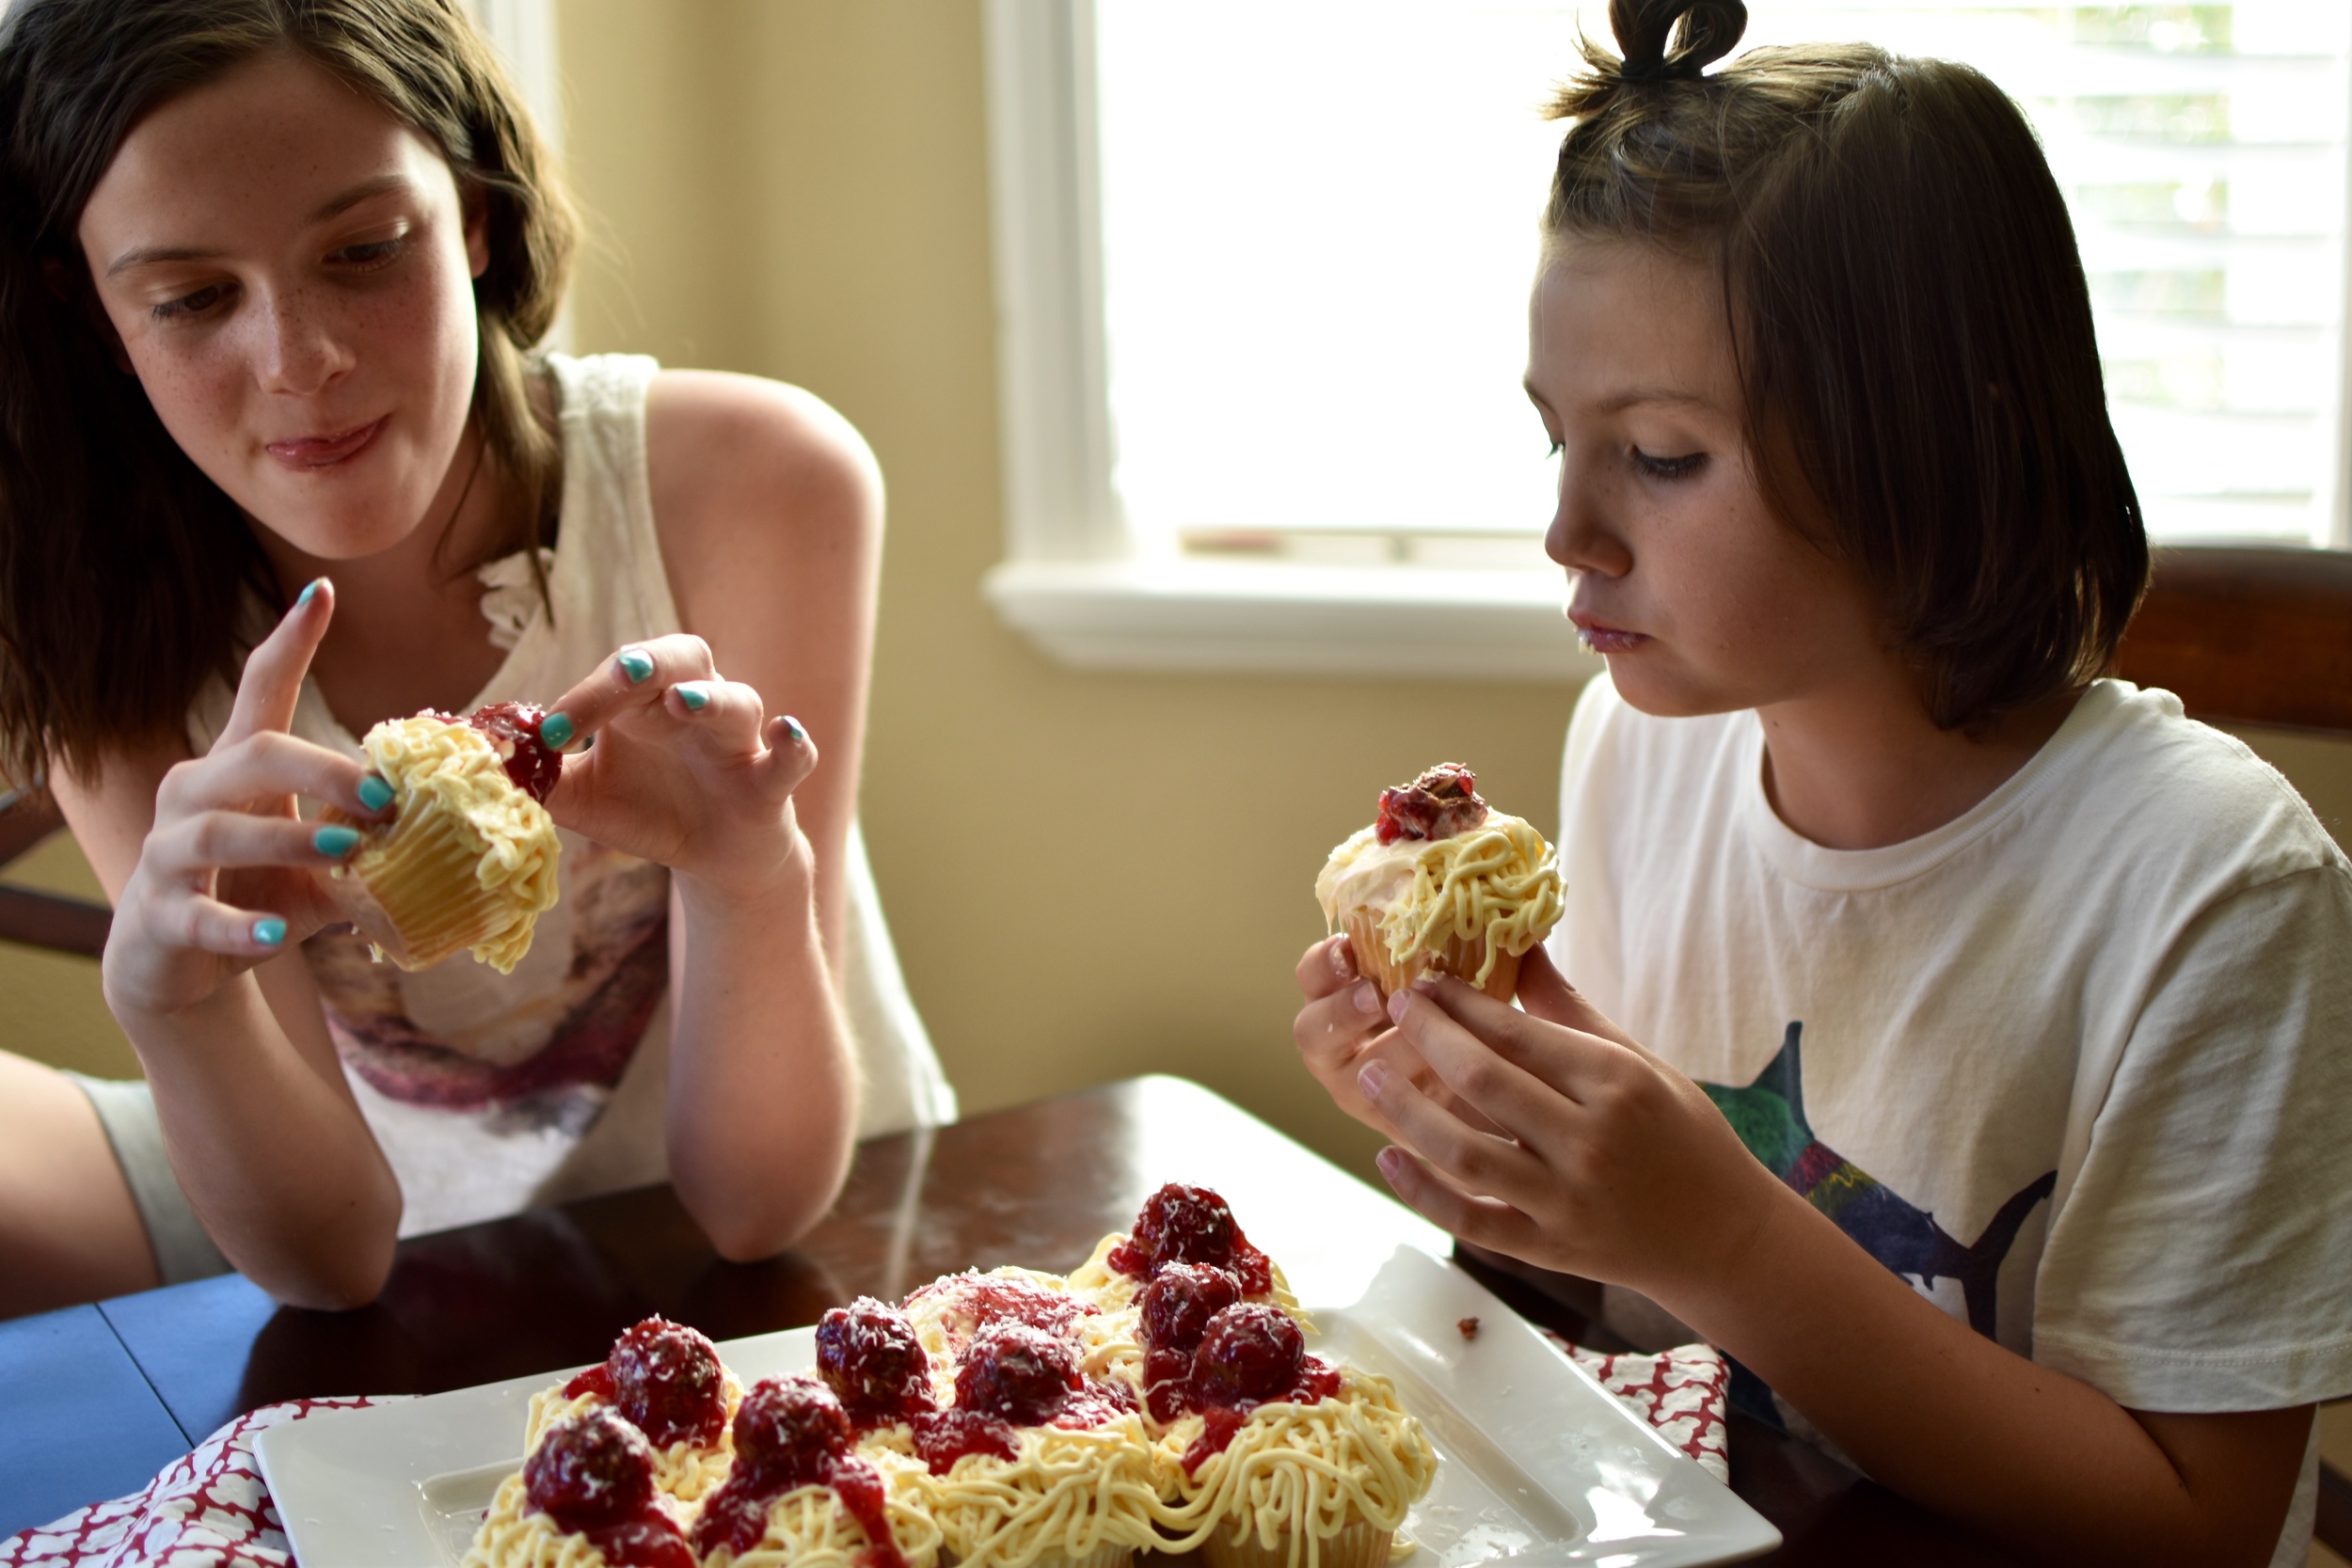
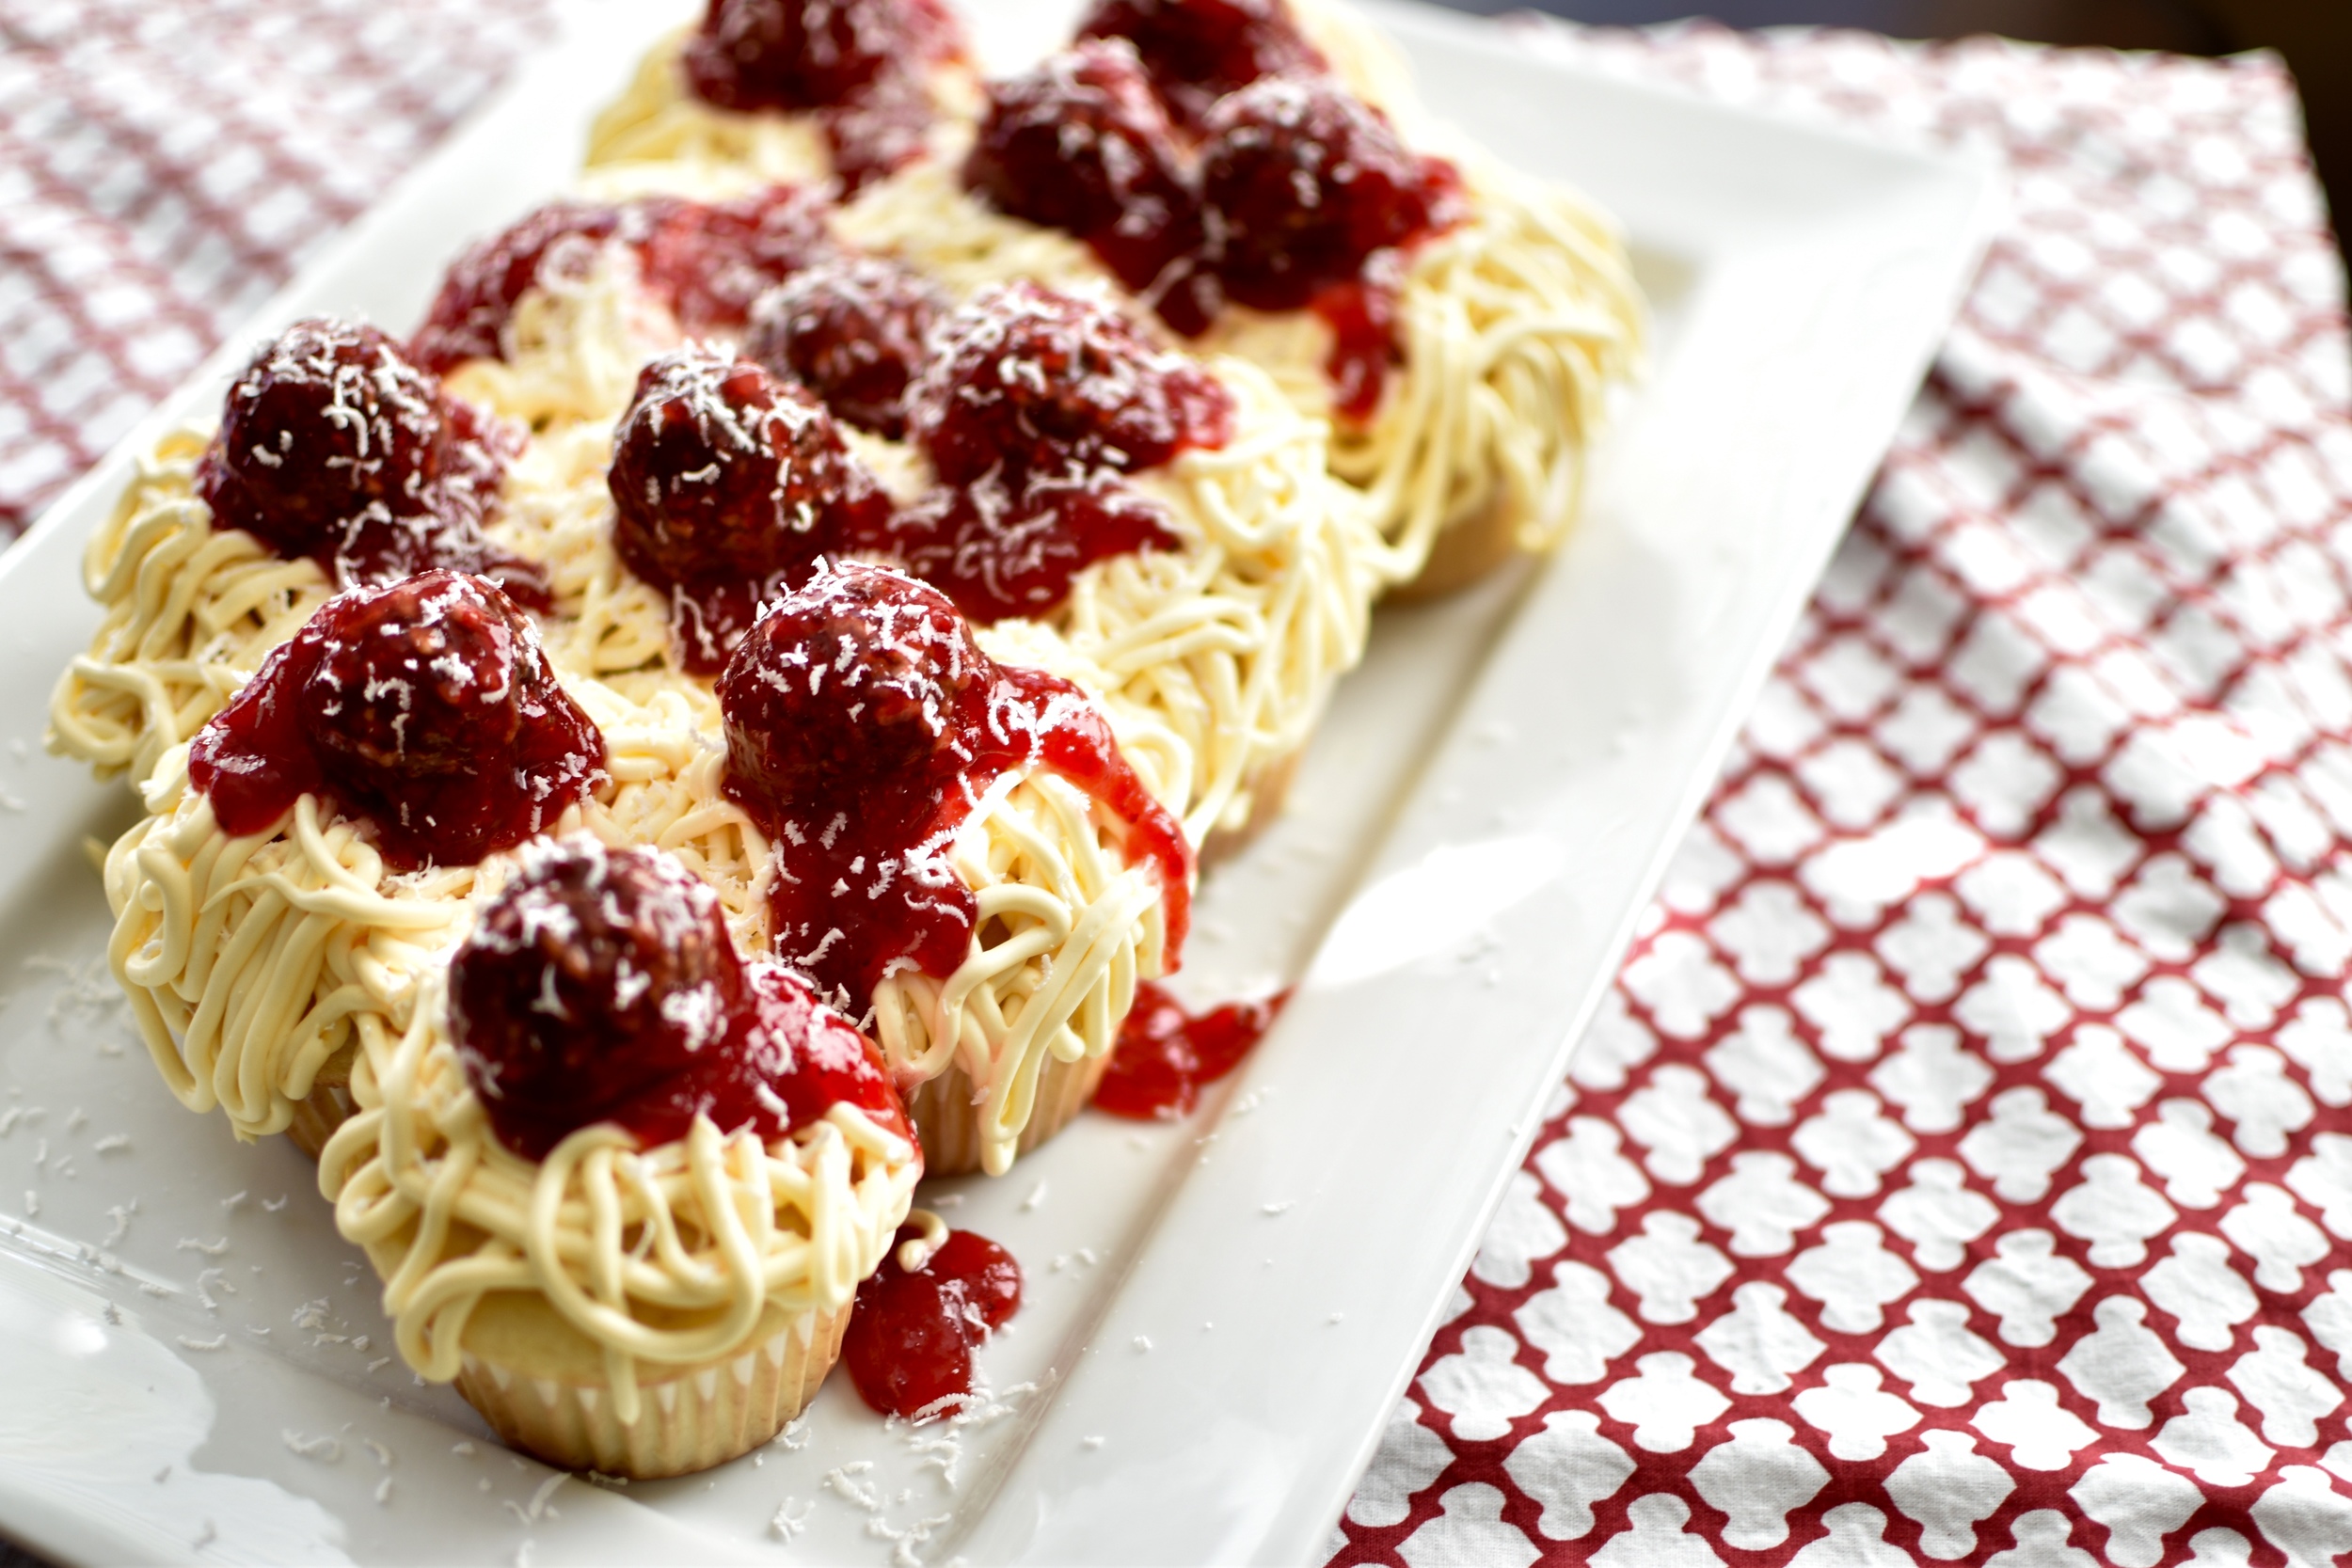
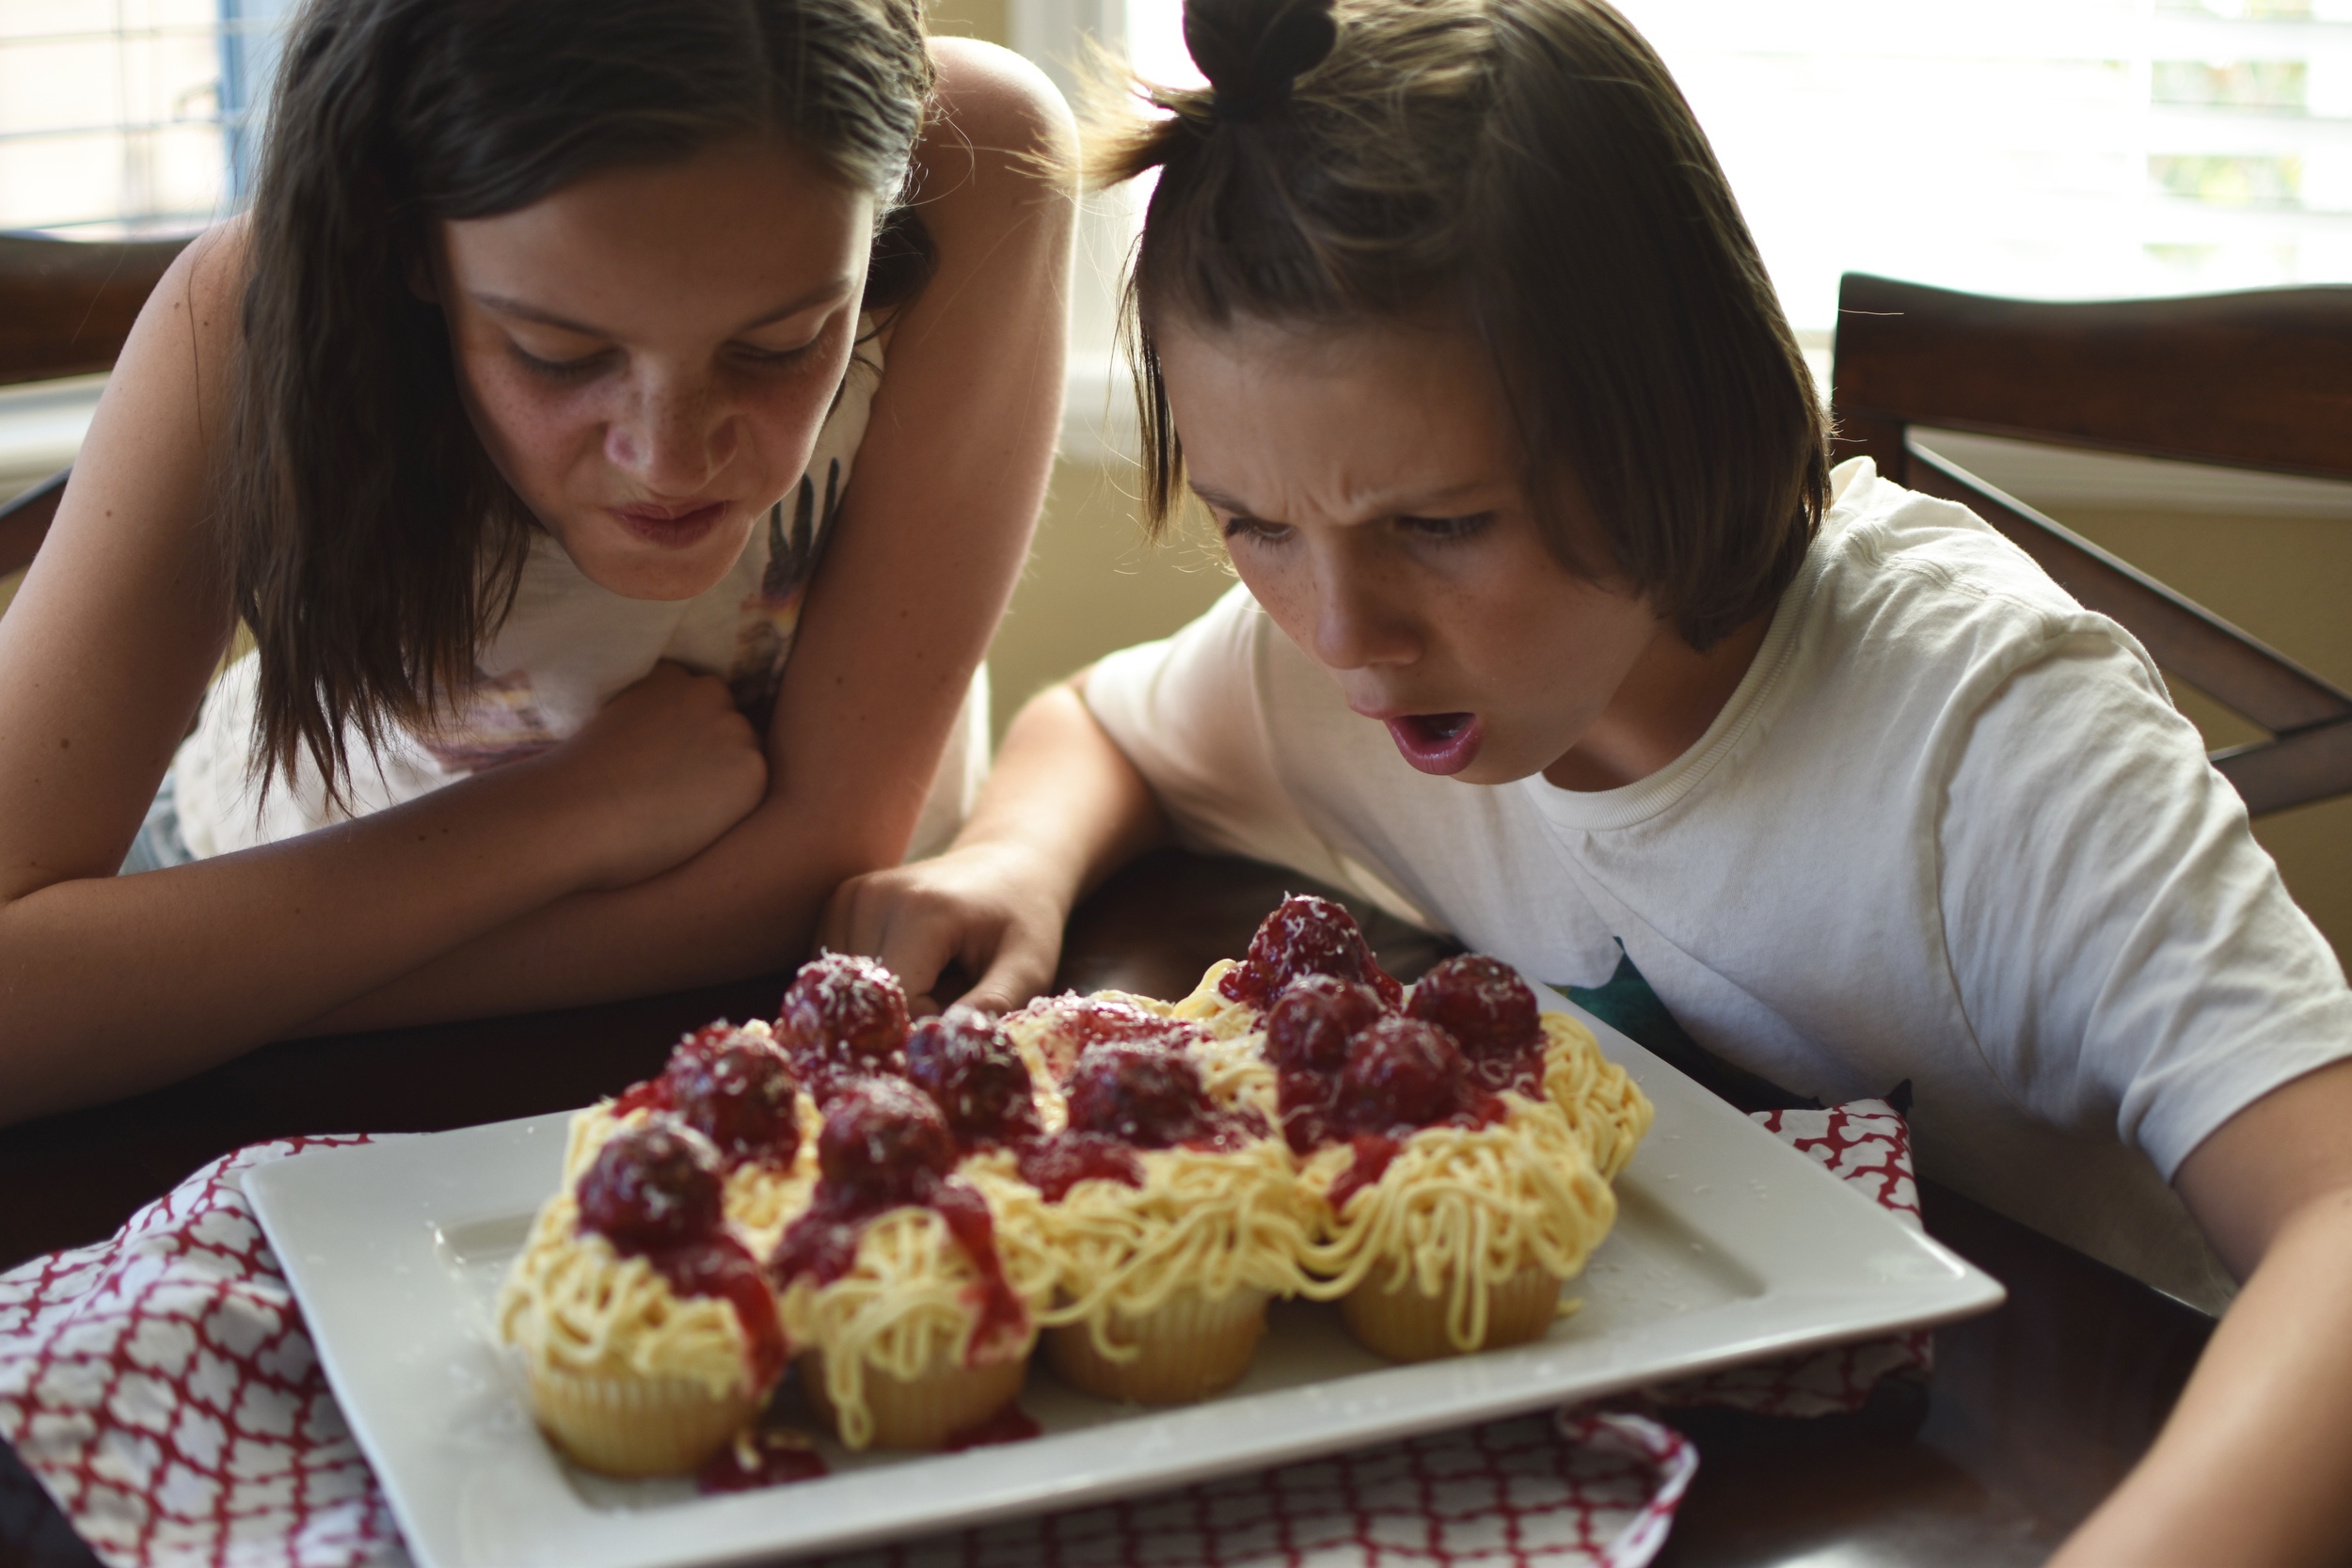
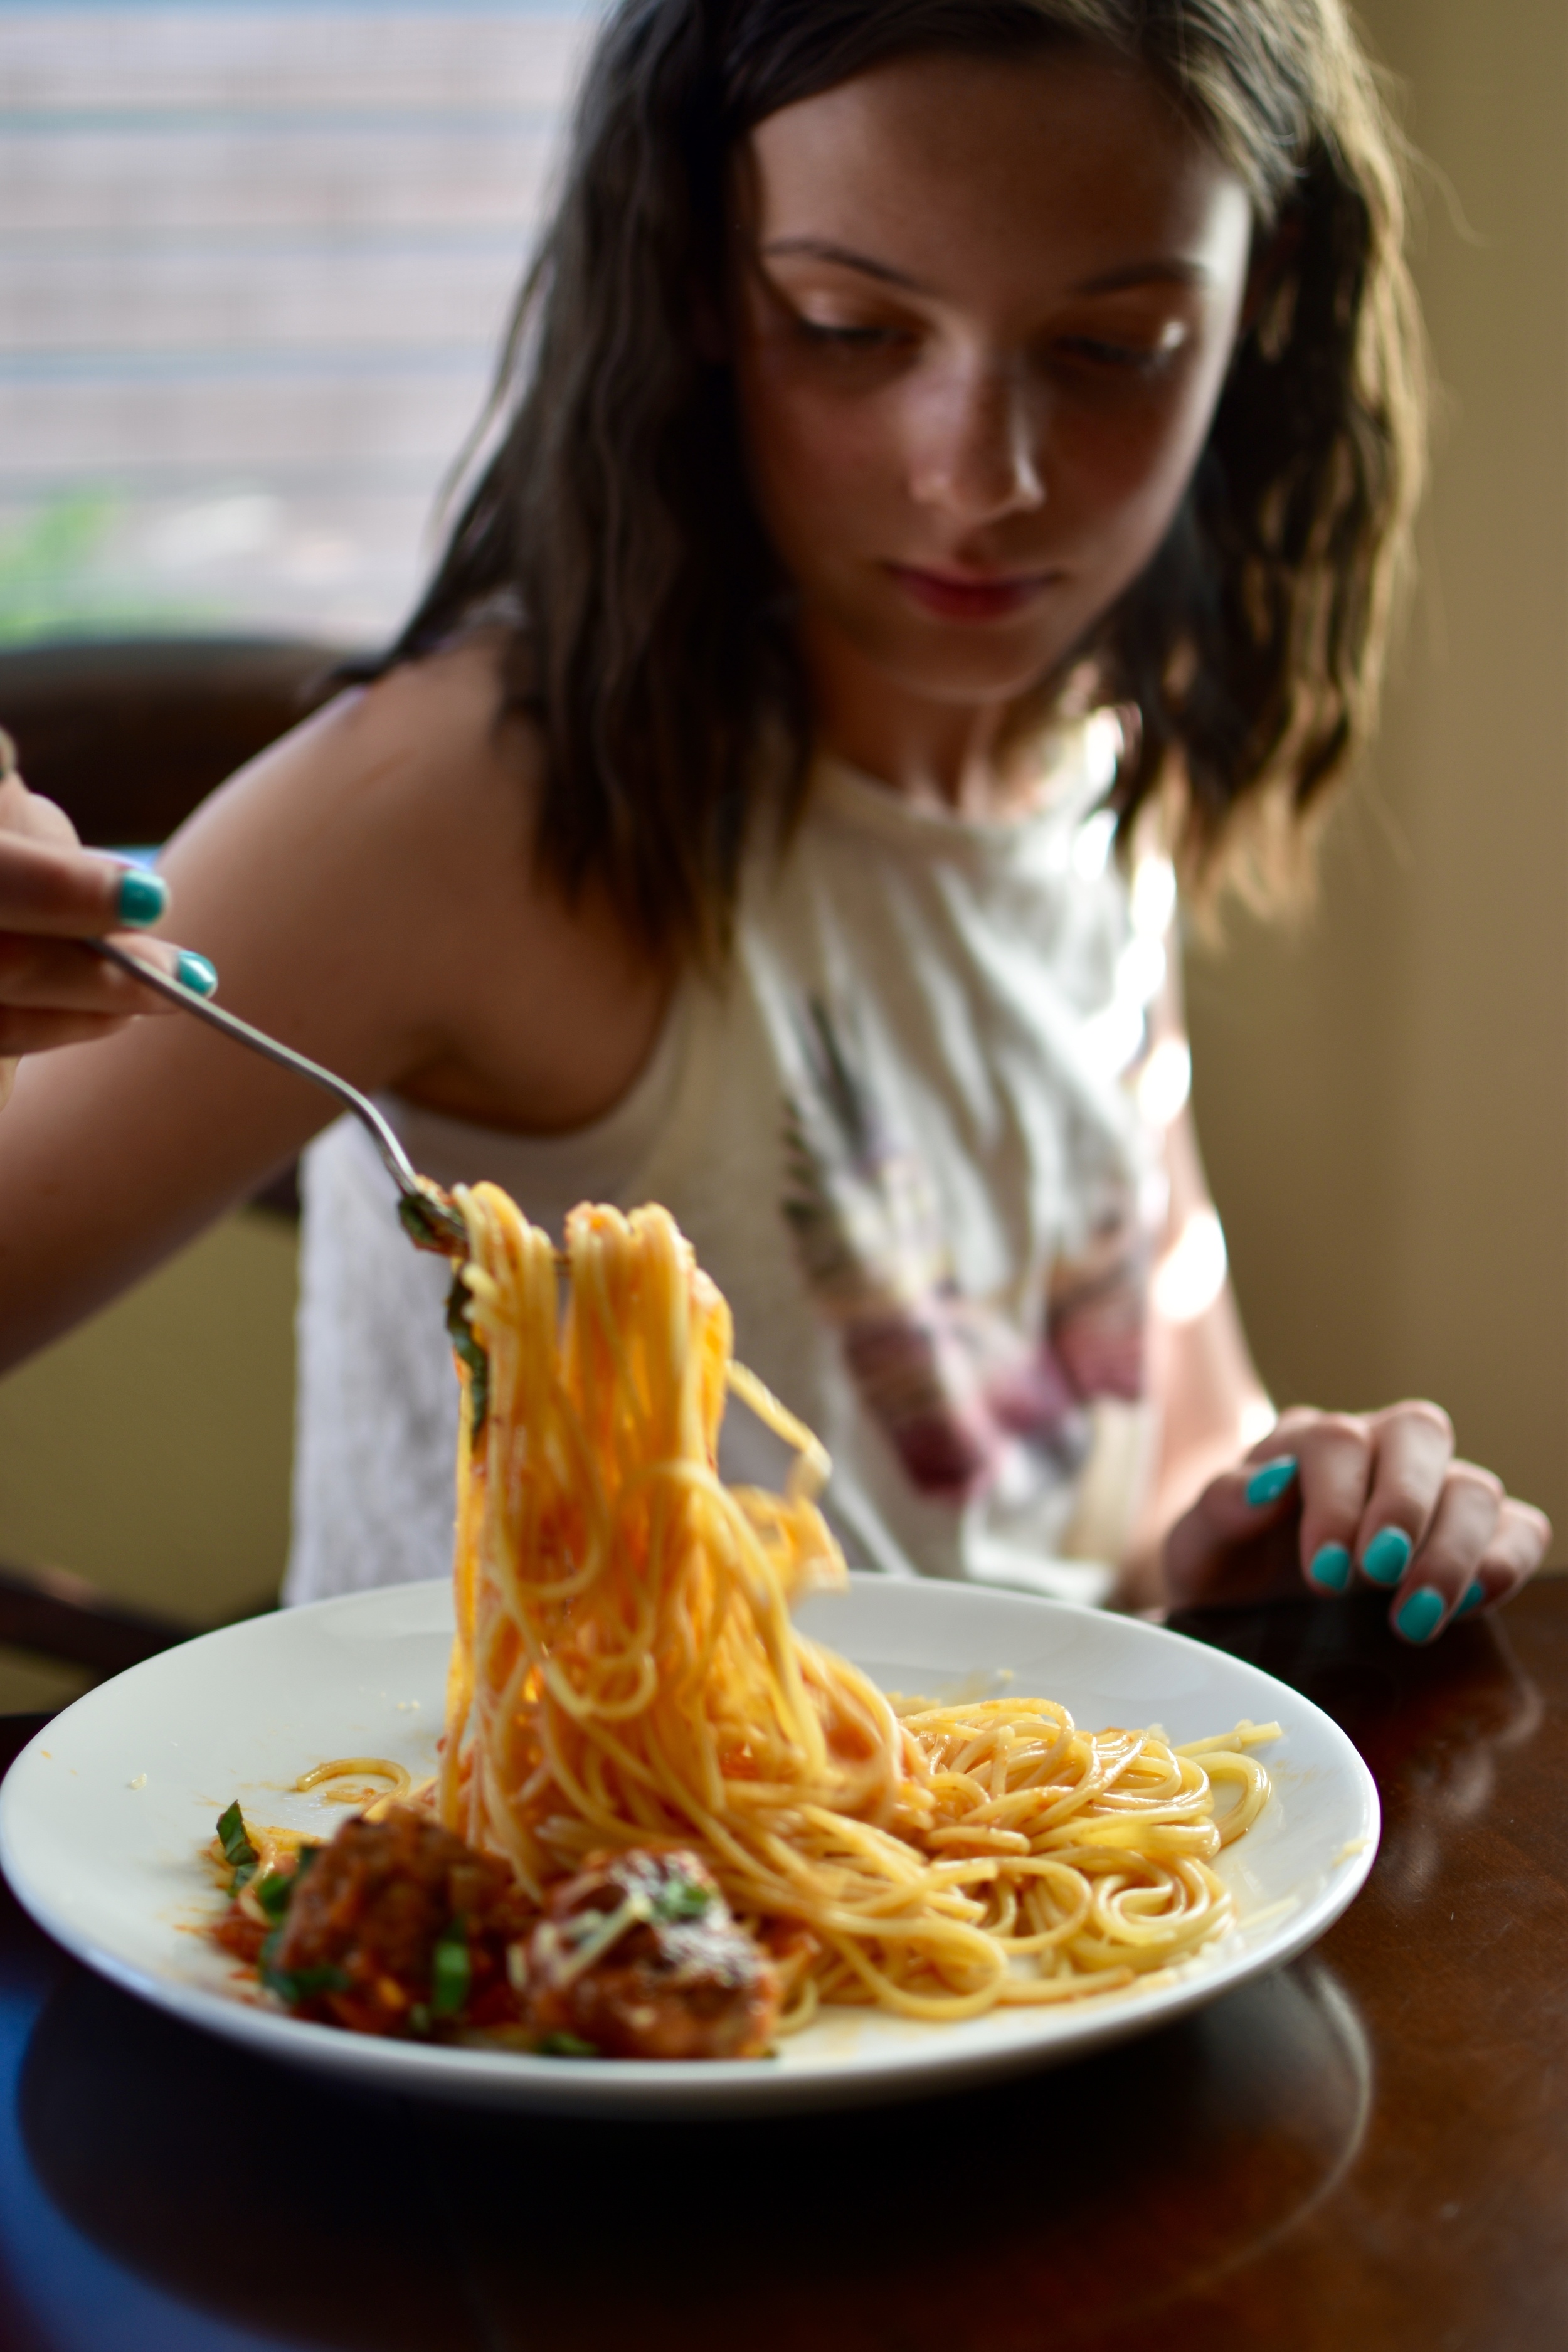
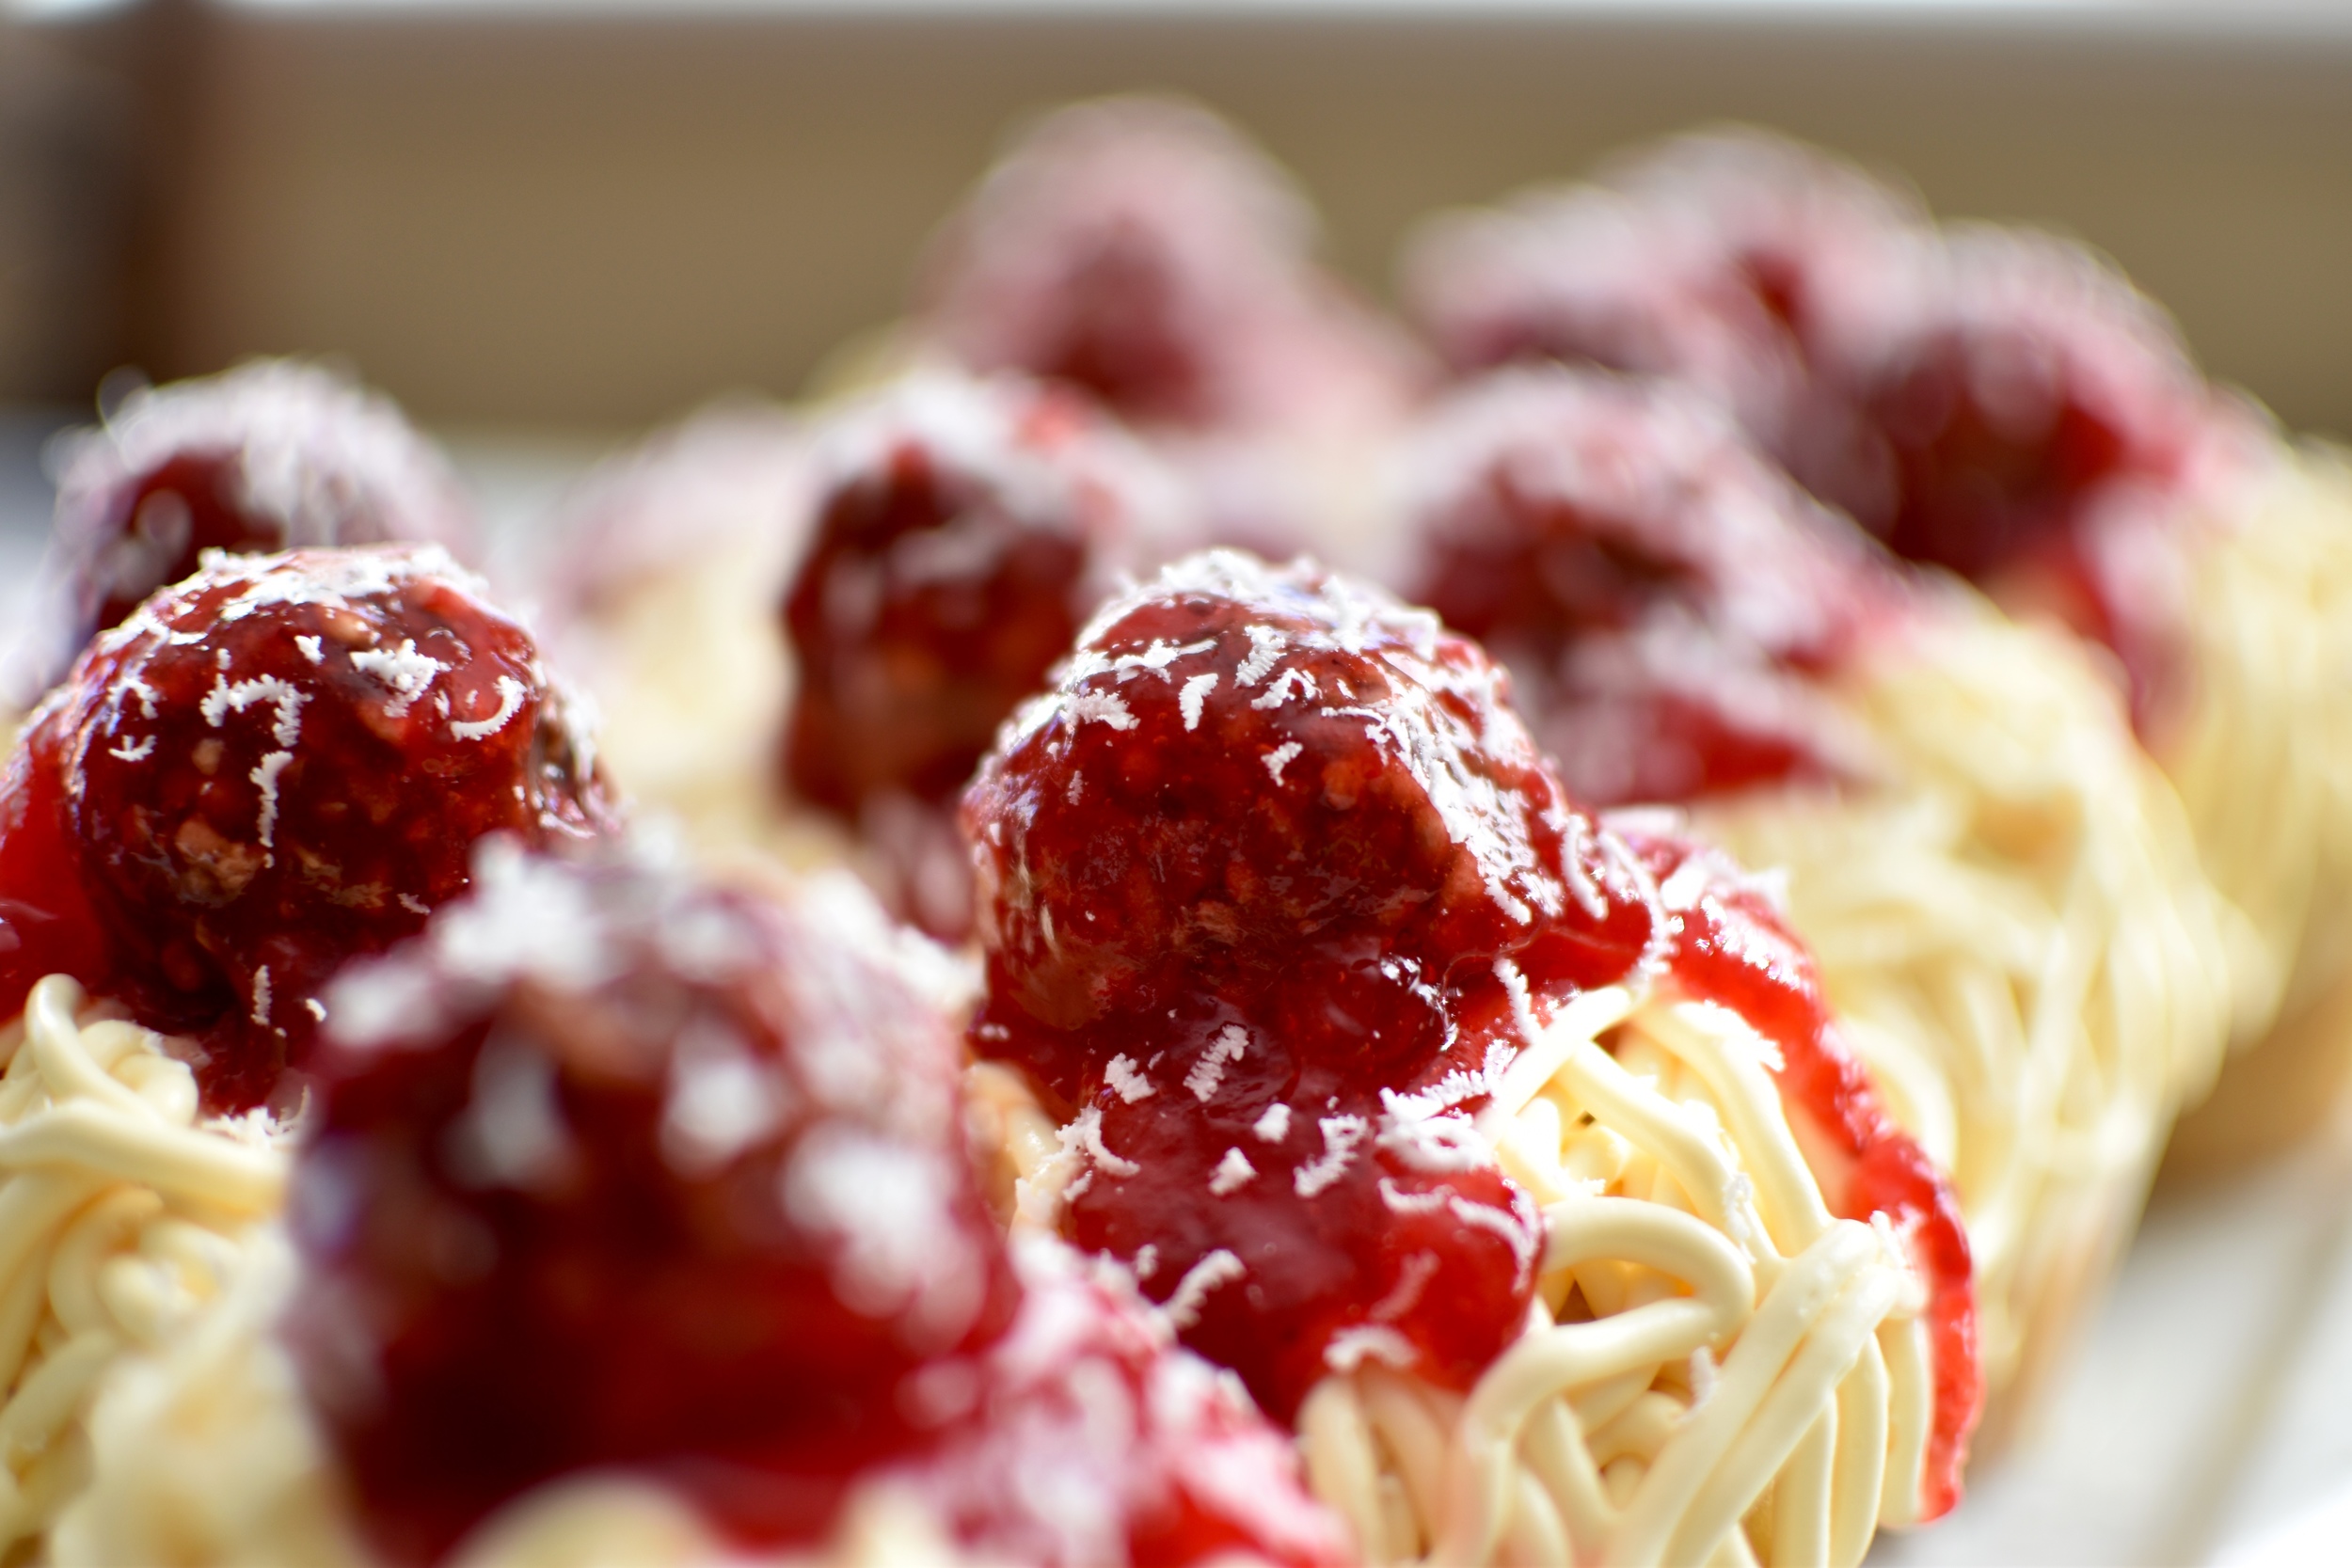
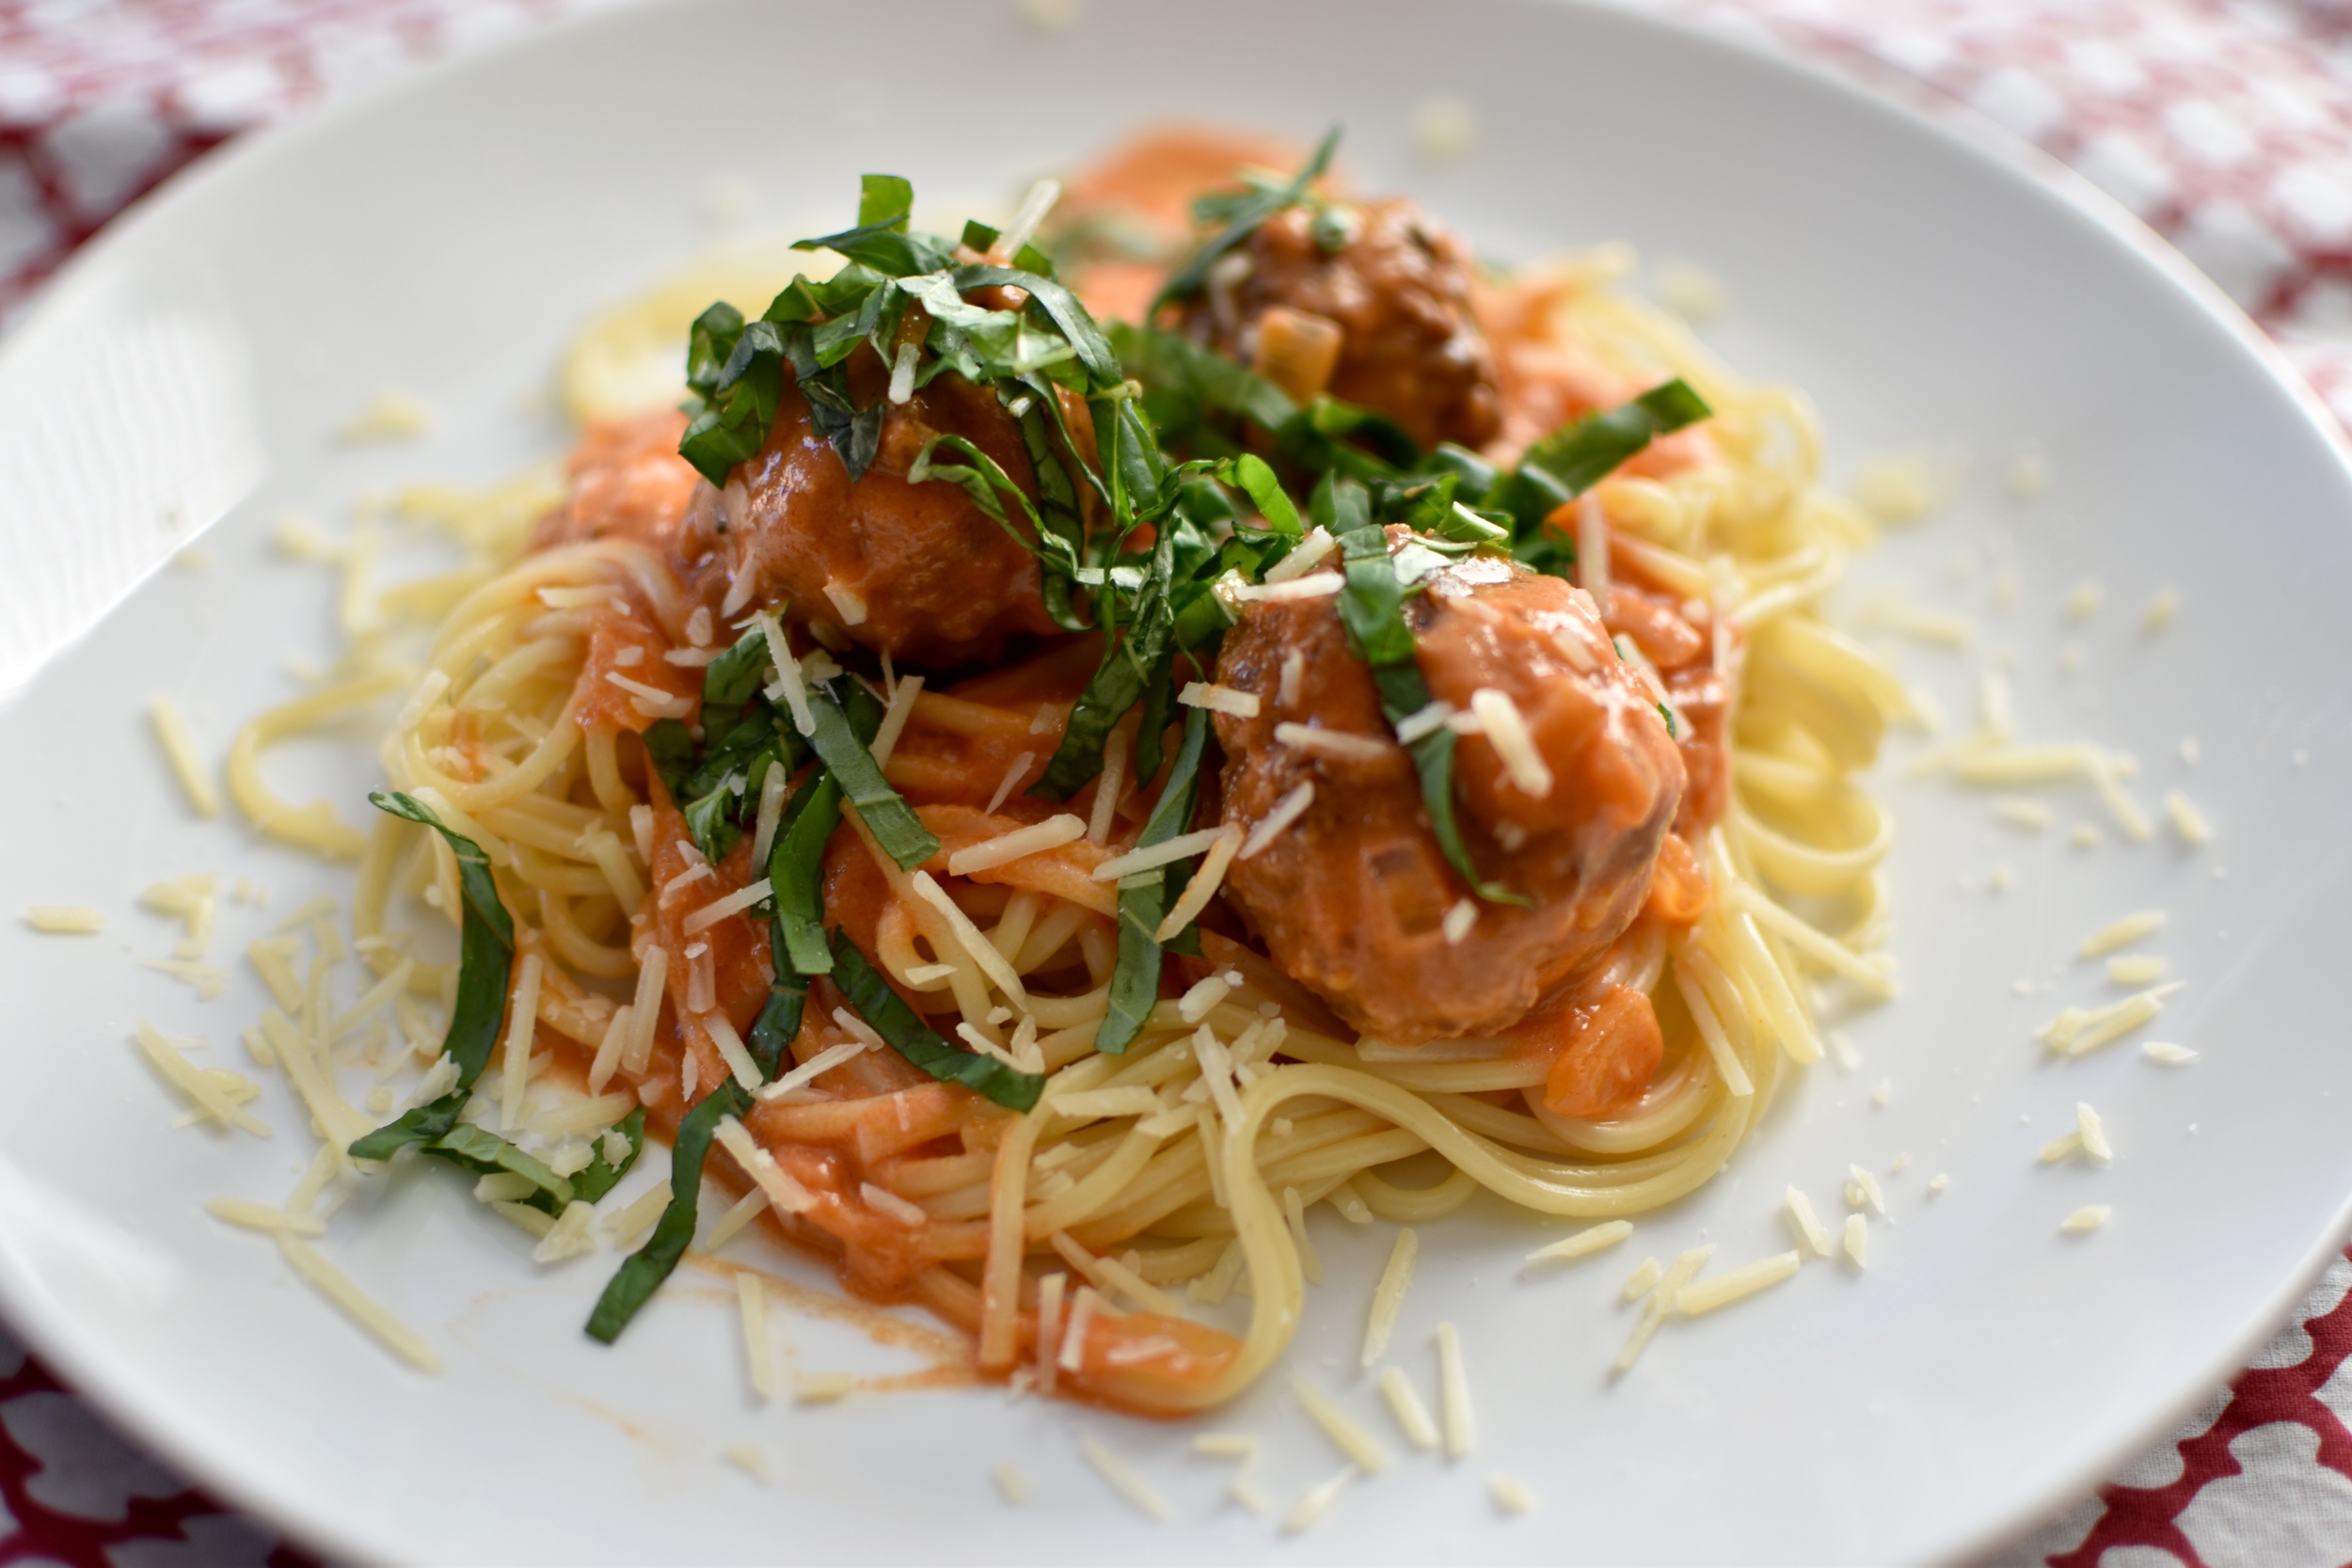
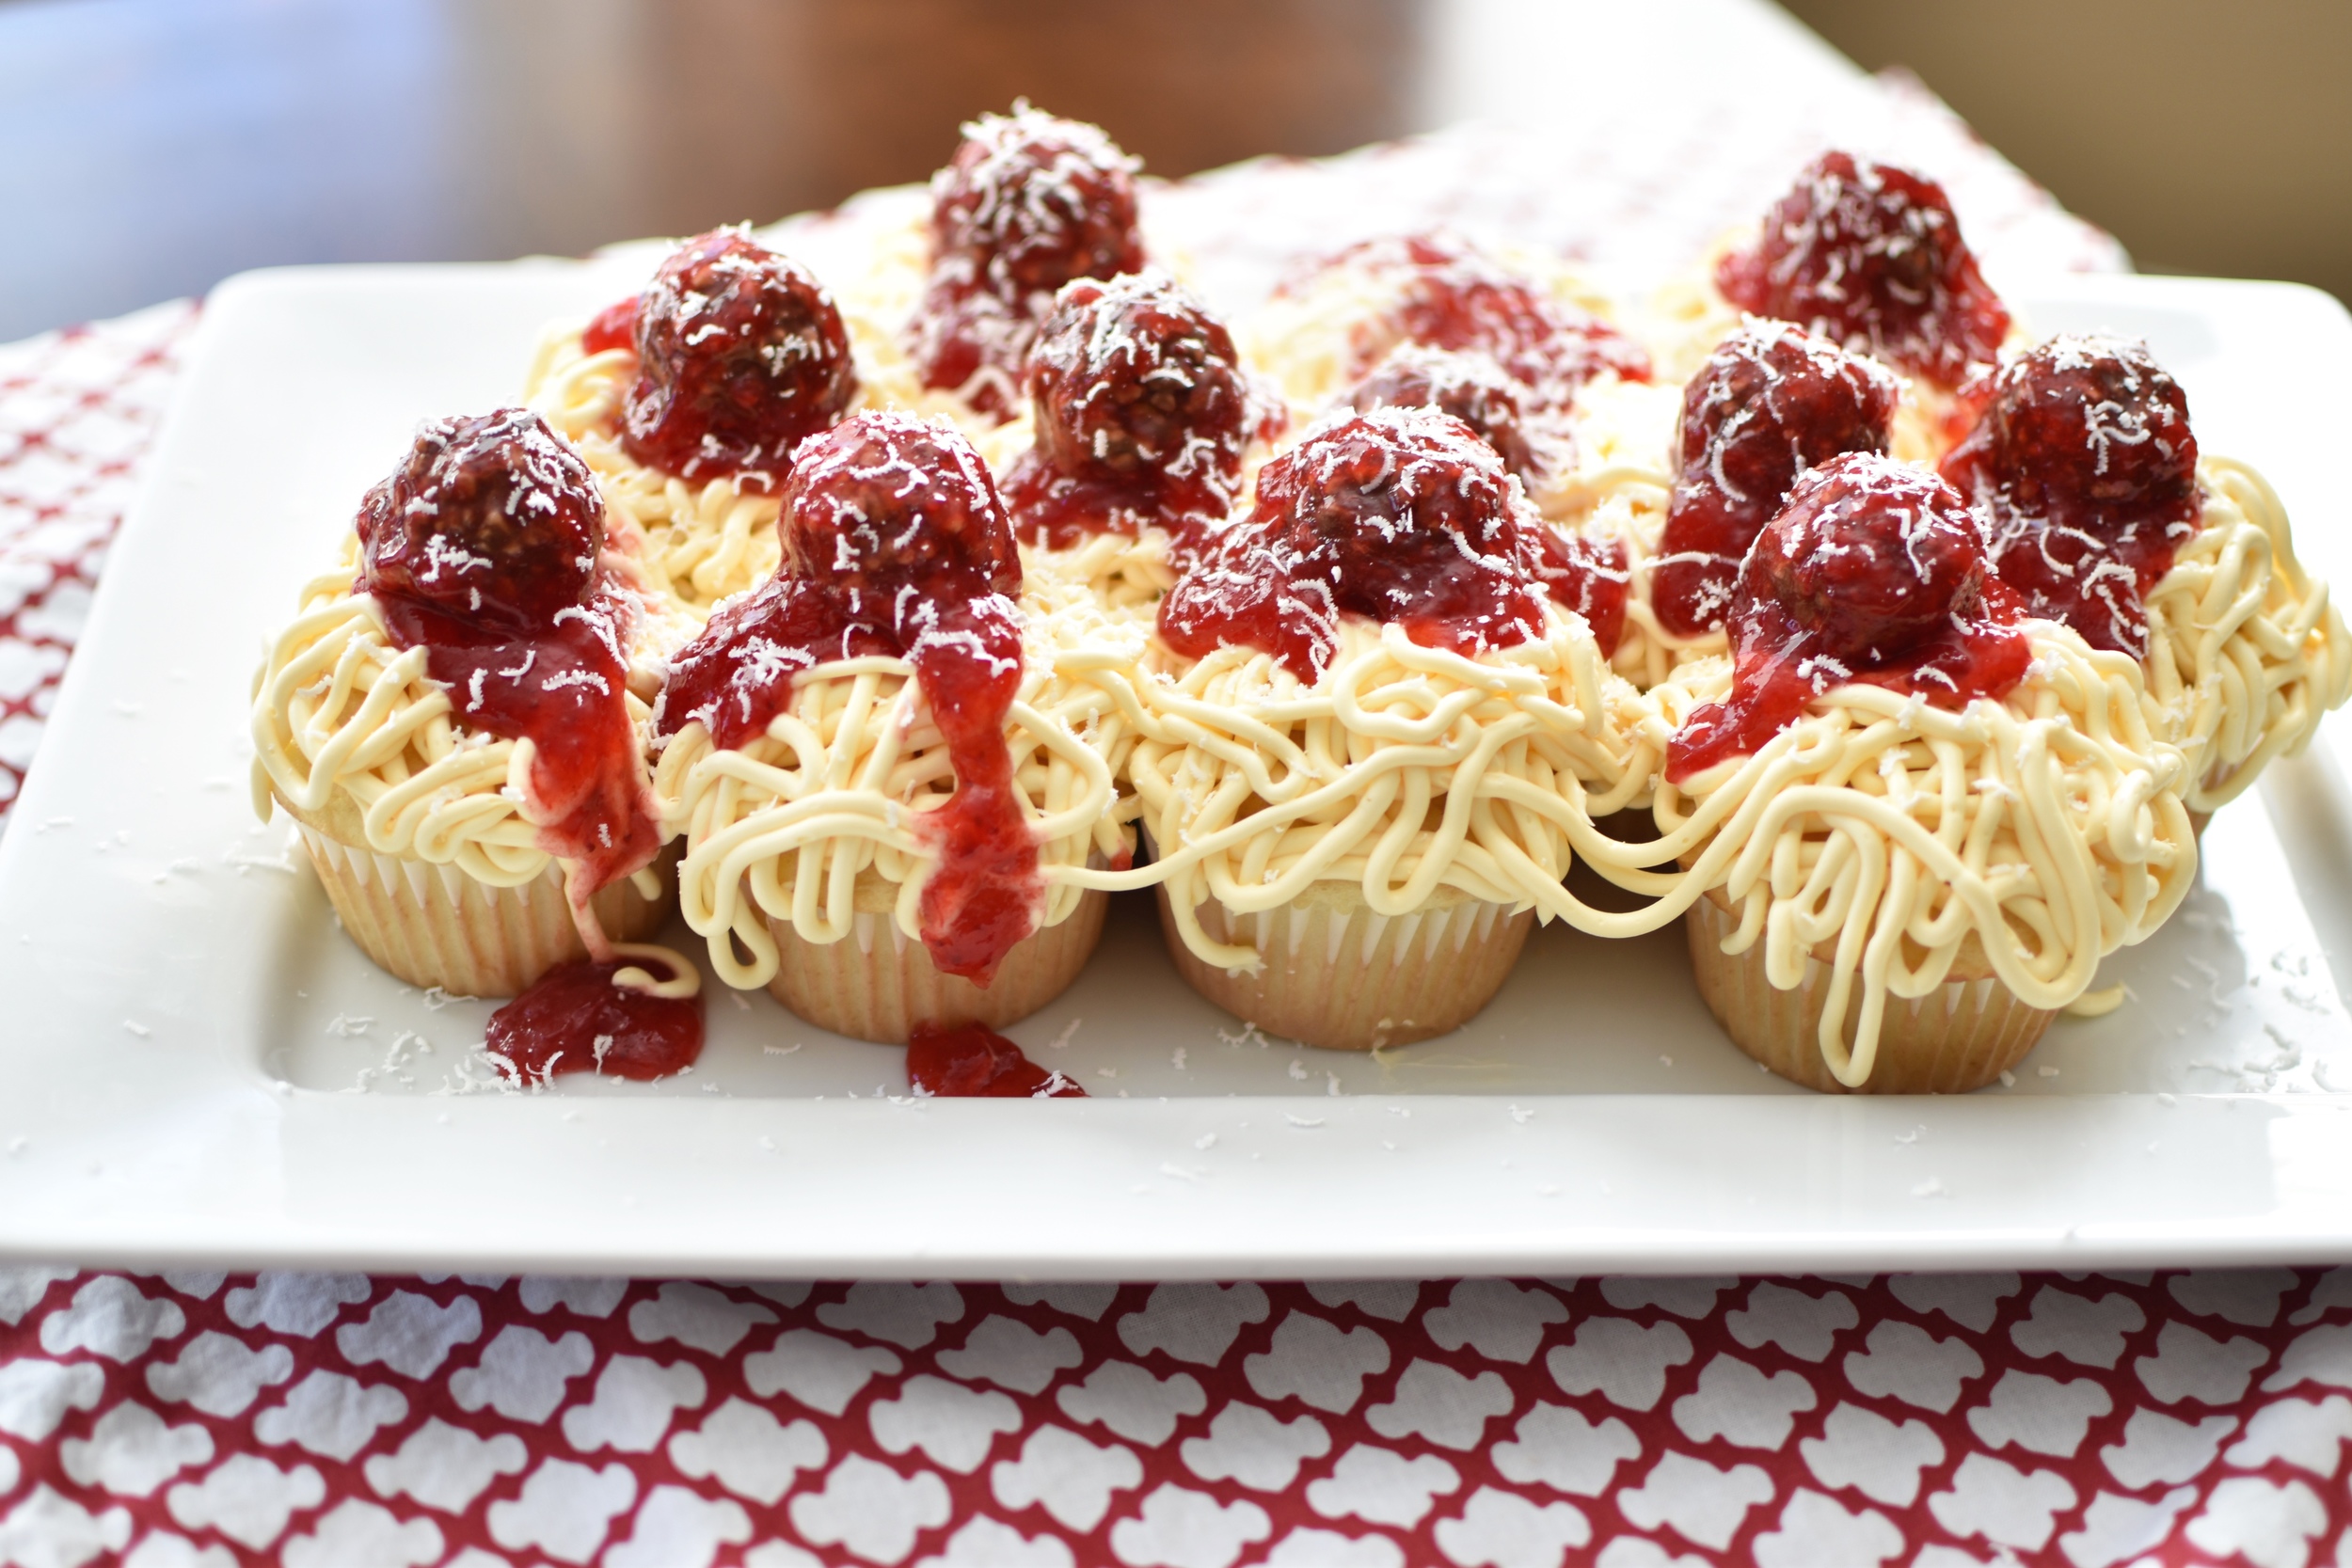
Spaghetti and meatballs for dinner AND dessert.  Your kids will love this! This was a huge hit for mine on April fools. I made regular spaghetti and spaghetti cupcakes.  I fooled them good. They really thought it looked like real spaghetti not cupcakes! It's always fun to keep your kids on their toes.

What I love about both of these recipes is that they are so delicious and so easy. If you want to go meatless, don't make the meatballs and you have a easy spaghetti dinner in 30 minutes. I got the cupcake recipe from one of my favorite books, "Hello, Cupcake!", a book full of the cutest cupcakes that anyone can make! I know that your kids will love this idea, surprise them tonight with spaghetti and meatballs two ways! The link for the book is here.  

After dinner my kids made us watch "Cloudy with a Chance of Meatballs", don't say I didn't warn you! I hope you have a fun family night with these recipes. Happy cooking and baking!

Spaghetti and Meatball Cupcakes
Ingredients:
10 vanilla cupcakes baked in white paper liners
1 can vanilla frosting
Tan food coloring
11 hazelnut chocolates (Ferrero Rocher), unwrapped
3/4 cup low sugar strawberry preserves (low sugar has the best color)
2 tablespoons grated white chocolate
Directions:
Tint the vanilla frosting with the tan food coloring and spread a thin layer on each cupcake. Arrange the cupcakes on a serving platter so that they are touching.
Spoon the remaining frosting into a ziplock bag or use a pastry bag with a wilton 6 round pastry tip. Pipe the frosting all over the cupcakes to make the spaghetti, piling it high and allowing some of the spaghetti to hang over the edges.
Place the hazelnut chocolates and the strawberry preserves in a medium bowl and toss to coat. Spoon some of the preserves on top of the cupcakes. Place 1 hazelnut chocolate on each cupcake and 1 on the platter. Top the cupcakes with the remaining preserves. Sprinkle with the grated white chocolate.
DSC_0672.jpg
DSC_0634.jpg
DSC_0644.jpg
DSC_0618.JPG
DSC_0664.jpg
DSC_0659.jpg
DSC_0633.jpg
DSC_0653.jpg
DSC_0622.jpg
Spaghetti and Meatballs
INGREDIENTS:
SAUCE:
2 tablespoons olive oil
2 tablespoons butter
1 onion, finely diced
4 cloves garlic
2 cans tomato sauce
salt and pepper to taste
2 tsp sugar
1 tsp Italian seasoning
dash of freshly grated nutmeg
1 cup heavy cream
1/2 cup freshly grated parmesan cheese
fresh basil, julienned
1 box spaghetti
MEATBALLS:
1 pound ground Italian sausage
small handful of panko bread crumbs
1/4 tsp Italian seasoning
salt and pepper to taste
2 cloves garlic
INSTRUCTIONS:
Cook pasta according to package directions. Make sure to add a little salt to the pot while boiling the pasta.
In a medium bowl mix together the sausage, bread crumbs, garlic and seasonings. Form into golf ball sized balls.
Add the olive oil to a pan over medium-high heat. Add the meatballs and cook until golden brown. Remove from heat and keep the drippings.
Add the butter, onions, salt, pepper and Italian seasoning to the pan drippings and saute until soft. About 7 minutes. Add garlic and saute for a minute or so more. Pour in the tomato sauce and sugar. Stir and cook over low heat for 25-30 minutes, stirring occasionally.
Remove from heat and stir in the cream. Add cheese and a little more salt if needed. Stir in the pasta and julienned basil. Serve immediately.
June 16, 2016 /Mandi McQuivey
Comment
  • Newer
  • Older
HOME
CONTACT AND POLICIES

facebook photo Facebook_zpszmmmanoy.pngpinterest photo pinterest_zpshqdpgdxh.pnginstagram photo instagram_zpsixfspxa0.pngmail photo email_zpsnsnfmqeo.png

Powered by Squarespace